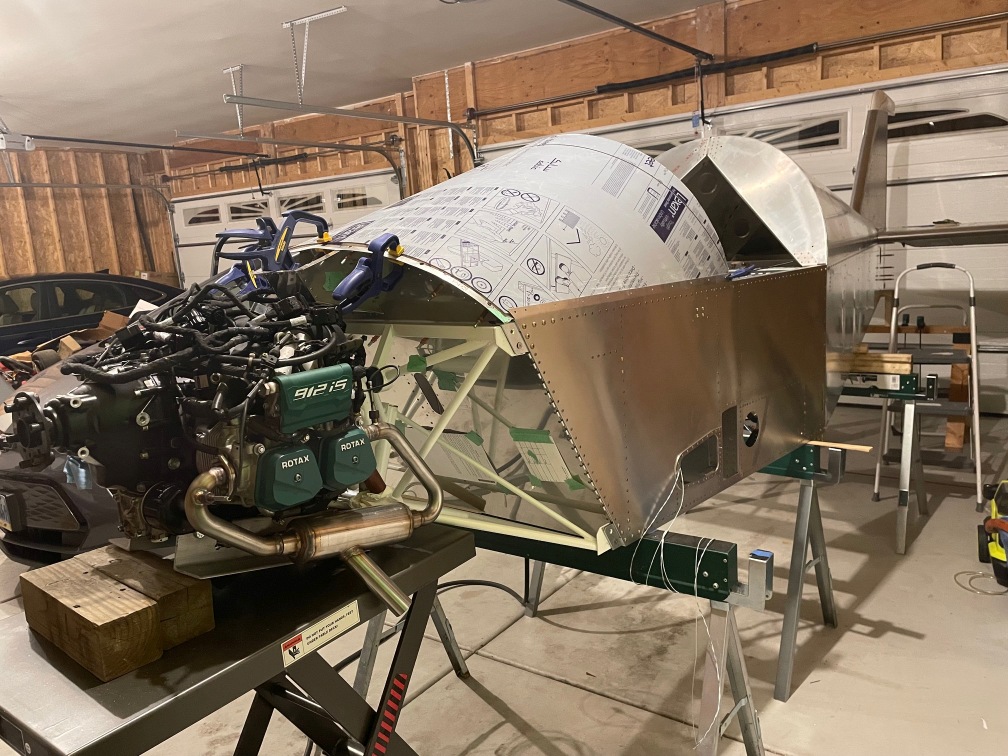
I’m a little over 3 years into building an orphaned kit that I purchased with the tail and a few small wing parts completed. It’s going to be a tri-gear with a Rotax 912is (100hp fuel injected).
Most of my build log is in notes on my iPad but I’ll post what’s unique and different here. It’s also not in real time as I’m coming up on just having FWF, landing gear and a few miscellaneous items.
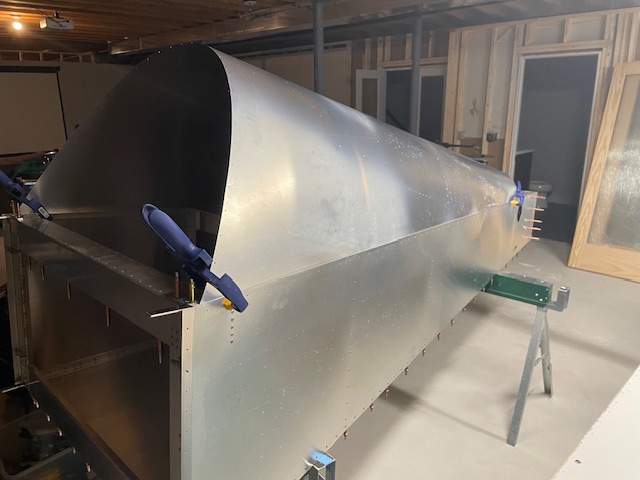
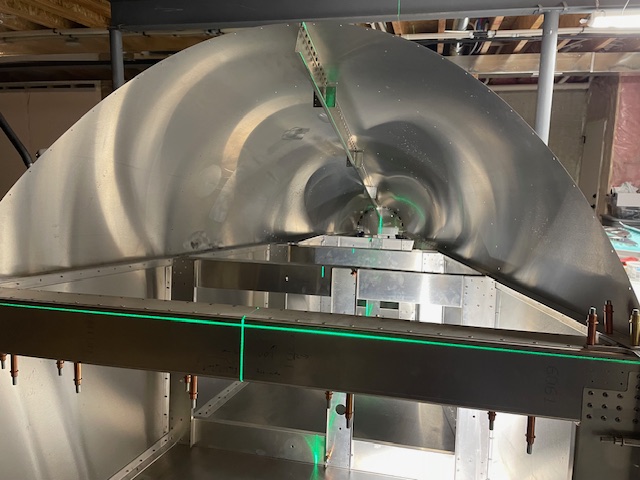
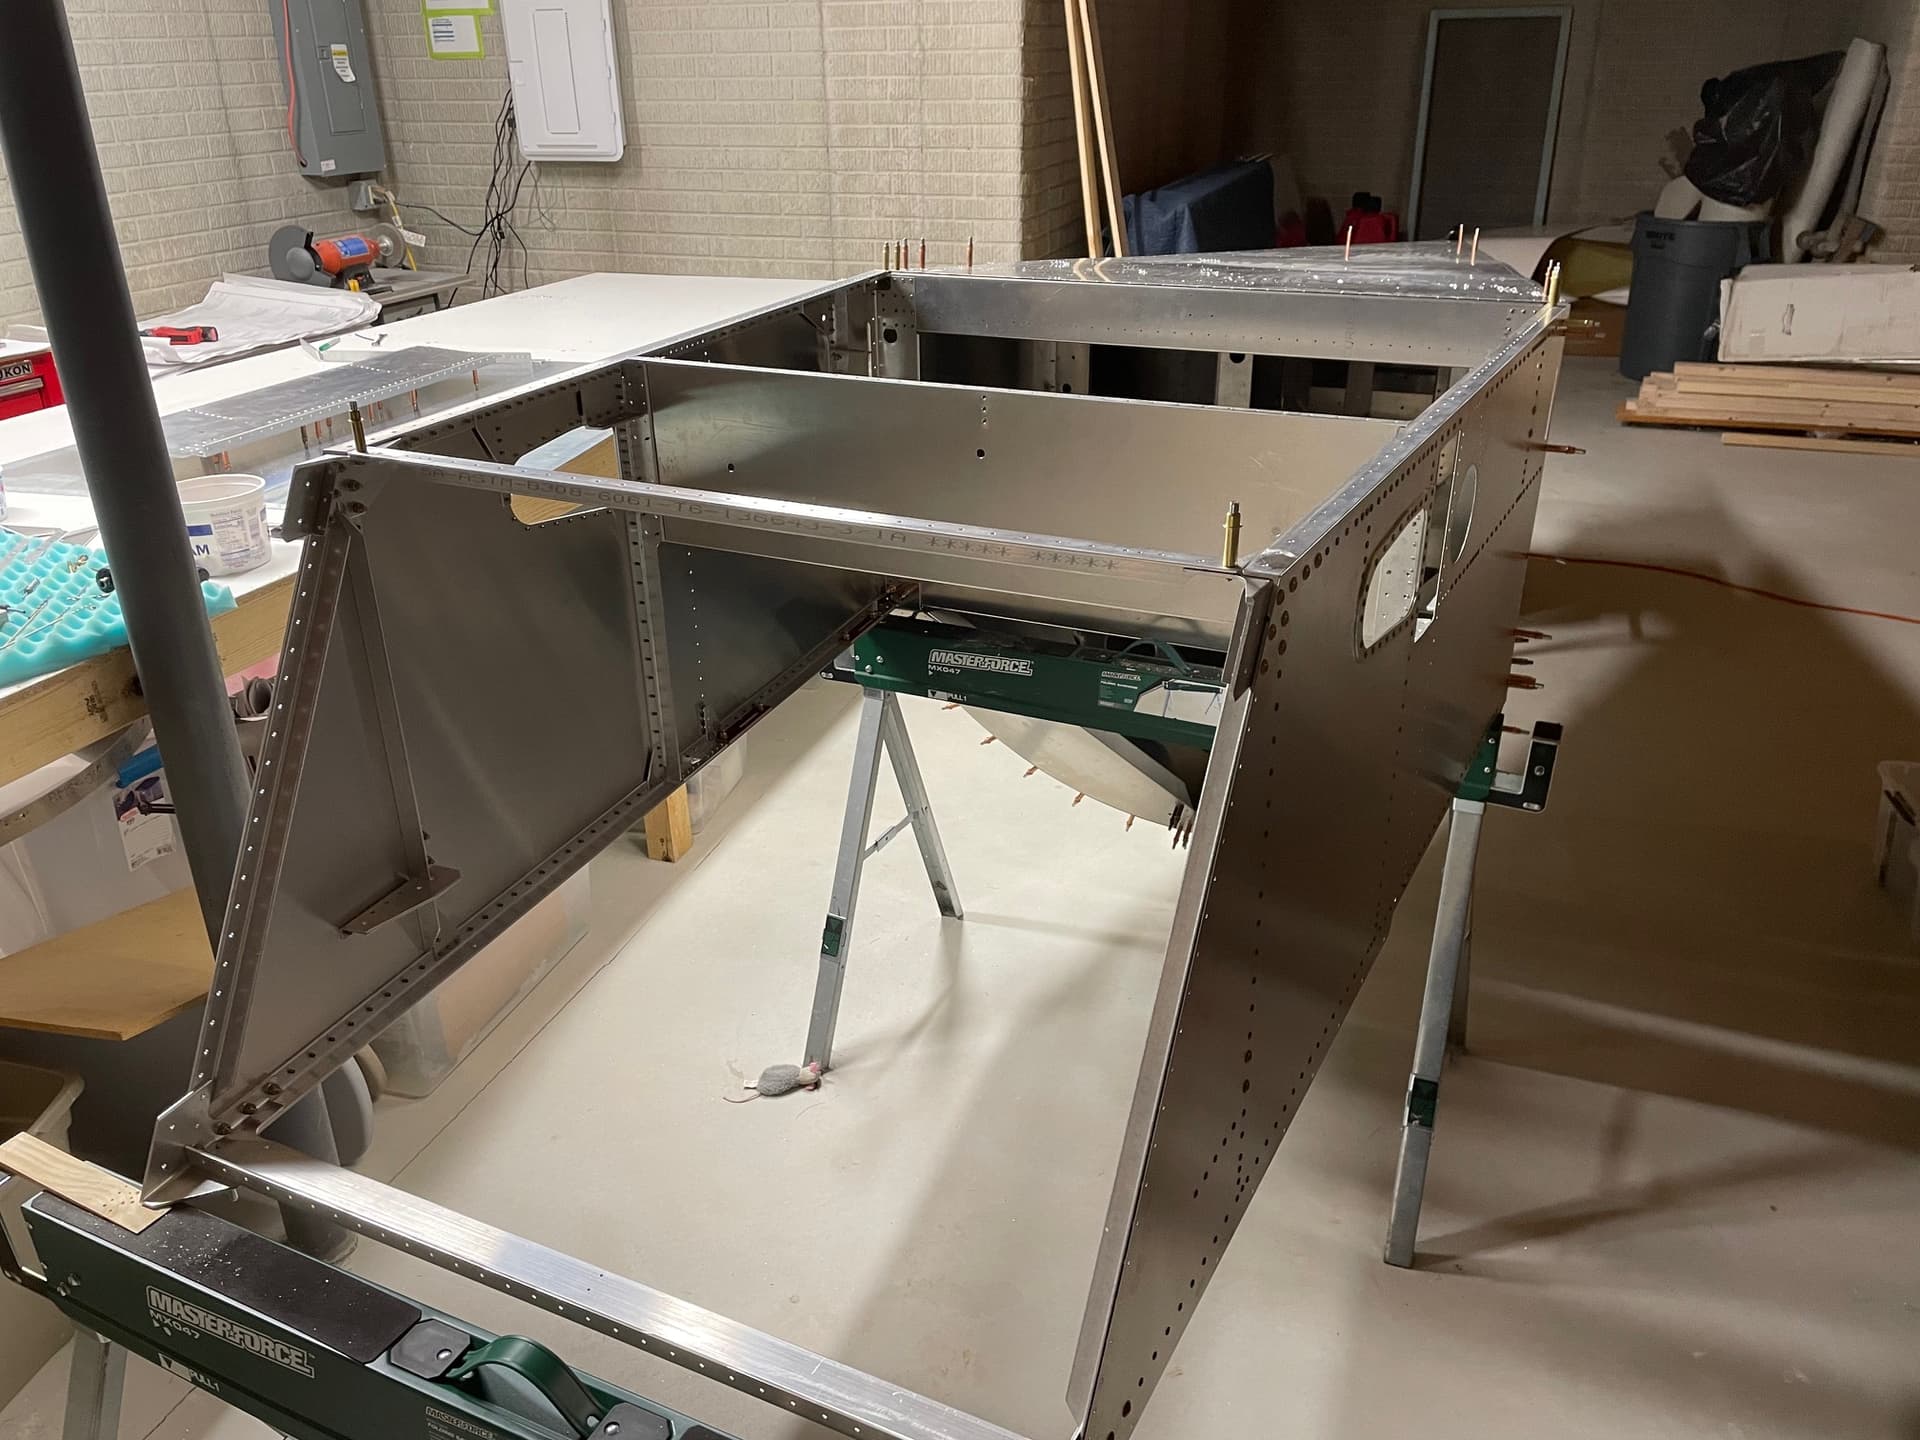
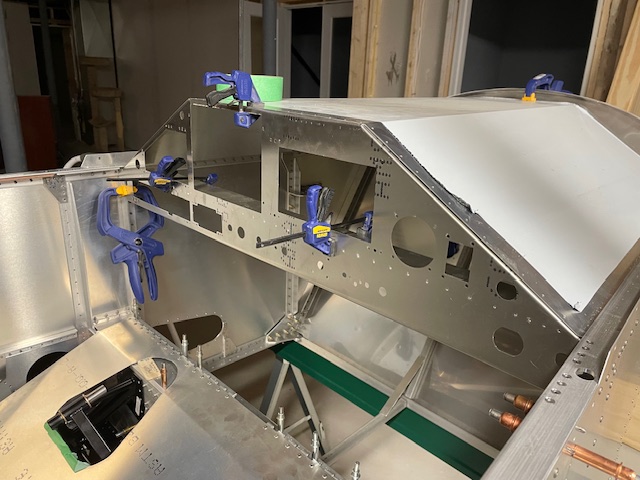
From last October, this was one of my favorite days of my build so far. I put the turtle deck skin on and it all lined up nicely. Standing back it was the first time that it distinctly looked like a Sonex. I did most of the building in my basement after carefully measuring to make sure I could get pieces out. I didn’t rivet the turtle deck/formers until it was in my garage and the front and aft portions of the fuselage were split apart to get it upstairs.
This was one of the first things I used my new laser level for. It’s been a big help lining things up and given me a lot of confidence that everything is going together aligned.
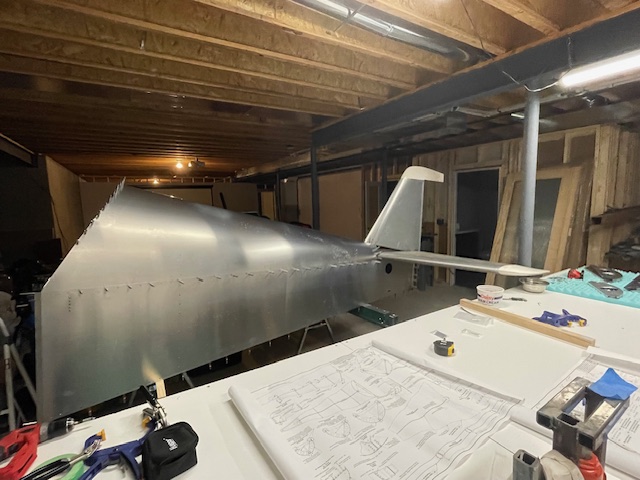
Shortly after I did a quick test fit of the tail. Didn’t align or drill anything at this point. Just wanted to see it fit together and how it would look.
Looks great! Definitely hard to drill the formers in solo. You need someone to push them up tightly from the bottom. Ergonomically it’s better to be the person drilling and clecoing from the top. I know Ryan, Waiex 197, did it solo. I suspect he trained his dog to do one task or the other.
I did the forward and aft formers by myself. For the middle ones I put the fuselage on the sides and had some human help. I wish my dog was more helpful but he liked hanging out on the sofa or upstairs.
Thinking about it, I’m honestly a little surprised that I didn’t need an extra person more often. Just flipping the wings (many times), holding a few of the wing ribs for drilling, the forward windshield nuts and moving the big parts around so far.
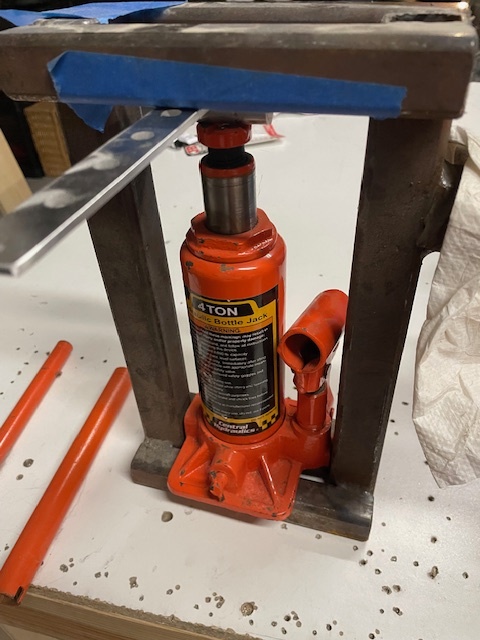
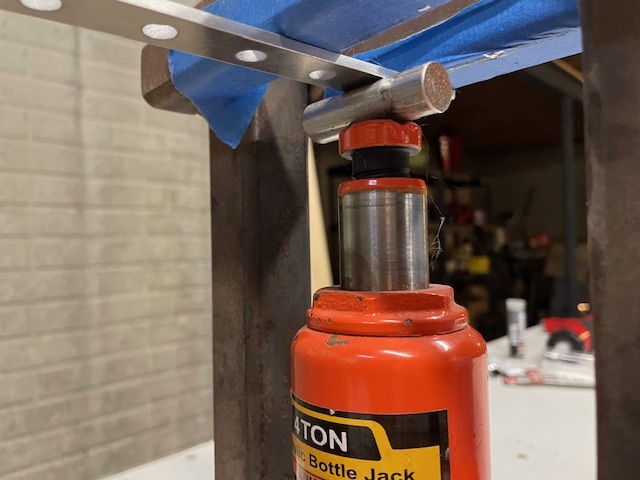
For the joiner plates and shoulder belt attachments I used a hydraulic jack on a fixture to bent the thick metal parts that I had made for a previous project. The hydraulic jack gave good precision and controllability.
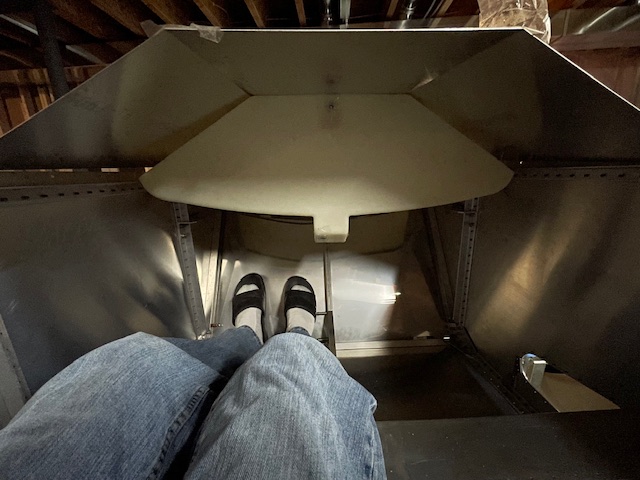
I checked and marked for how the fuel tank would fit fairly early since I wanted to get a head start on planning the firewall and behind fuel tank layouts. I also had to sit in it for the first time. A couple of sawhorses under the spar tunnel and seat channel with a plywood board between them gave me enough confidence to carefully climb in.
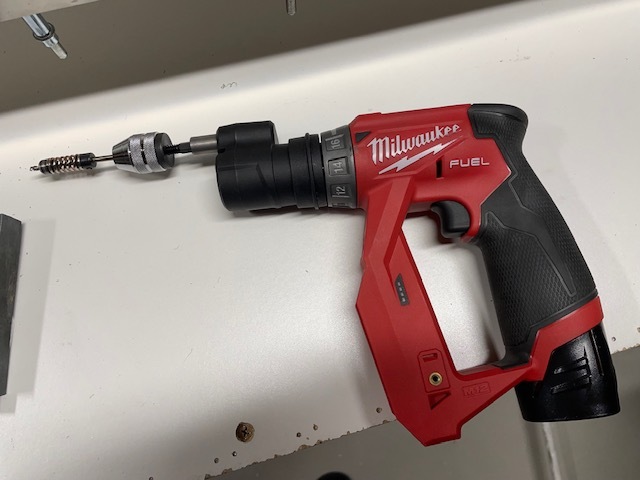
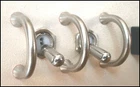
This is the drill I used for most of the build. It has a normal chuck as well but also came with an offset (shown) and right angle adapter which came in handy for one handed operation in tight areas. I also have the normal tight right angle adapter and long drill bits which are certainly required for some of the really tight corners.
I should clarify that the dill comes with an offset 1/4” hex driver. The chuck is a separate hex drive chuck and not part of the drill. I wish I had thought to buy a smaller chuck or threaded bit adapter like this to get even tighter:
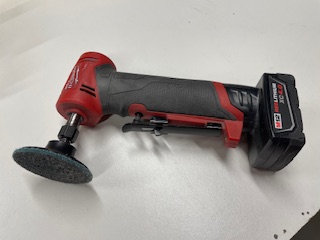
So true. It’s really easy to justify buying tools when you’re going to use them and they make things easier and more enjoyable. The one that made the biggest improvement was when I discovered I could deburr the edges of large sheet metal parts with a 3” Scotch Brite disc on a right angle grinder. I used to hate deburring the edges by hand on parts that were too big for the wheel on the bench grinder but with the 3” discs it’s quick and can get everything besides a few tight corners.
Seeing your tank picture reminded me of something I wish I had done when building. Consider chucking a few nutplates on the upper part of the firewall, forward of the tank. You can just put screws in them. But later if you really need to mount something there, you will have a few nutplates available. When I added an air-oil separator I had to get really creative on how to mount it.
I feel like a couple sticky forums could be useful kind of like the lessons learned for little thing like that:
Helpful tools (or tools I wish I knew existed): tools and what they were used for
Things I wish I knew or considered or installed
If you know what to search for there’s good info our there but it if it was all in one place you could just scroll through it when starting out to get ideas you wouldn’t have thought about.
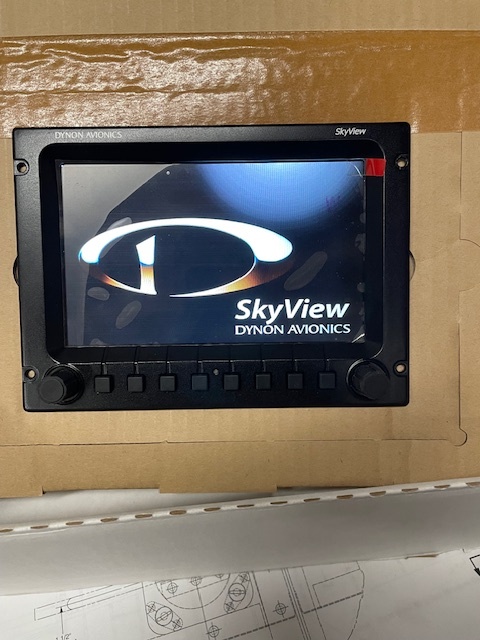
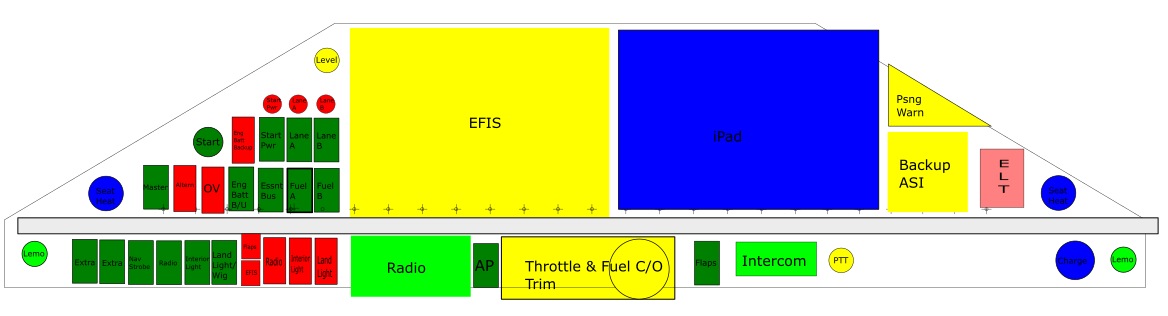
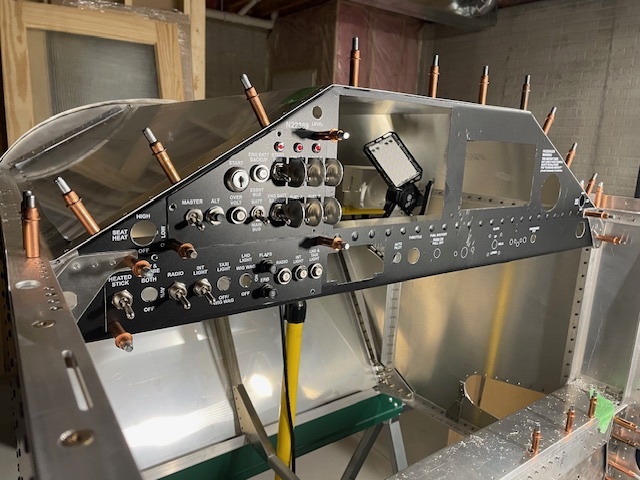
At this point some of the customization really started taking place. From flying different aircraft I knew that I wanted a glass panel and autopilot. I also wanted to have a place to mount my iPad on the panel since I don’t like looking down at it and it can in the way with center sticks. And it also functions similar to a MFD without the high cost. I also didn’t want to spend too much since for flying VFR it’s not super crucial. I ended up going with the Dynon system since it was similarly priced to MGL at the time and is more common. They discontinued the non-touch version of the SkyView which would have thrown off my budget but I found a deal on a brand new uninstalled 7" classic.
For ADS-B out I considered uAvionix solution since it could potentially be lower cost but decided to stick with the Dynon setup since it doesn’t require a separate transponder and the wing tip lights can still function as the tail nav light. I also lucked out with finding a deal of an almost complete system out of an avionics upgrade. I contemplated using a 10" display instead of the 7" but with the instrument panel cross tie it would take too much modification to the structure. I felt it wasn’t worth it for the time it would take to design new structure, additional weight and more panel area.
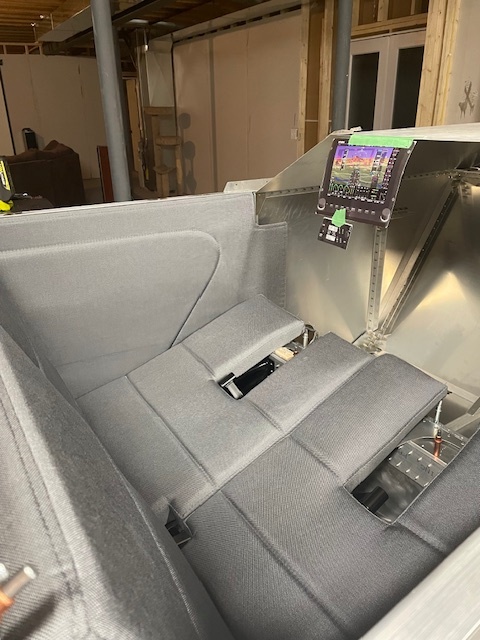
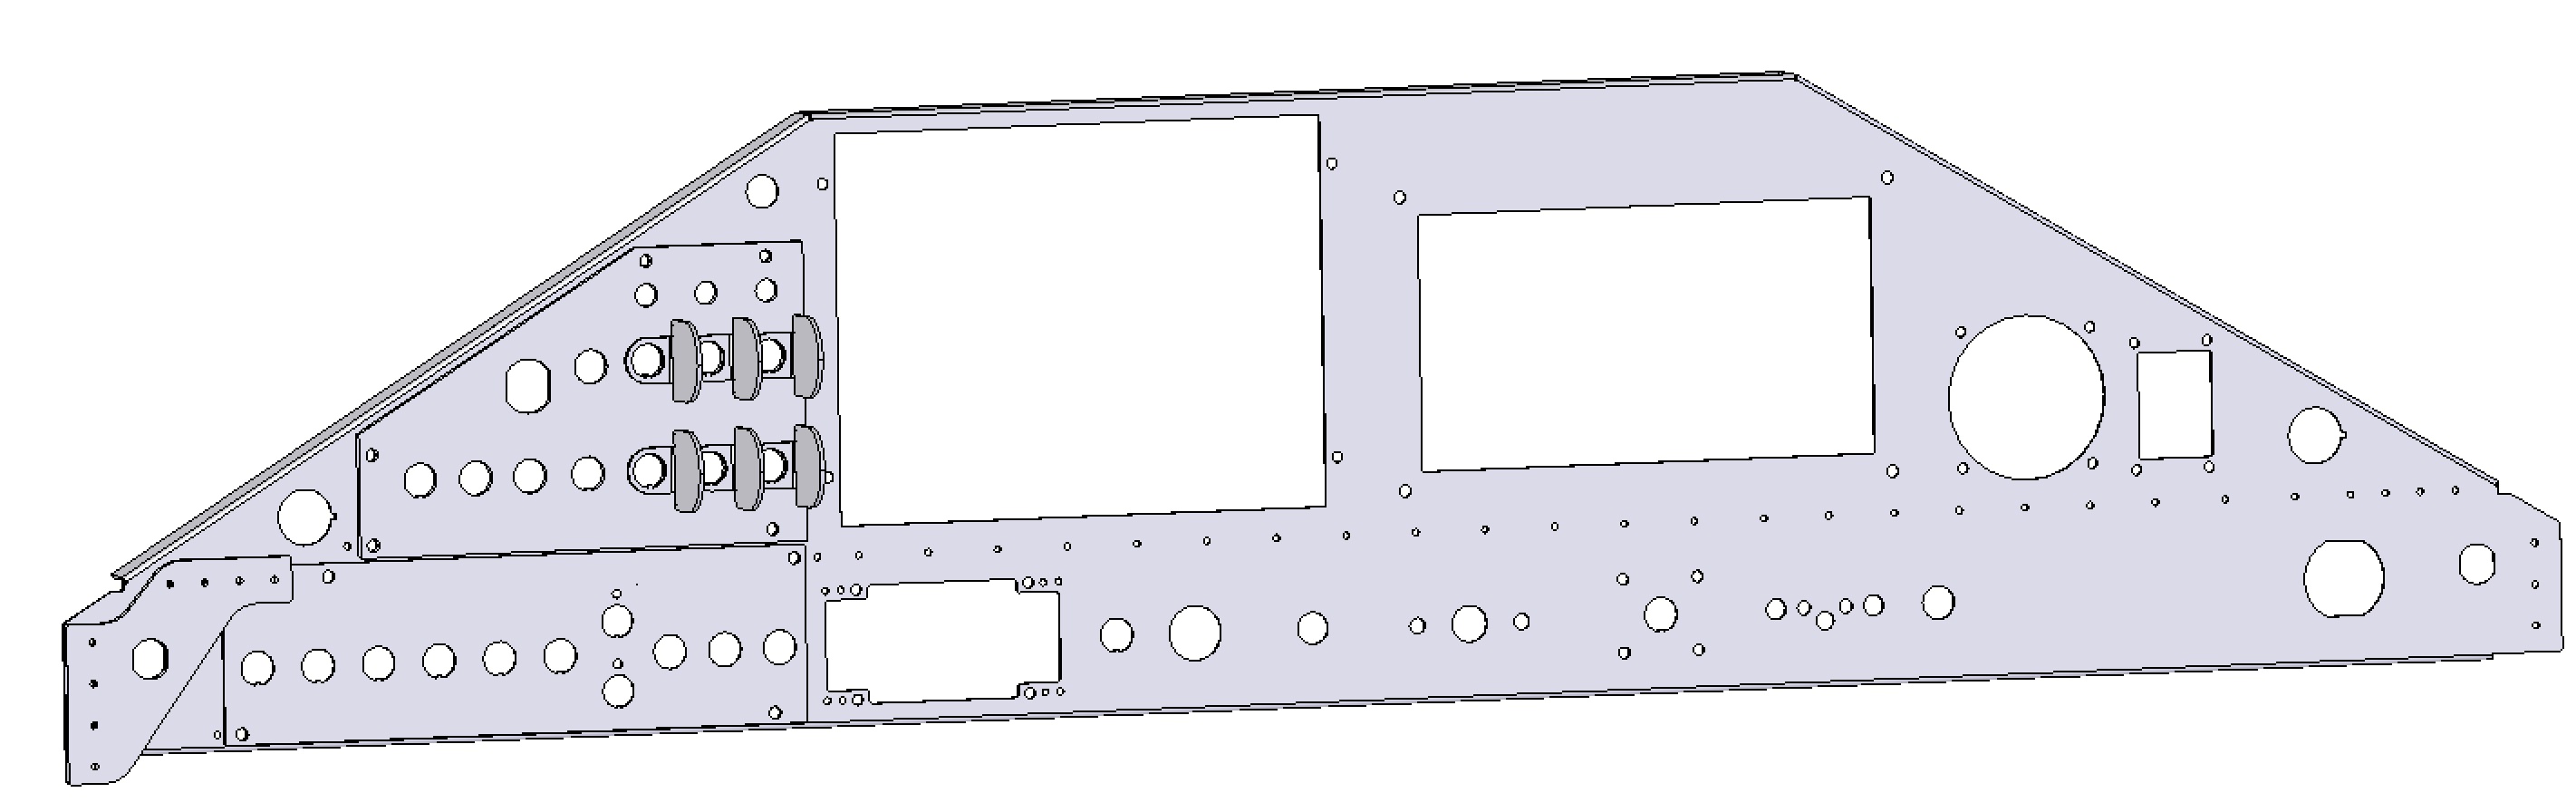
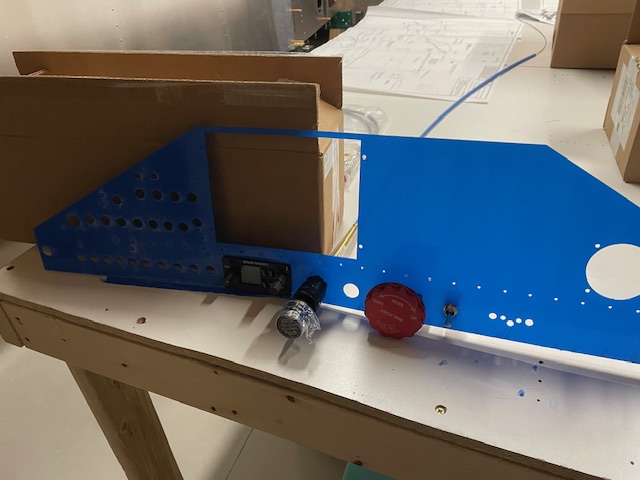
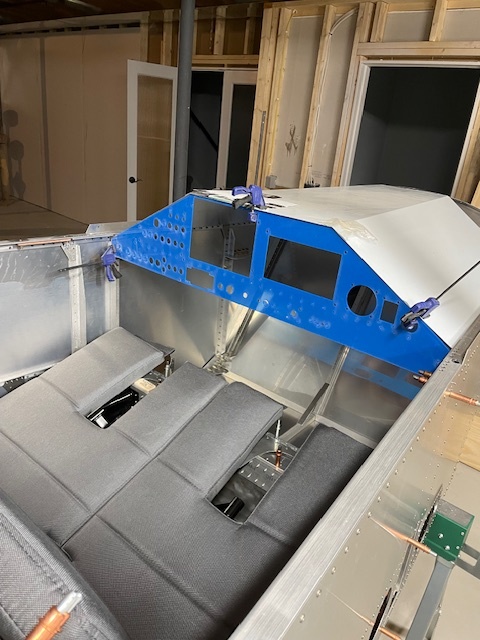
I wanted a vertical panel and was happy I didn’t have to create a glareshield from scratch when I saw the it didn’t have the aft edge cut to shape. To get the 7" display to fit I flipped the instrument cross tie upside down which moved the rivet line 1/2" down while retaining pretty much the same structure. On the old forum there was a good discussion on maintenance behind the panel. I liked the hinged idea but when I modeled up in Solidworks I couldn’t get it to work without the deeper items hitting the cross tie or backing plates when pivoting. I decided to go with removable switch panels and an access plate behind the iPad. I did some testing for ergonomics on the positioning of the panel components.
Even though I was planning on having the panel laser cut, I drew up the basic shape in a program called Inkscape and made boxes for the space including behind panel for each component because for me it’s much faster than modifying in Solidworks. This is where the engineer in me went into optimization mode and went though way too many iterations different layouts considering the the order of the switches for checklist flow and minimizing the wiring. I also decided to go with the Dynon radio for panel layout even though I liked the MGL v16 radio better by a slight edge for the built in intercom and playback feature (the Dynon does have a neat GPS based tuning though). In the end after 32 iterations I had a outline of the layout that I felt really good about.
From there I modeled up the production shape in Solidworks with the sheet metal bends. I got dimensions for each component cutout and modeling with the behind panel space as well to avoid interference. For the switch panels I modeled with the switches in place to make sure they fit and be removable from the panel. Even though I’m proficient in Solidworks this still took a lot of time.
I spend way too much on a couple 10-2 switches because I really really wanted “off” on the bottom and not in the middle. With some clever wiring you can combine functions and save panel space as well.
I also used switch guards because when flying cross-country items tend to get placed on the glareshield and turbulence could cause a falling object to hit a switch and shut it off.
I found mine on ebay:
I see you have a vertical panel. Looking back I sometimes wish I had done that and often have pondered making the change but that would be more weight in an already porky airplane …
Curious about the choice to lap the top of the turtle under the sides. Was that a choice or just the way it worked out? I purchased Sonex 863 and have to leave it out in the weather. Rain comes in by the bucket, in part because of the curved top is lapped under the flat sides (I think). I drilled holes in the floor to let the water drain.
That’s how the plans specify it. The turtledeck is under strain from the constant bend and I bet it would pucker up between the rivets if that skin was on top. If you fixed that leak source, there would be others.
I guess that explains it. I am going to try adding pinstripes with One-Shot paint and a squirrel hair brush to try to discretely block that specific ingress. Probably some RTV further back to plug other holes. It would be great to have access to a hangar but there are some peculiar microeconomic dynamics that make that impossible.