Hey everyone, it’s been a minute since I’ve posted. A lot has happened.
In 2019 I bought Legacy Sonex 1083 from someone and found some very un-airworthy stuff going on. I spent a few years fixing the previous builder’s errors and finally decided to scrap the project.
Fast forward to April of 2025. I ordered a quick build Sonex B model and luckily received it in January of this year, minus some back ordered hardware and a few miscellaneous items. I’ve been working on it since it was delivered.
Question: has anyone installed the dual controls? I missed the note about not painting the control stick horn assemblies (specifically the 5/8" diameter tubes that get inserted into the brass bushings in the dual stick frame) even though they come powder coated from the factory. I spent a bit of time reaming the bushings to accommodate the painted parts…now what? Should I get new bushings and sand off the powder coating, or leave as is?
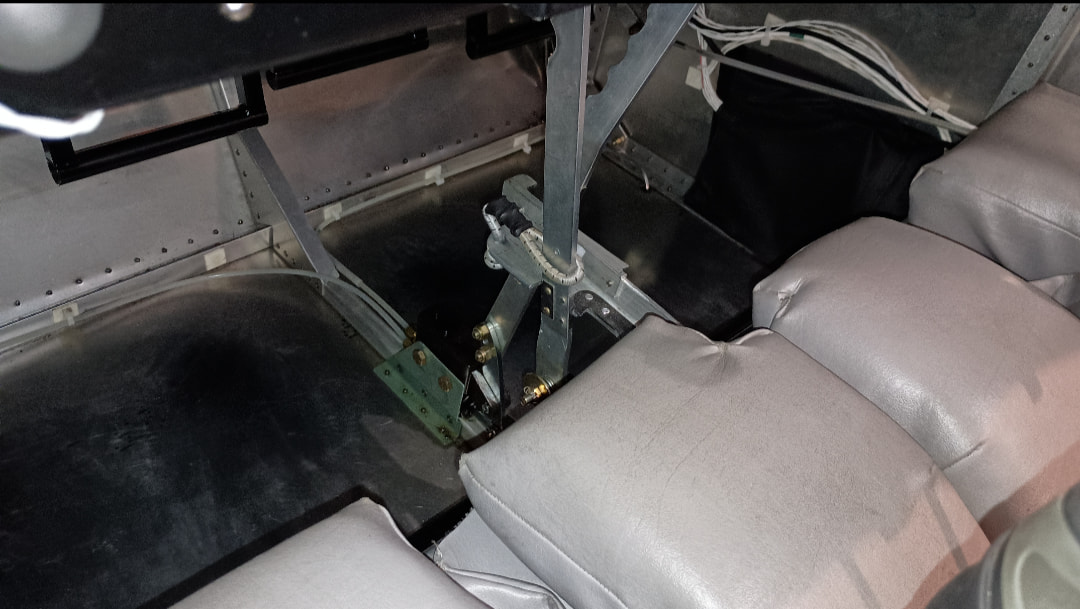
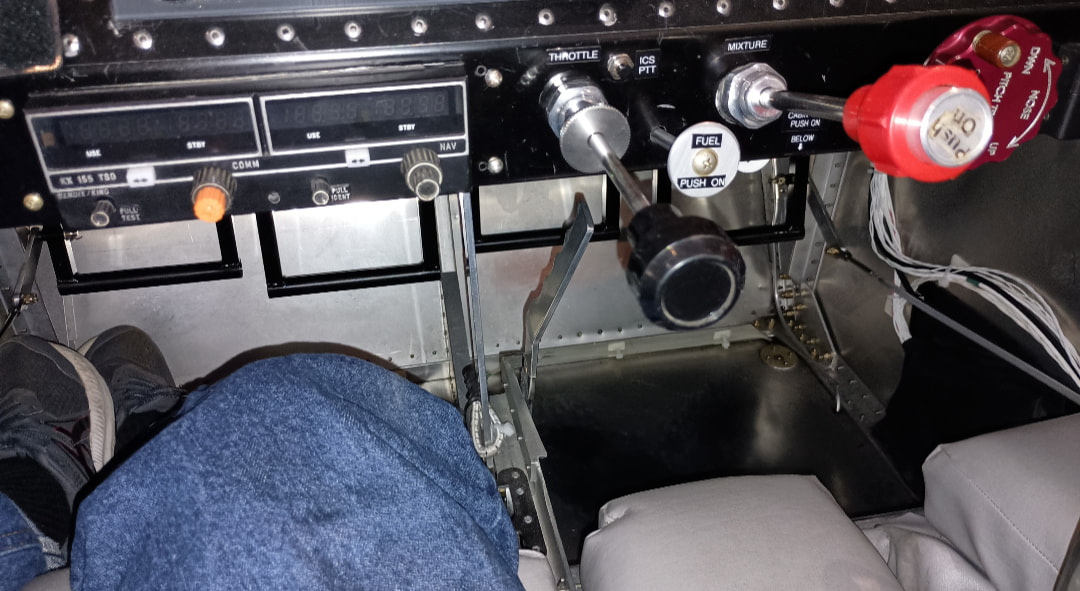
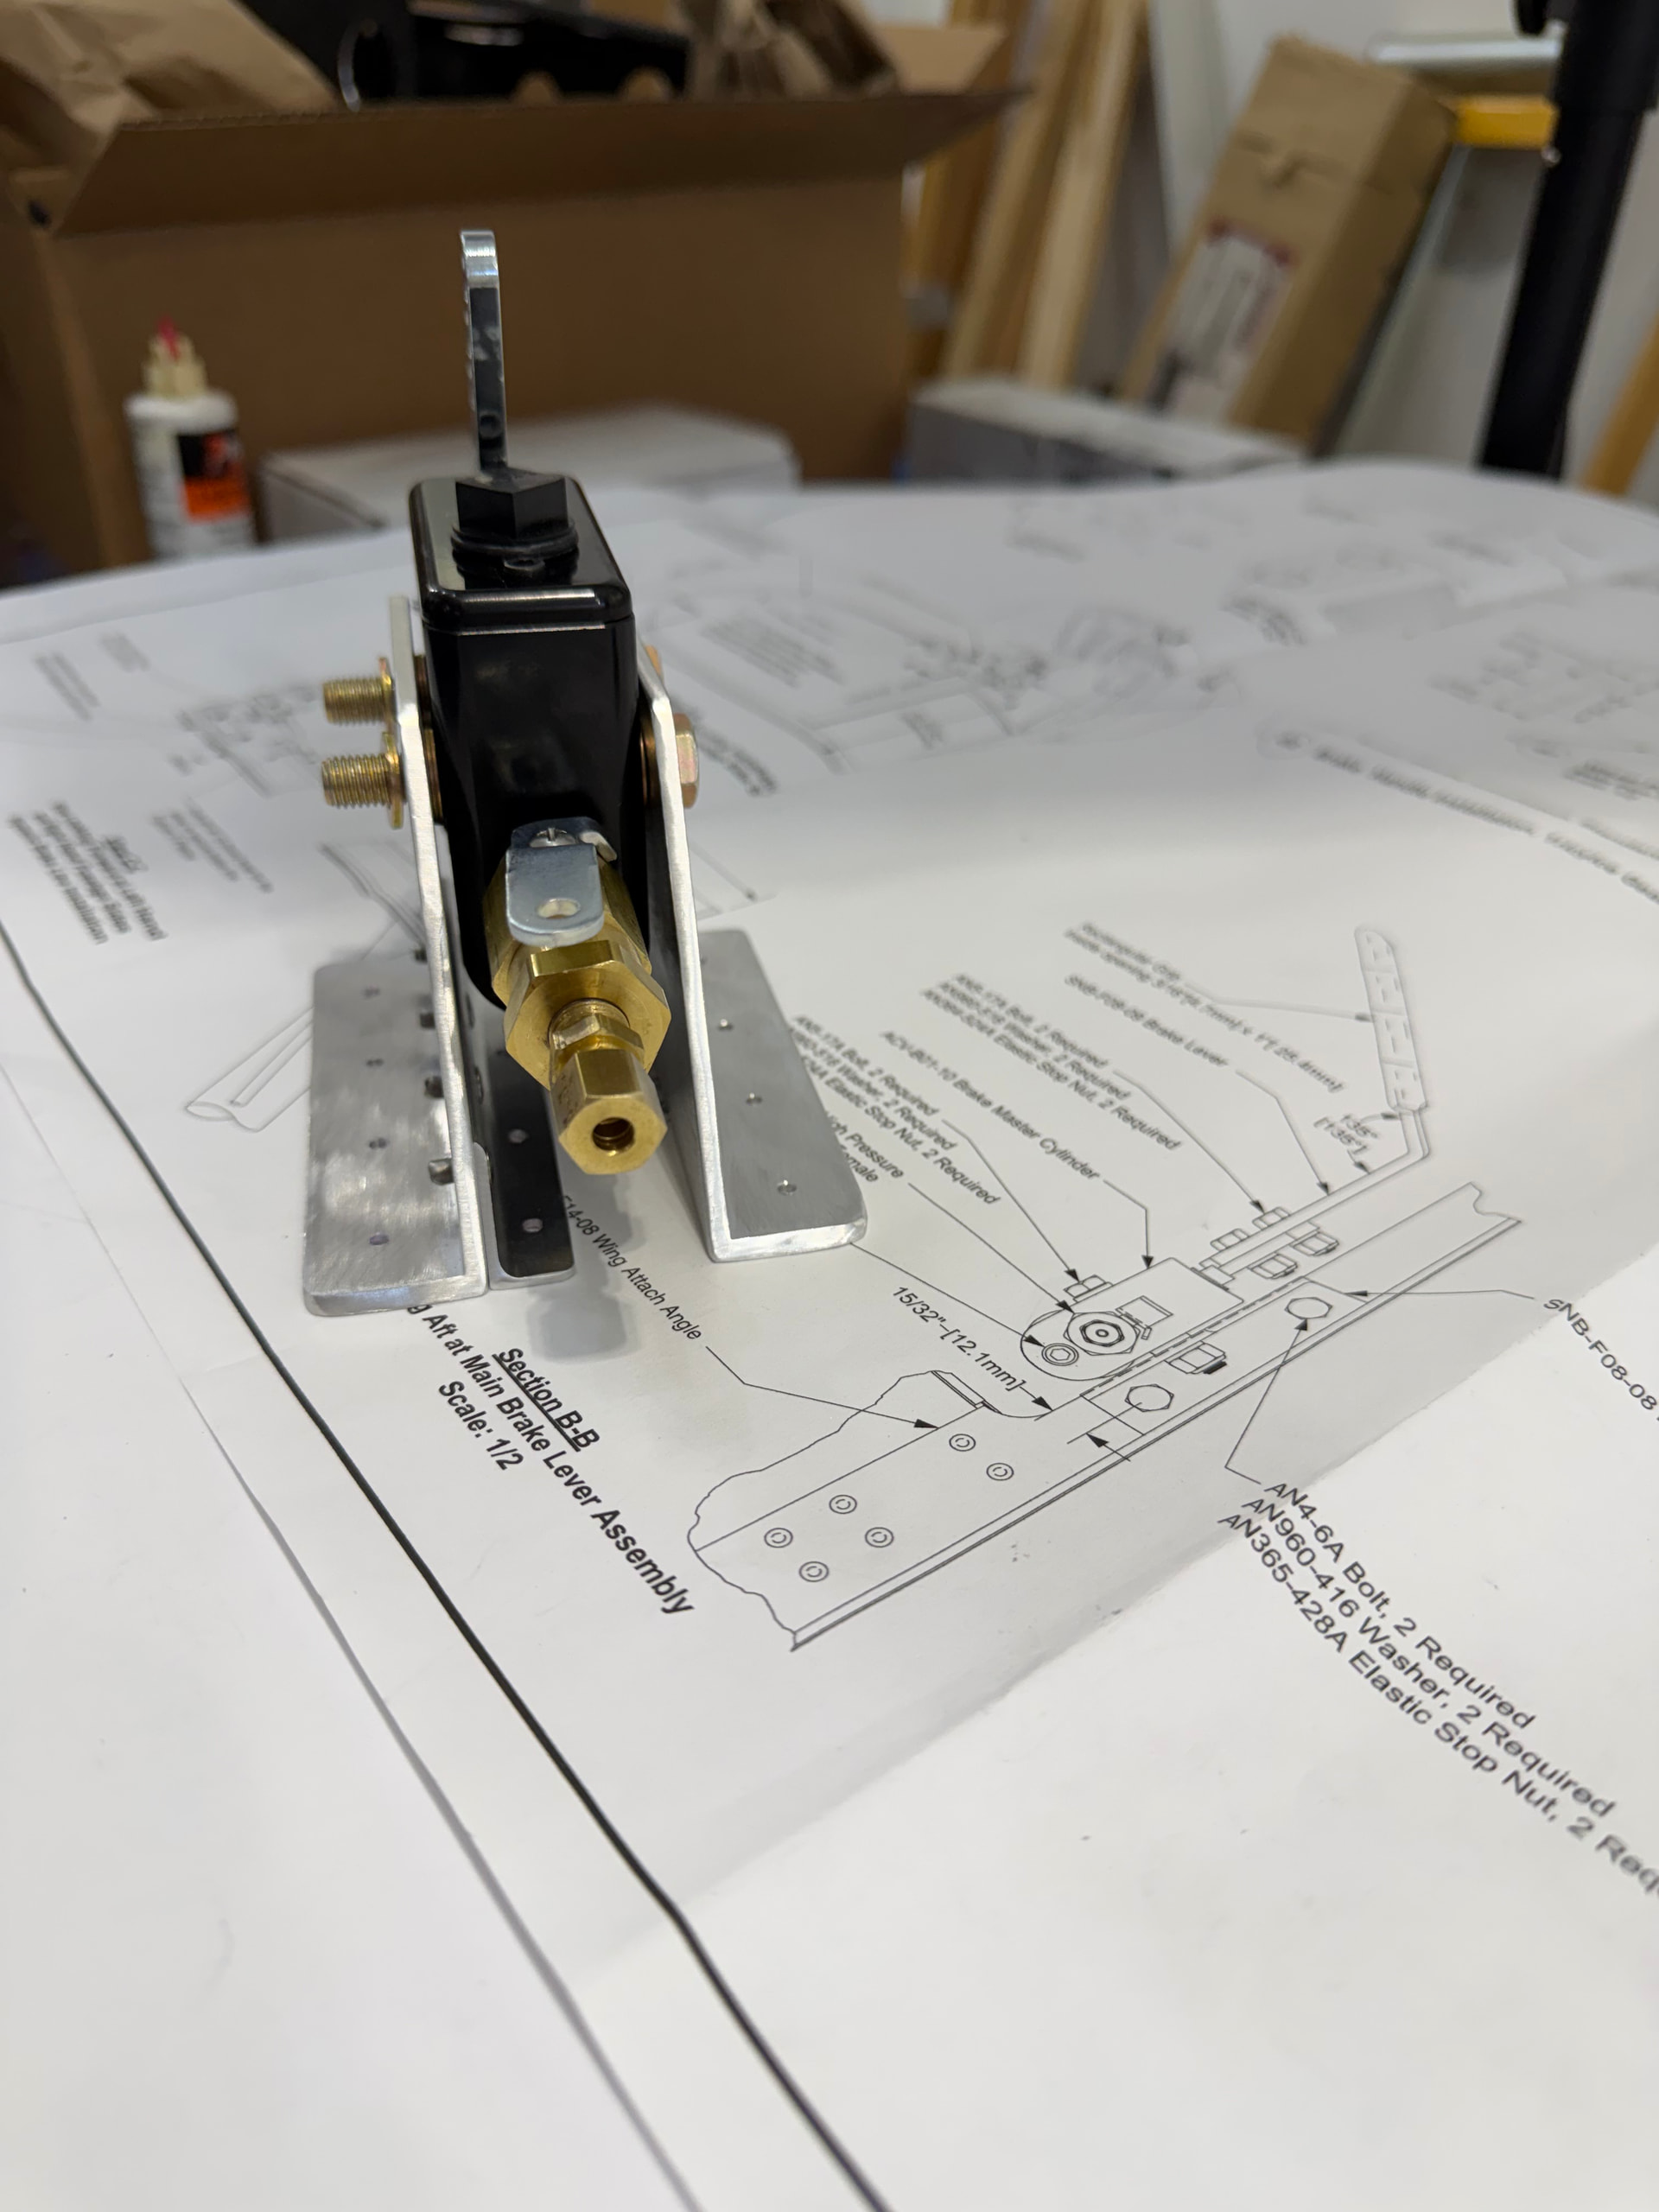
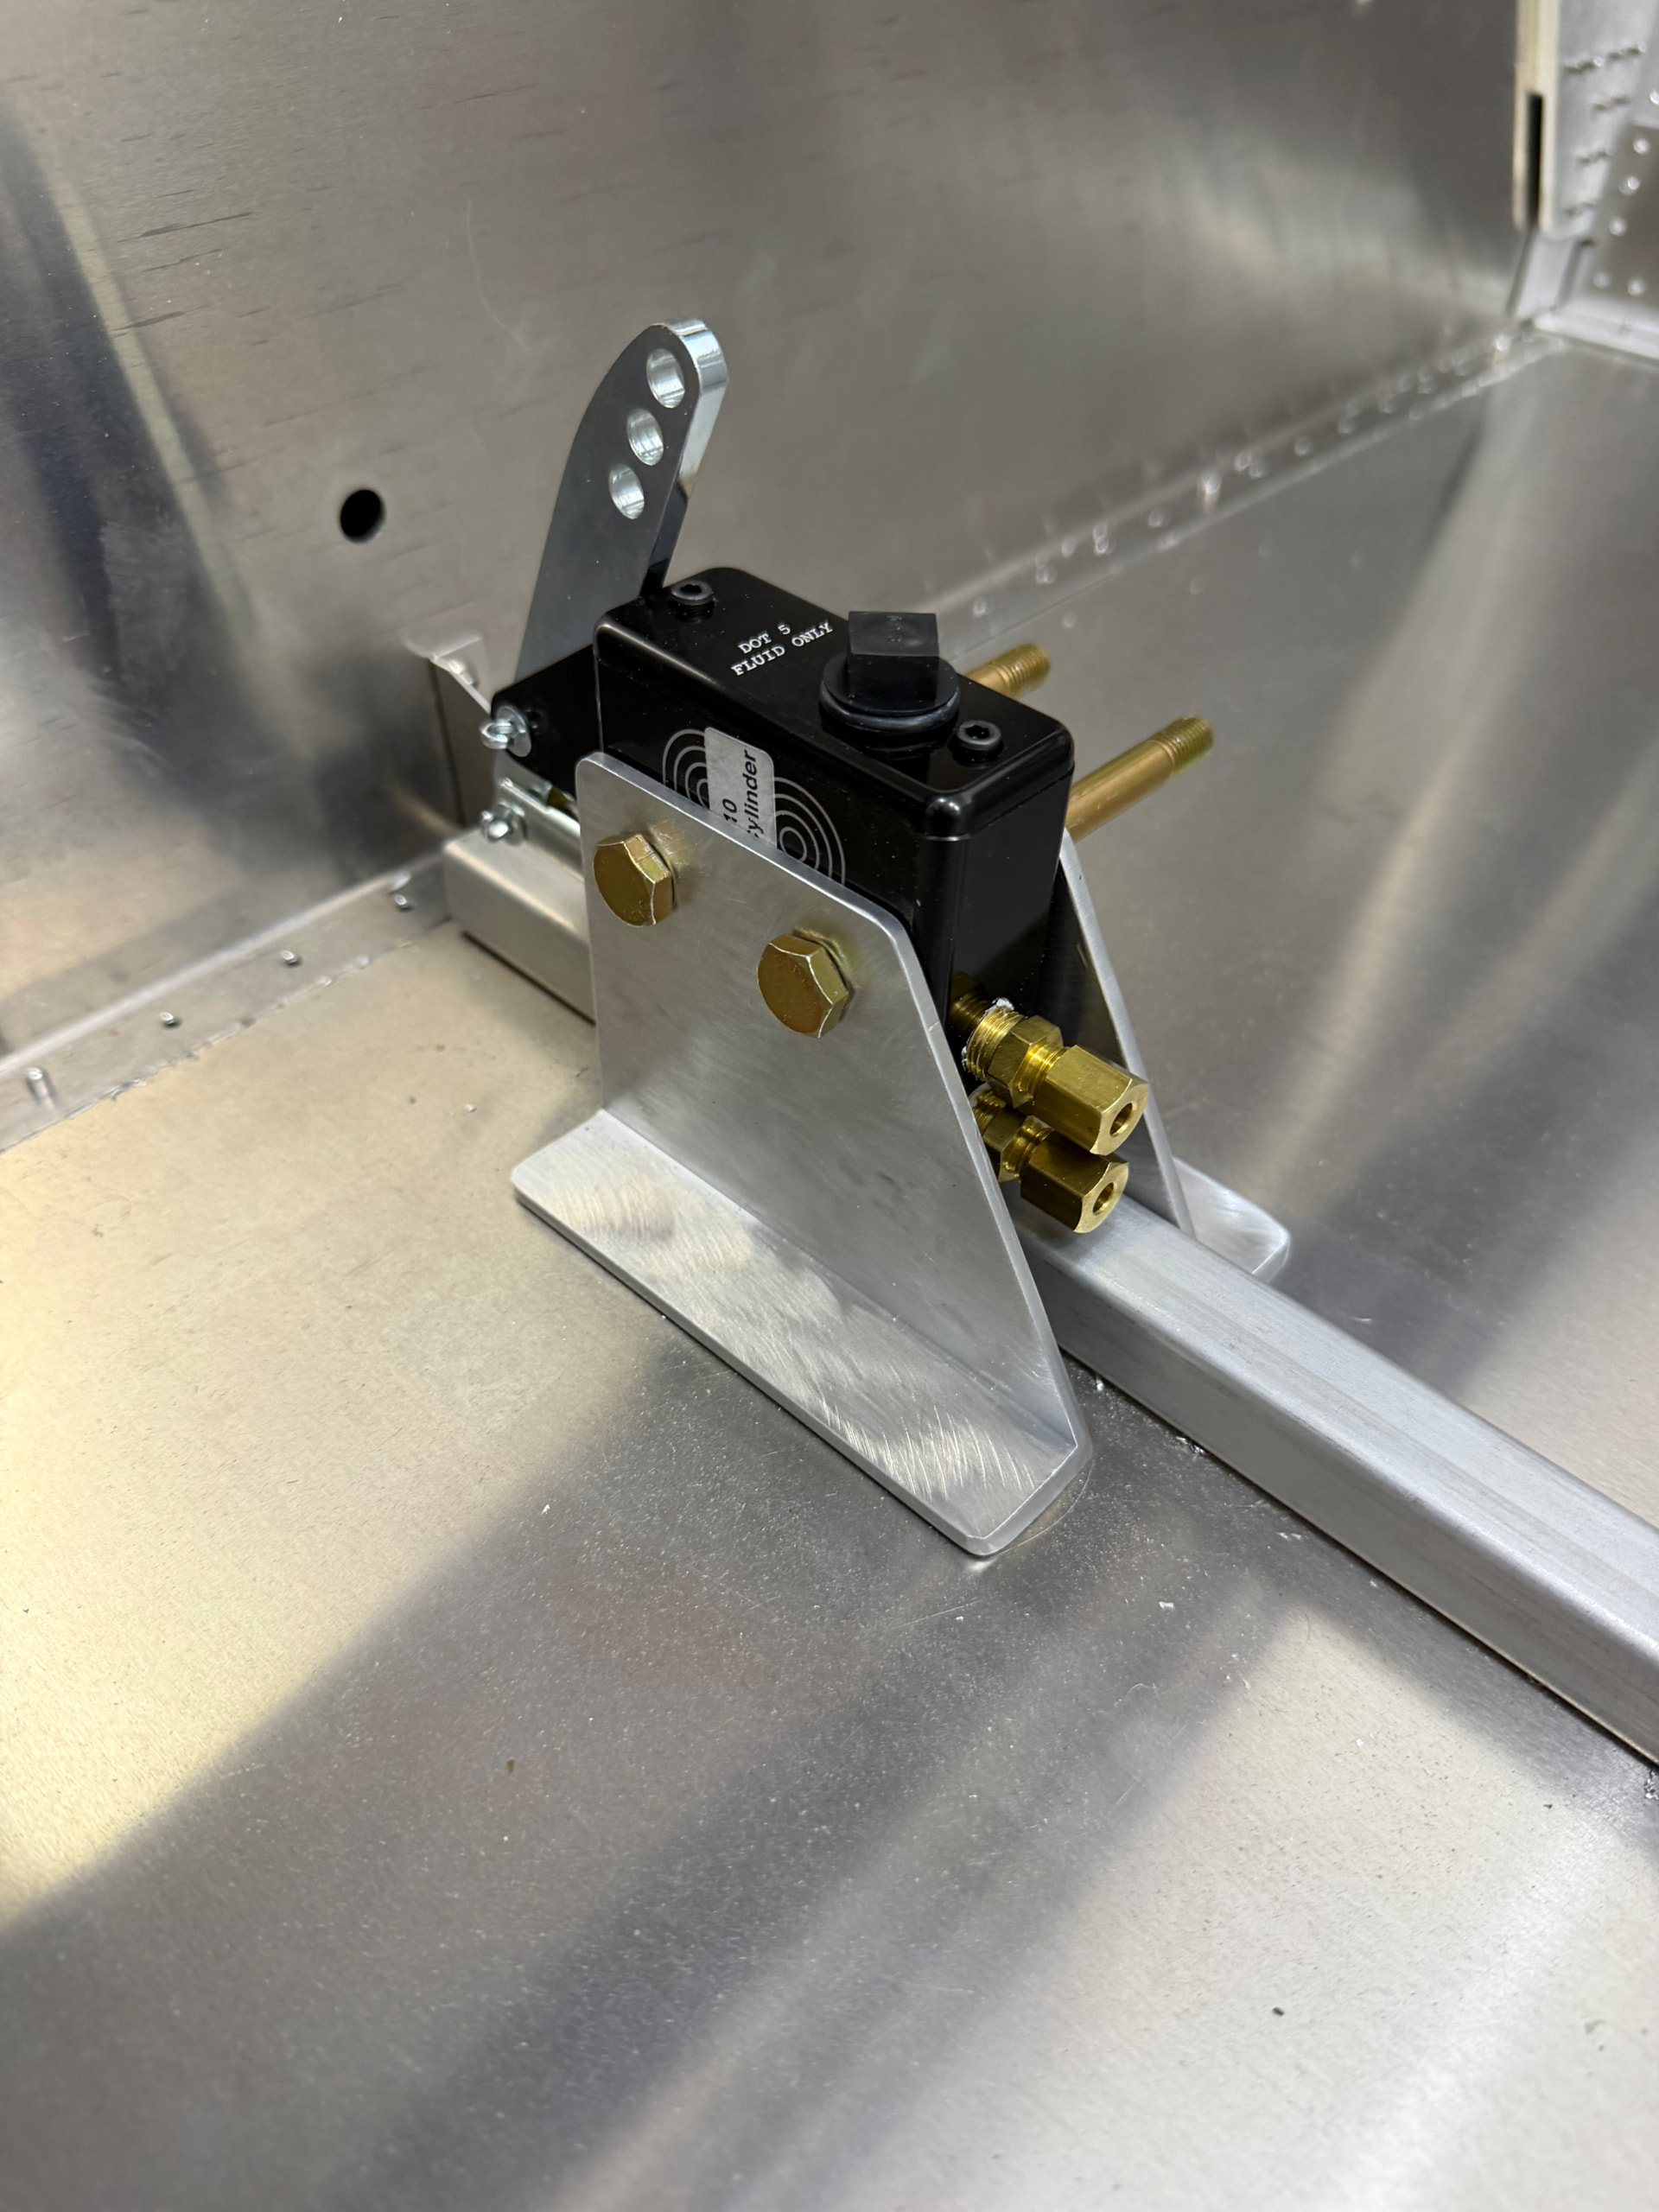
Also, since I’m installing dual controls, the throttle, mixture and trim will be centrally mounted beneath the panel. I’ve been working on the brake master cylinder and brake handle assembly working out a plan to mount to the floor of the fuselage just forward of the main wing spar tunnel. Anyone have pics of their installation in a Sonex B?
I have a Legacy - If I was building again, I would not install duel control sticks.
My preference is two sticks, however the Legacy is quite limited in space and entry/exit is just complicated by both pilot/pax having a stick.
Further the pax stick reduces the options for using this space for baggage/away trips and access to under consul (foot well) work.
I would carefully evaluate the option for the single stick being between the pilots legs V centre of cockpit.
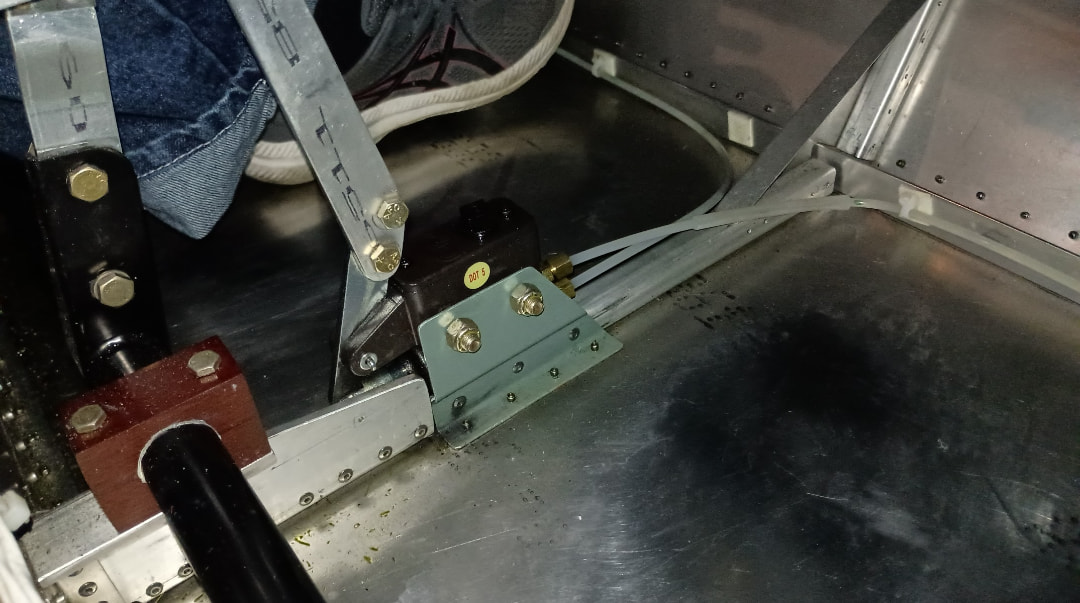
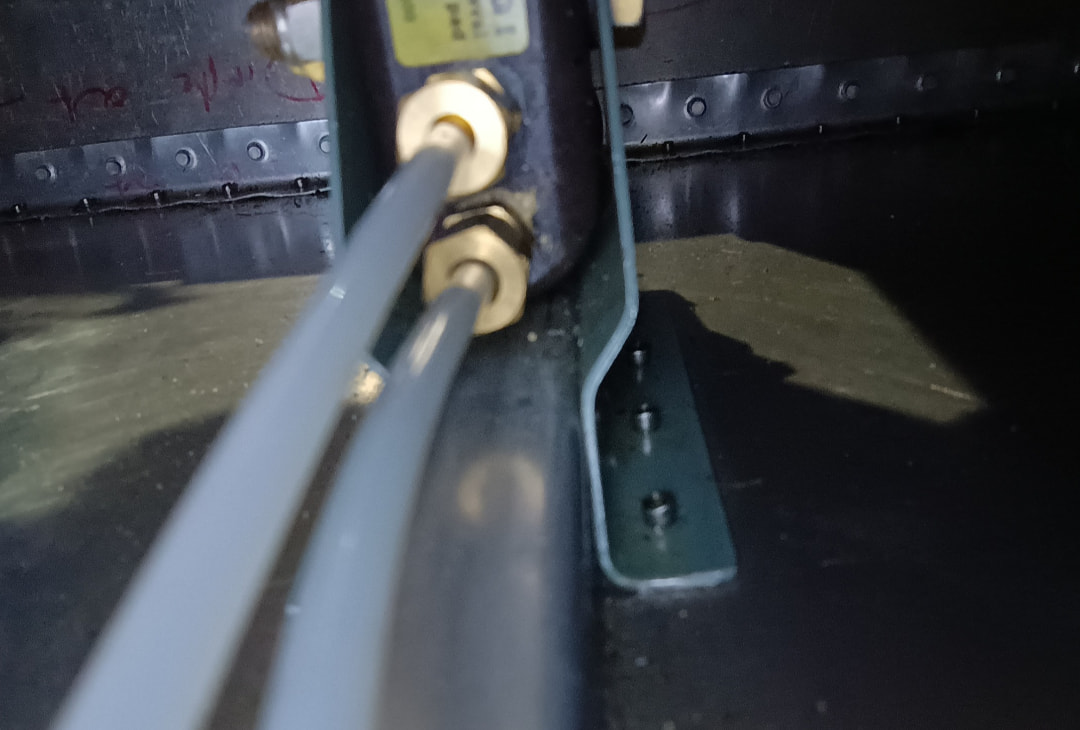
Thanks Bryan, those images will help out for sure. The B does have that same square tube as the legacy. I have my legacy plans still and am working out the geometry of the handle that will work in the B as well. Too bad Sonex didn’t include the center brake option in their plans of the B. Here’s what I have come up with so far—if I can figure out how to upload pics. The B includes a parking brake valve in the front of the master cylinder as well.
Hey Skippy, thanks for the input. I’ve flown a legacy with the dual controls setup and I didn’t mind it. It is a bit cramped with two adults, but I plan to do some instructing in it and prefer dual controls…not to mention, the B stays the same width to the firewall.
Hi Craig, welcome to the forum. Great timing as I just installed the center brake lever in my B-model last week. I had the advantage of a legacy plan set the help with the installation but you’re not far off. The only difference I see is that the legacy plans added 0.25" spacers on either side of the center square tube to take up the gap (I used two 0.125" strips since that’s what I had on hand).
I had a piece of 7075-T6 that I bent up so I would not need spacers. I think it’s lighter. Of course it was a lot of work, I had to make a few out of scrap to get the bends right.
I’d clamp the handle on master cylinder, and try out the reach to it before you commit. Then pull it out and drill the two bolt holes. Also I think I clamped mine to the tube to figure out the position of the MC.
Hey Evan, thanks for the link to your build—looks great! In one of the pics I posted, you’ll see a 1/2" angle to give the bracket that’s not up against the tube some lateral support as it will be riveted to the bottom skin as well. Might be lighter than the spacers.
I see a couple advantages for the B model WRT center controls. No flap handle, and with the line lock you don’t need the parking brake detent. Less leg room eaten up. Where are you going to put the flap switch?
I just finished doing the control assembly. I think you need to remove the powder coating, otherwise the control stick probably won’t fit over the 5/8 piece. Also I wonder if the powder coating will wear over time inside the bushings and create slop. It’s easy to remove the powder coating with Emory clothe, etc. New bushings are pretty cheap.
Thanks for the kind words, @ddeford and @Bryan_Cotton. It sounds like more fly-ins are in the future as the airport’s owner is looking to transition the field to public use in the near future. I’m biased but we can always use more airports (and hangar space for that matter)
Great video Dan, I’m subscribed to your you tube…not sure why I missed this video. It would have saved me from having to reorder those bushings. Oh well, not a big deal except for the time it took to ream out those bushings to fit around the powder coating—that was a pain . I have a buddy with a 3D printer. Maybe I can persuade him to print those awesome alignment jigs for me. Thanks for taking the time to share your build through video!