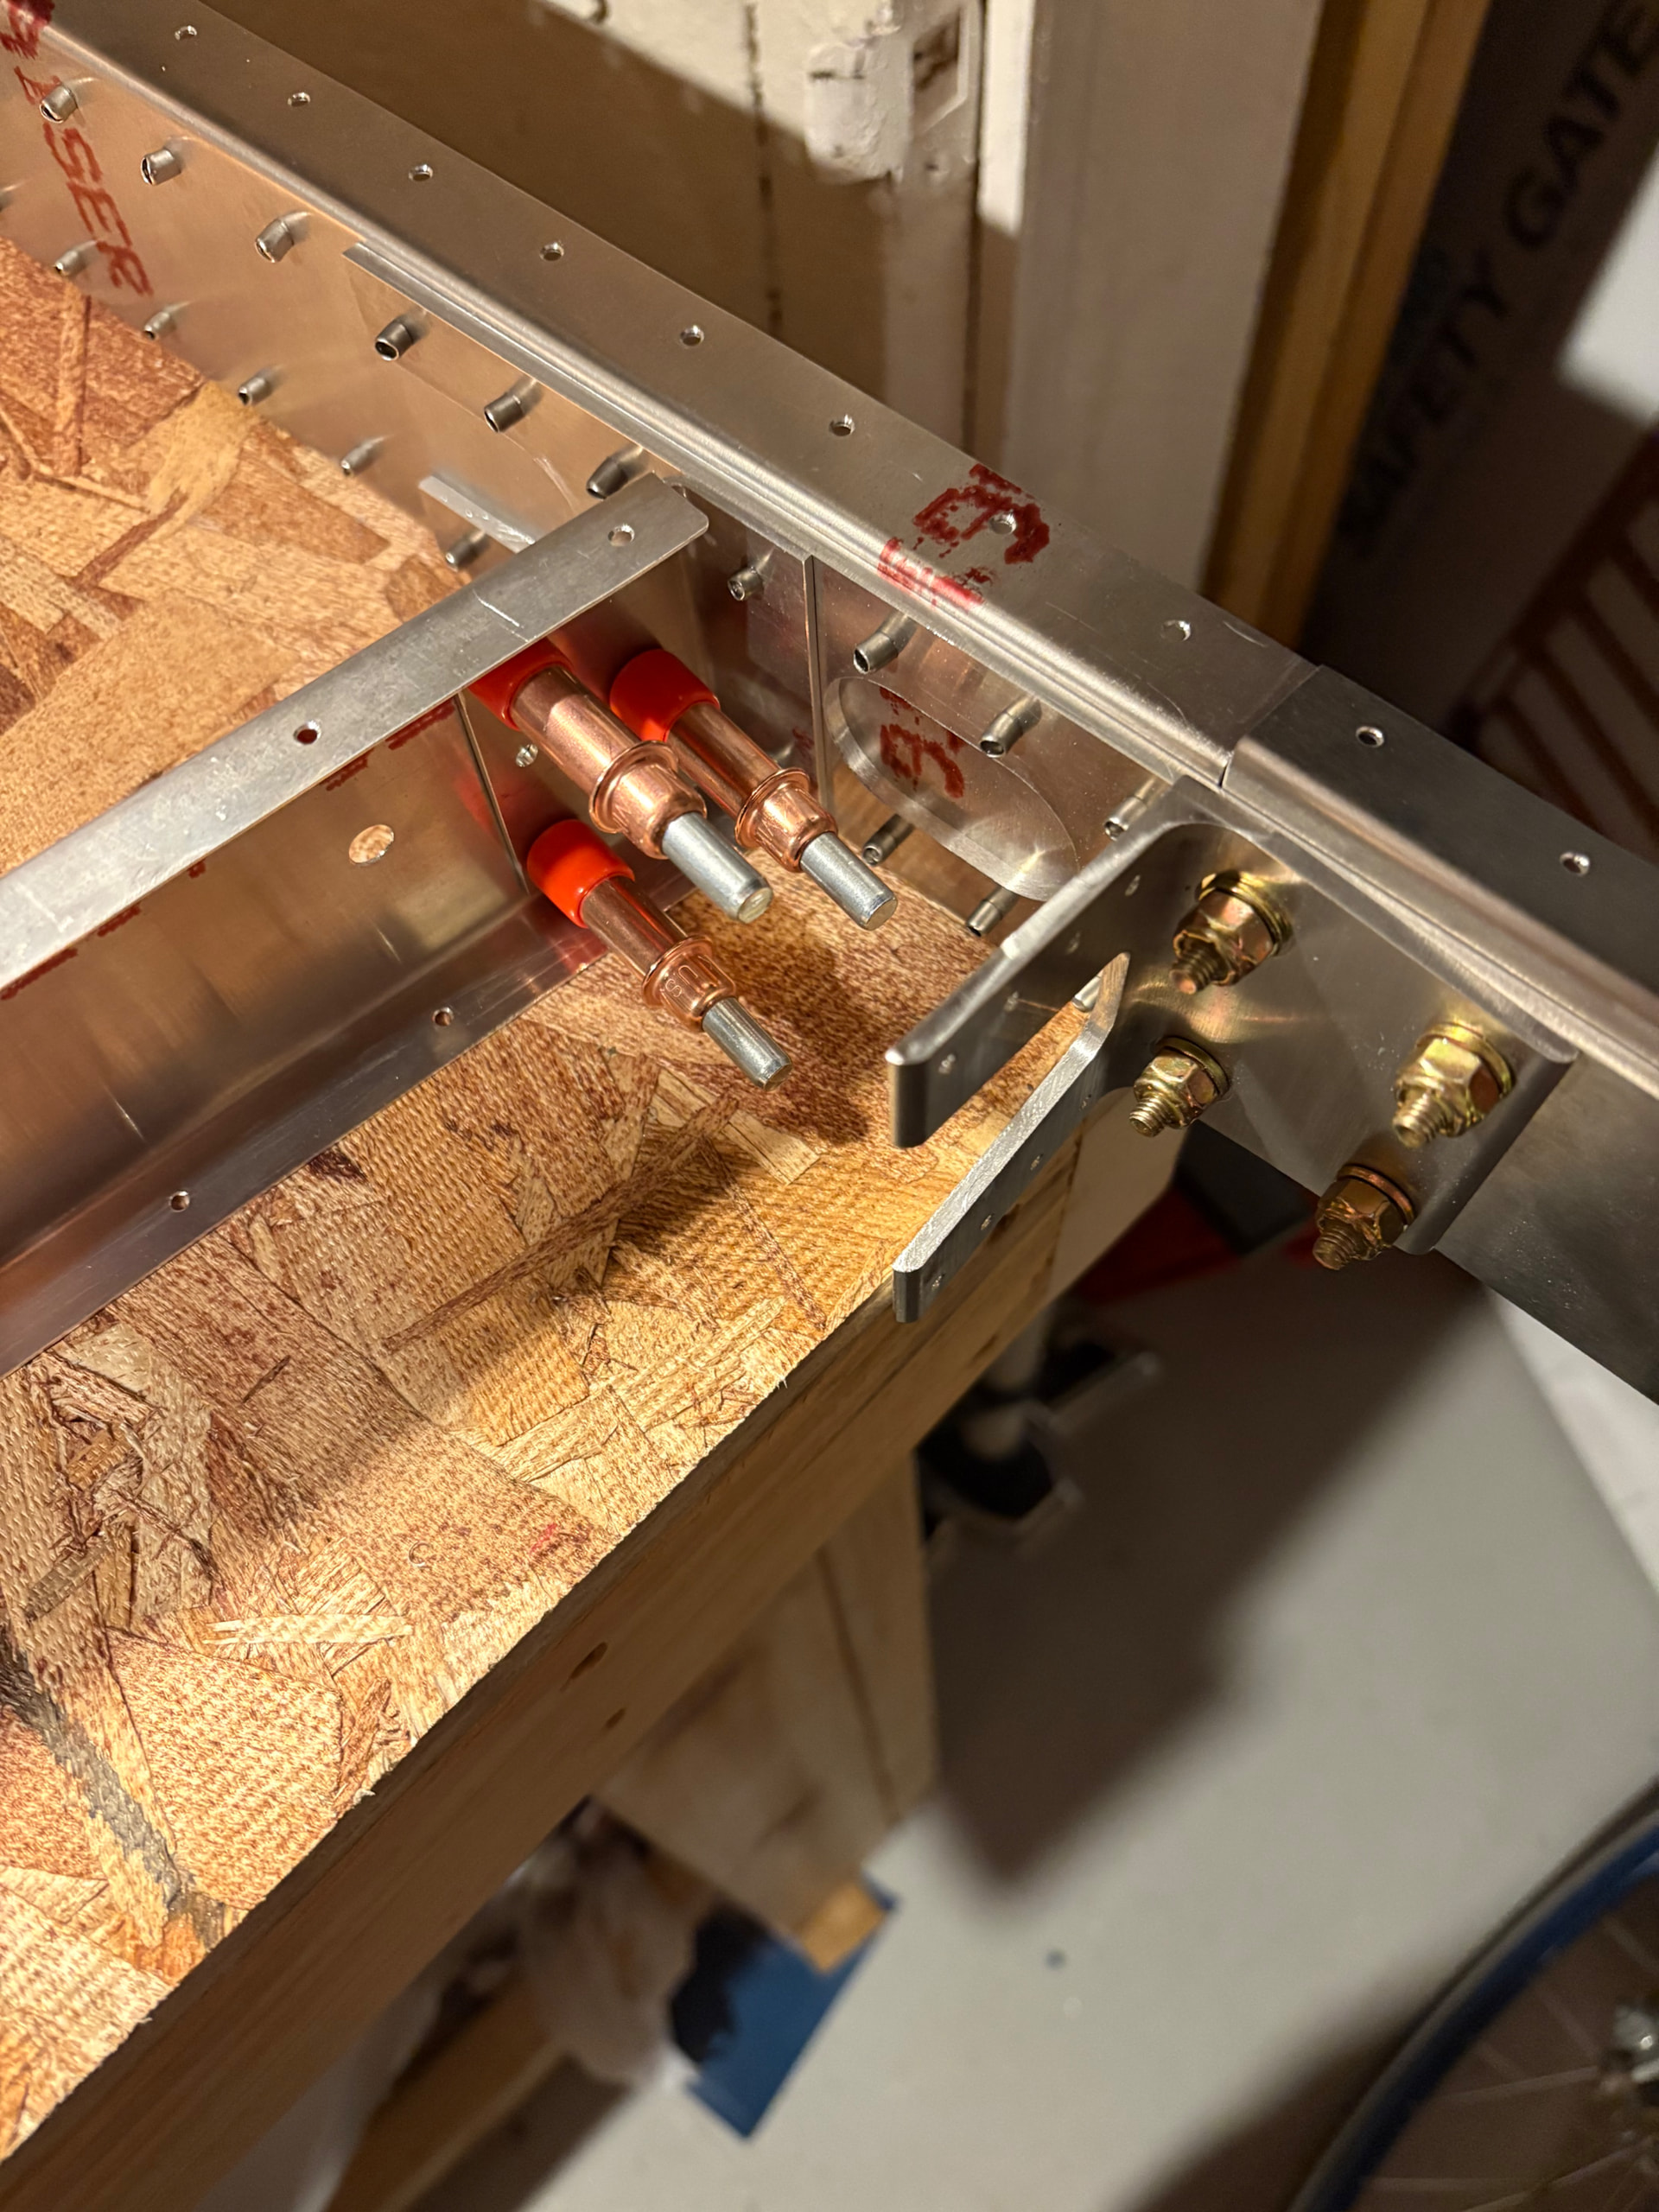
I paid a highwing deposit May 8th, paid for the entire tail kit June 8th and now I’m finding my tail kit was ready for pick up June 15th. The email notification was automatically spammed. I will go pick it up next week! For now I need to order some tools!
6 Likes
Hey Sammy Sr, congrats! Just an FYI…I used about 225 silver and 225 copper cleco’s to build the tail. I posted all the tools I used on my EAA Builders Log Site
1 Like
I built my HW tail kit in about 30 hours. I have lots of experience with other experimentals and found it was easy to complete.
Here are a few suggestions to help make your build go well.
Use new sharp drill bits, don’t force a dull bit as it will volcano the holes and make deburring much harder than it needs to be.
If you have room build a large long work table, mine is 16’ x 4’ and on wheels, you will love it when wing building time comes. Top the table with 3/4 Melamine plywood and don’t be afraid to drill into it. It’s easy to replace as it wears out.
Get some of these, they are cheaper than 3m and last nearly as long.
A small 4 inch hand grinder is helpful as well and I use mine often with these wheels.
I love these too, Sharpie Permanent Markers, Ultra-Fine Point, Blue,
These make layouts much easier for the undrilled holes, you can cleco them in place and even drill thru them if needed.
Get yourself some high quality tin snips.
Don’t be afraid to ask for help!
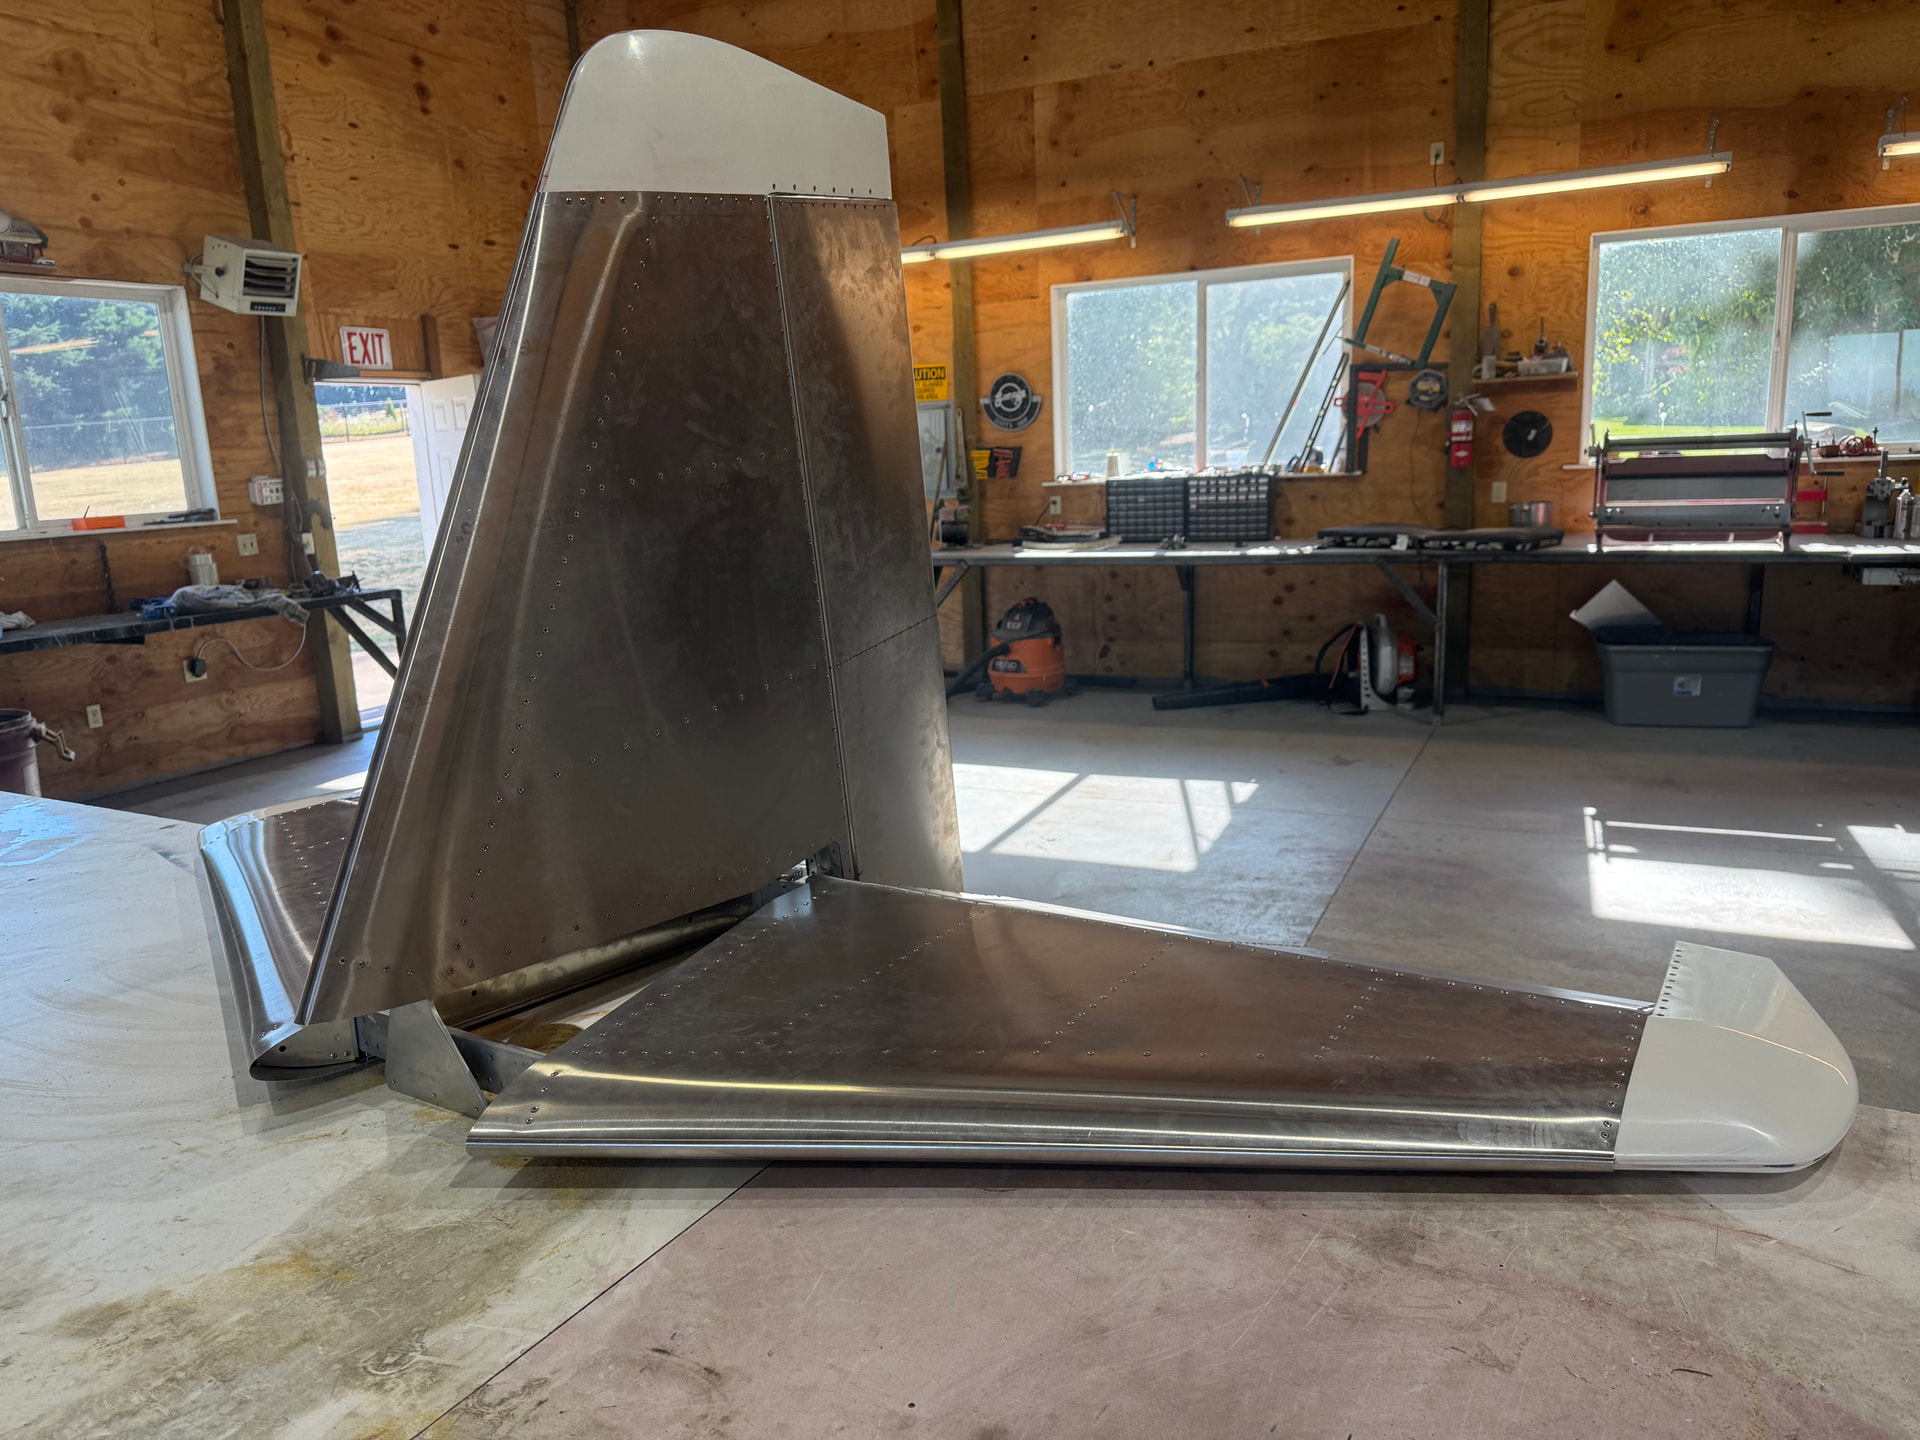
Scott in Oregon.
6 Likes
Got my tail kit! It does fit into a 4 door Civic.
Thanks for the tips, guys!
Regarding work surfaces, I see Chris was working on a moving blanket and Scott is recommending working on plywood. What about cardboard between the part and some plywood? Does the surface need to be hard to support the drill exiting the part?
Sammy,
I’d drill on plywood. I think it’s better to support the parts firmly.
2 Likes
I assembled on a flat door on some sawhorses and use the moving blanket to help with scratches when its possible. Get some 2" or 3" square tubing or some wood 4x4’s to hold your assembly off the clecos when you have clecos holding parts together on the underside. I tried using foam 4x4’s and the metal shavings would embed in it and causes scratches. Drilling on a separate workbench as much as possible helps too
2 Likes
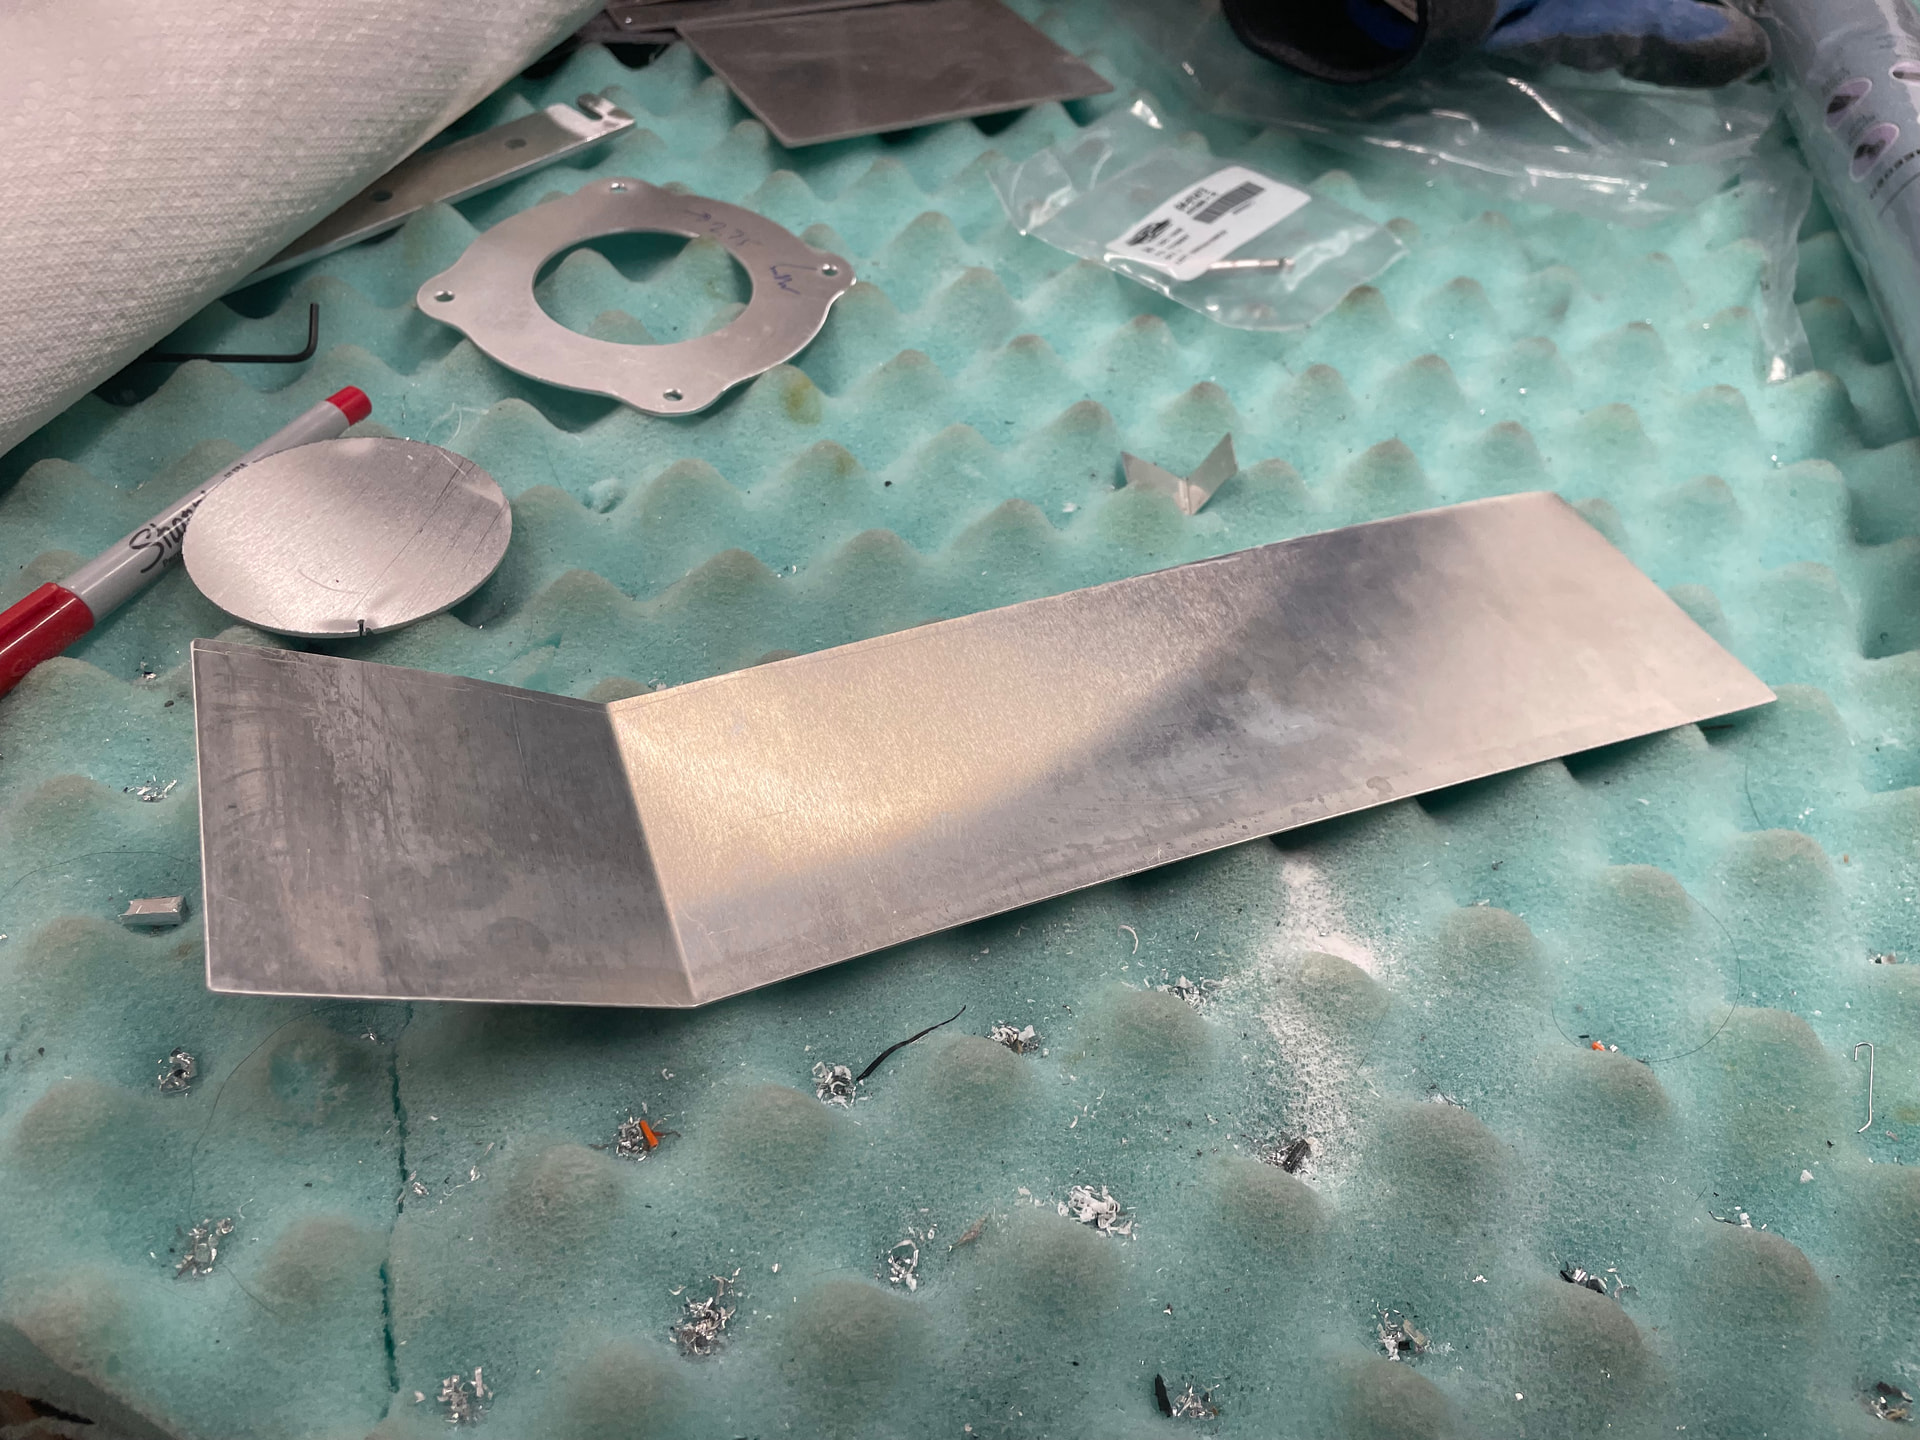
I built most of the smaller component drilling into mdf on top of my workbench that I could dump the chips into the trash. For deburring, storage and light assembly I found a dimpled foam mattress worked well to keep chips from causing issues.
5 Likes
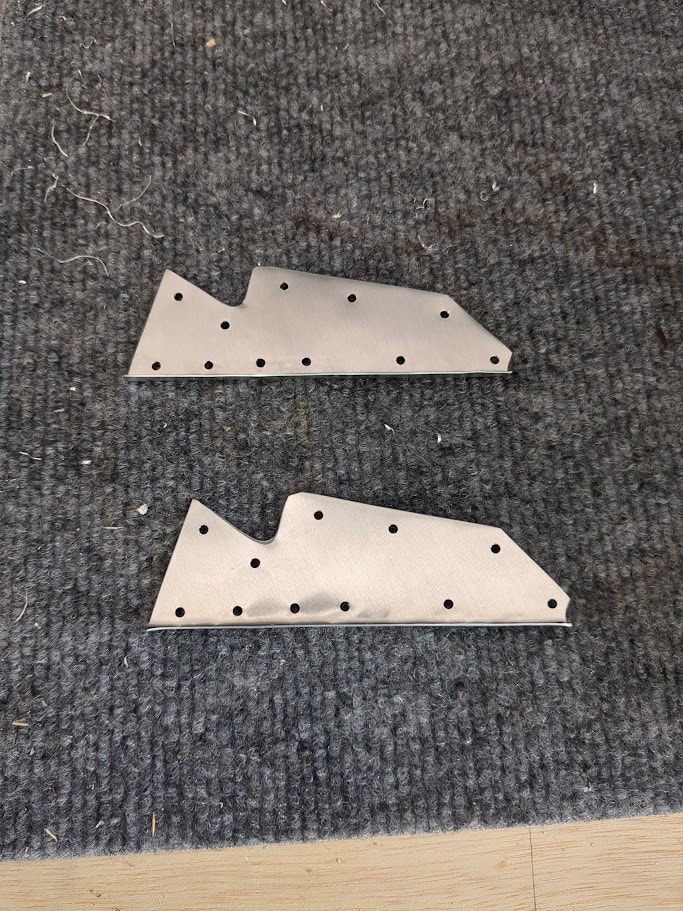
Great idea on the egg foam, Andrew. One surface I would NOT recommend is indoor/outdoor carpet from Home Depot. I thought it was going to do a good job keeping surfaces safe but it ended up attracting every metal shaving in the garage and being very difficult to clean:
2 Likes
Like a lot of good ideas I saw that somewhere else. The other really nice thing about the foam is when you use the chafer hole deburring bit you don’t have to lift up or move the part so it doesn’t hit the table.
2 Likes
I have about eight standard EAA build tables from past lives. Had the carpet on a few. Seemed like a old wire brush dealt with metal shavings fairly well. I just use them for the aluminum project so no iron filings to speak of …maybe some saw dust a few times.
1 Like
Thanks for the tips guys!
I completed the inventory, everything was there. The sheet pieces are really high quality. Very nice holes, edges and bends. It’s impressive. The machine pieces look ok. The laser cut pieces will take some extra work to drill out those poor pilots. That’s why I got the #40 bits I guess.
One fitting has a gouge on it. It looks like the router crashed the part. I emailed the factory, we’ll see what they say.
I’m pleased that the forward vstab fitting and forward hstab spar are bent. That’s really nice.
I went with an electric pull riveter. Expensive but I’m working in a little basement and saving space and eliminating hoses is very worth it.
I still need to run to harbor freight for a bench grinder and a table top drill press.
2 Likes
We hit all of ours with a #40 bit too. They clean right up. If you don’t, the clecoes don’t want to go in.
1 Like
The pre-bending is really nice. Get the bench grinder and your amazon debur wheel to go on it, youll use it a lot. You can also get the bench buffer which keeps the wheel farther out from the body/motor of the grinder and allows for more room to maneuver the part along the wheel. Our EAA chapter uses the bench buffer but at home I have the grinder and I prefer the chapters setup.
1 Like
Sammy,
If you are looking to buy some tools, I suggest a one-inch belt sander fitted with an un-woven abrasive belt (scotch-bright belt). Tony Spicer suggested I get one a long time ago. It works great for cleaning up edges, rounding corners, etc. Much better than a scotch-bright wheel. Try it, you’ll like it.
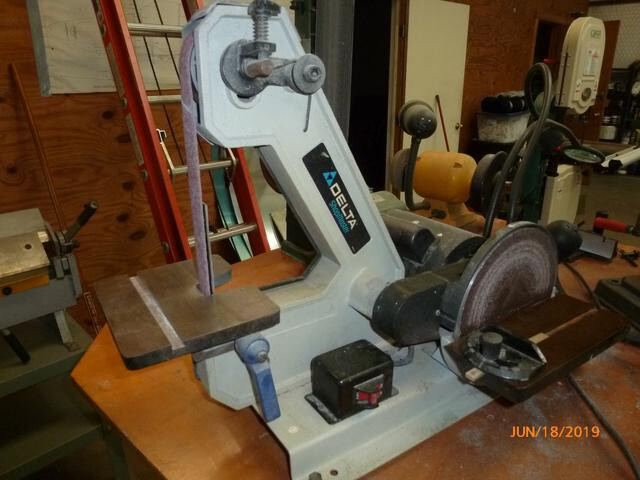
Wes
2 Likes
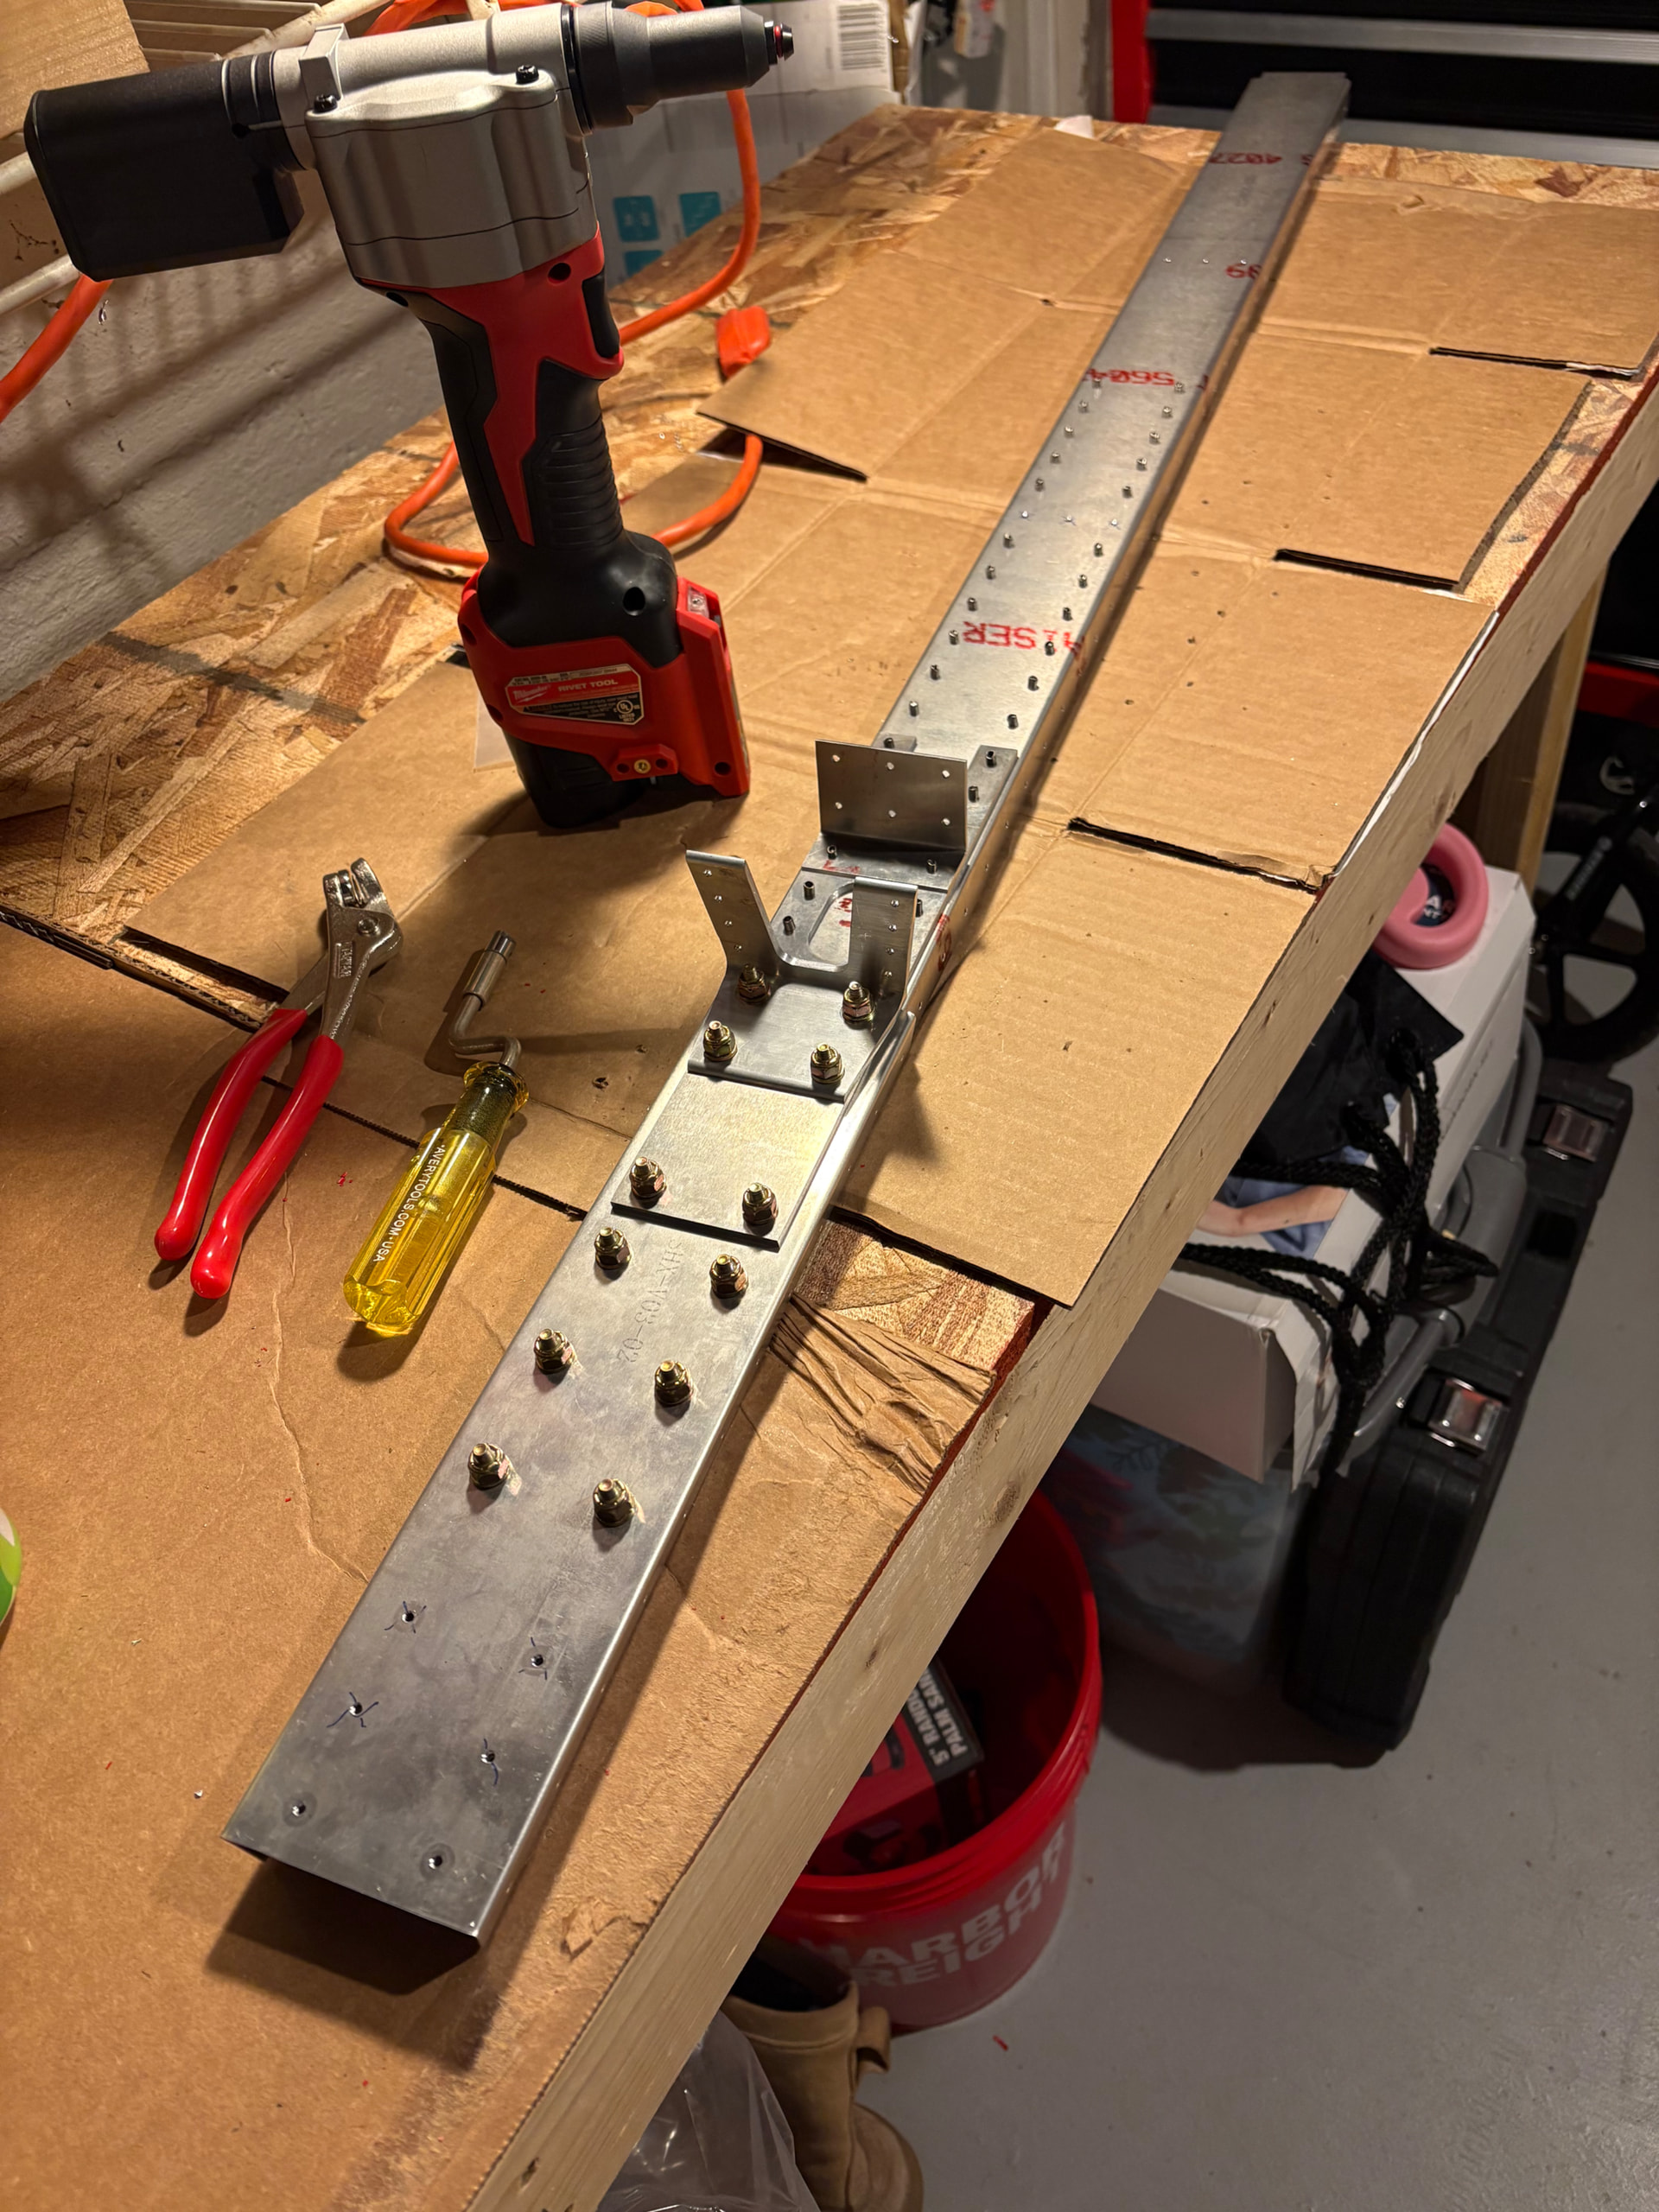
I made some progress! Vstab aft spar assembly is complete! The fwd spar parts are deburred and clecoed together.
I like that electric rivet puller, the head is pretty narrow and it collects the mandrels.
Deburring the interior faces of the machined parts was a difficult without being able to use the abrasive wheel. Eventually I mostly used sandpaper and that went pretty good. I really like the dove tail edge deburring tool. It makes the most satisfying chips.
1 Like
I should add that I’m pretty slow. It took about 6 hours to build that assembly. Hopefully I speed up as I get used to the tools.
Also I’m glad I thought to mark the top and bottom of the plate parts so the matched drilled holes still matched after final deburring.
Build speed is driven more by how regularly you work on it.
2 Likes
Interesting!
That was one of the more fun stages in the tail kit. It is a time consuming one though.
1 Like