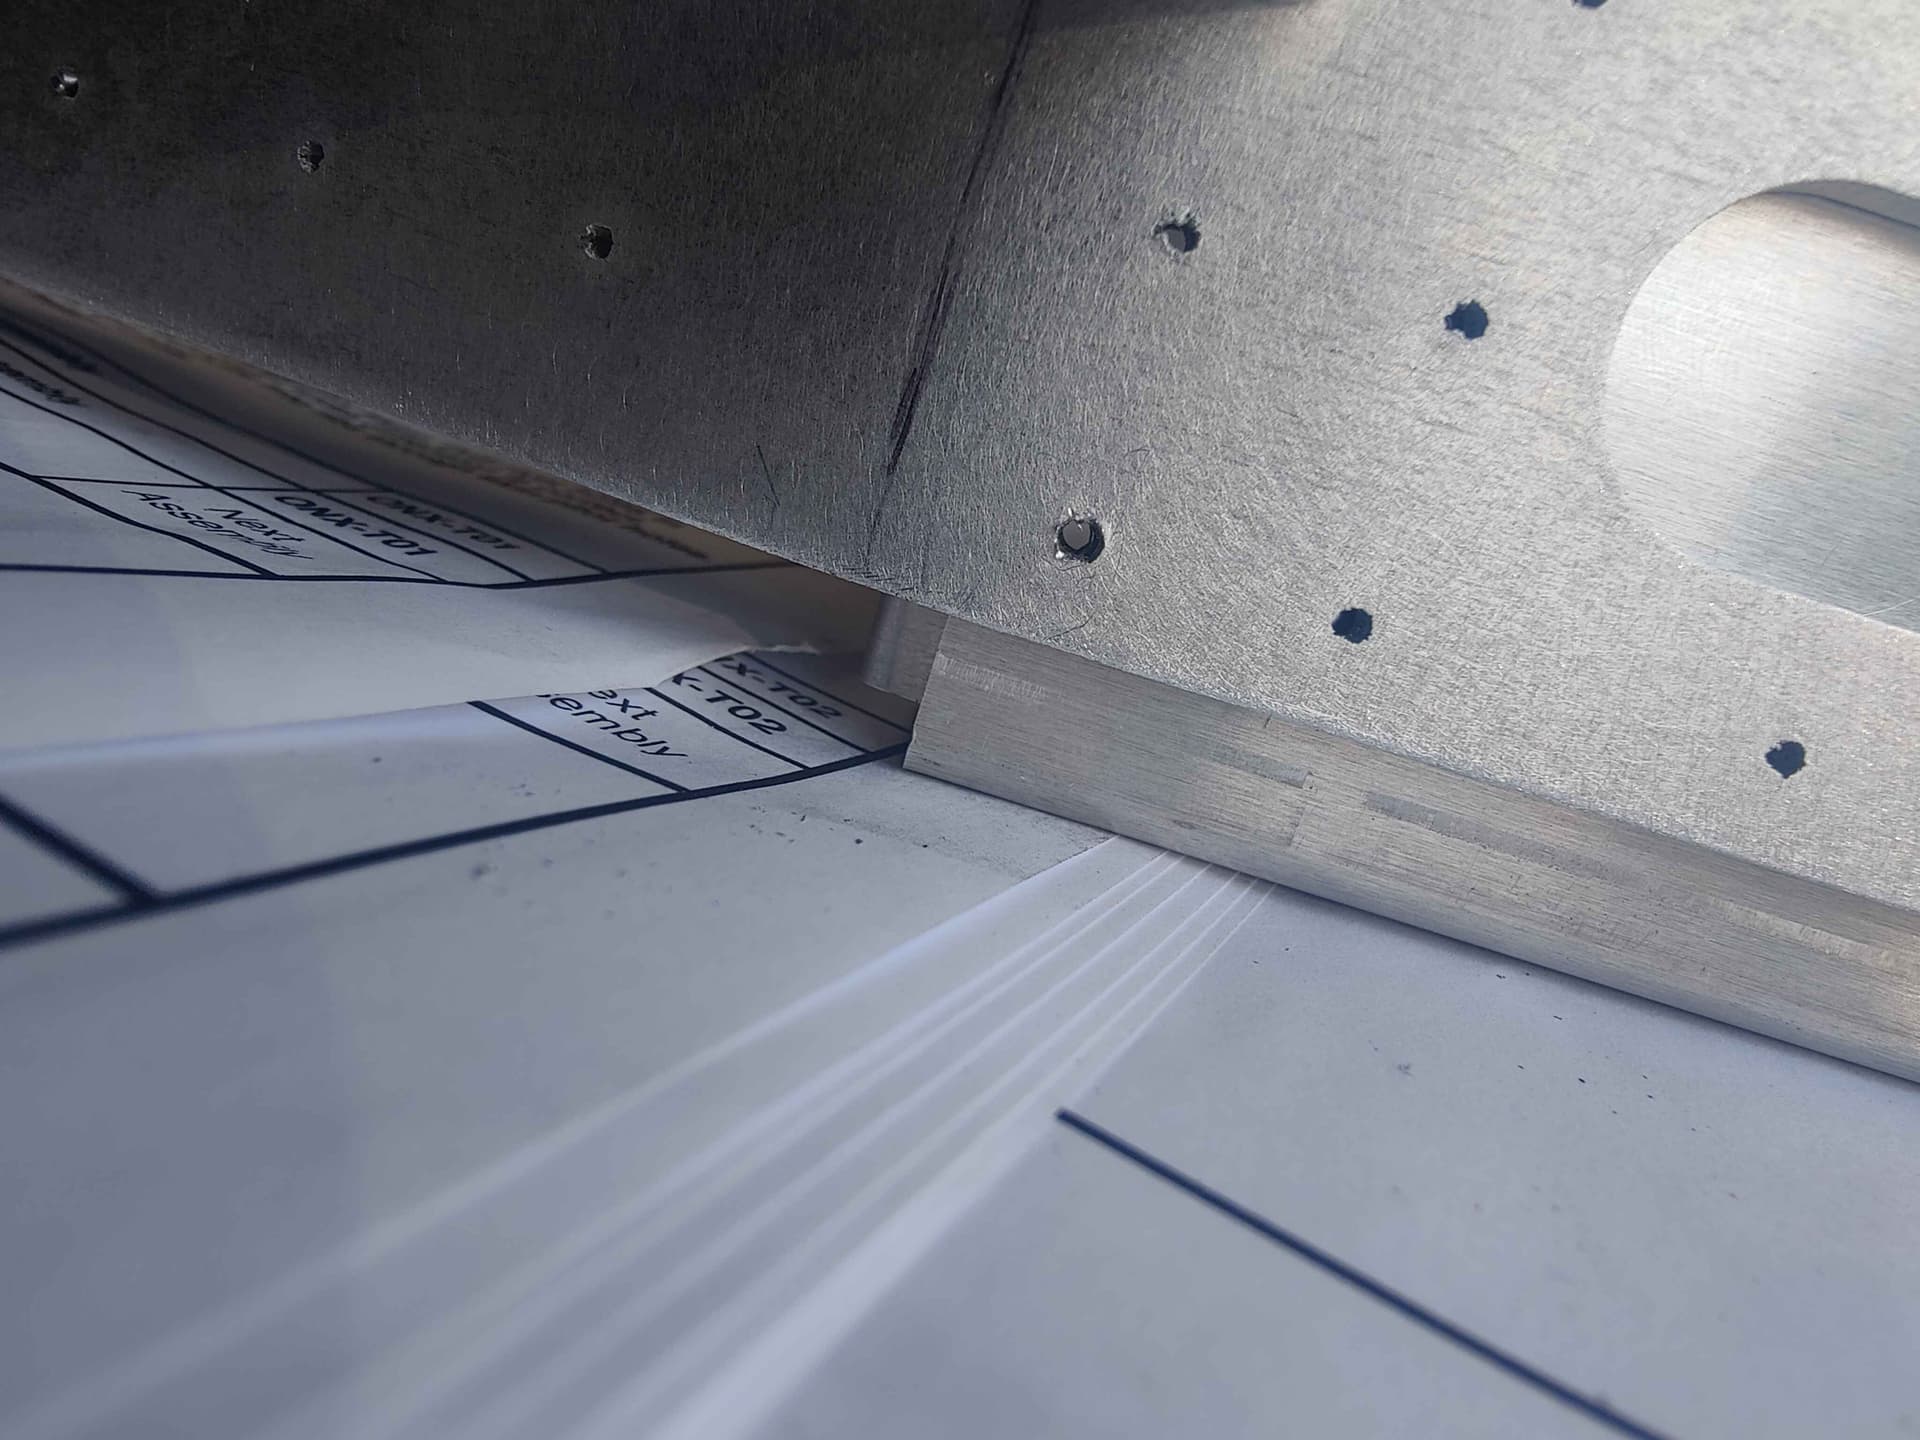
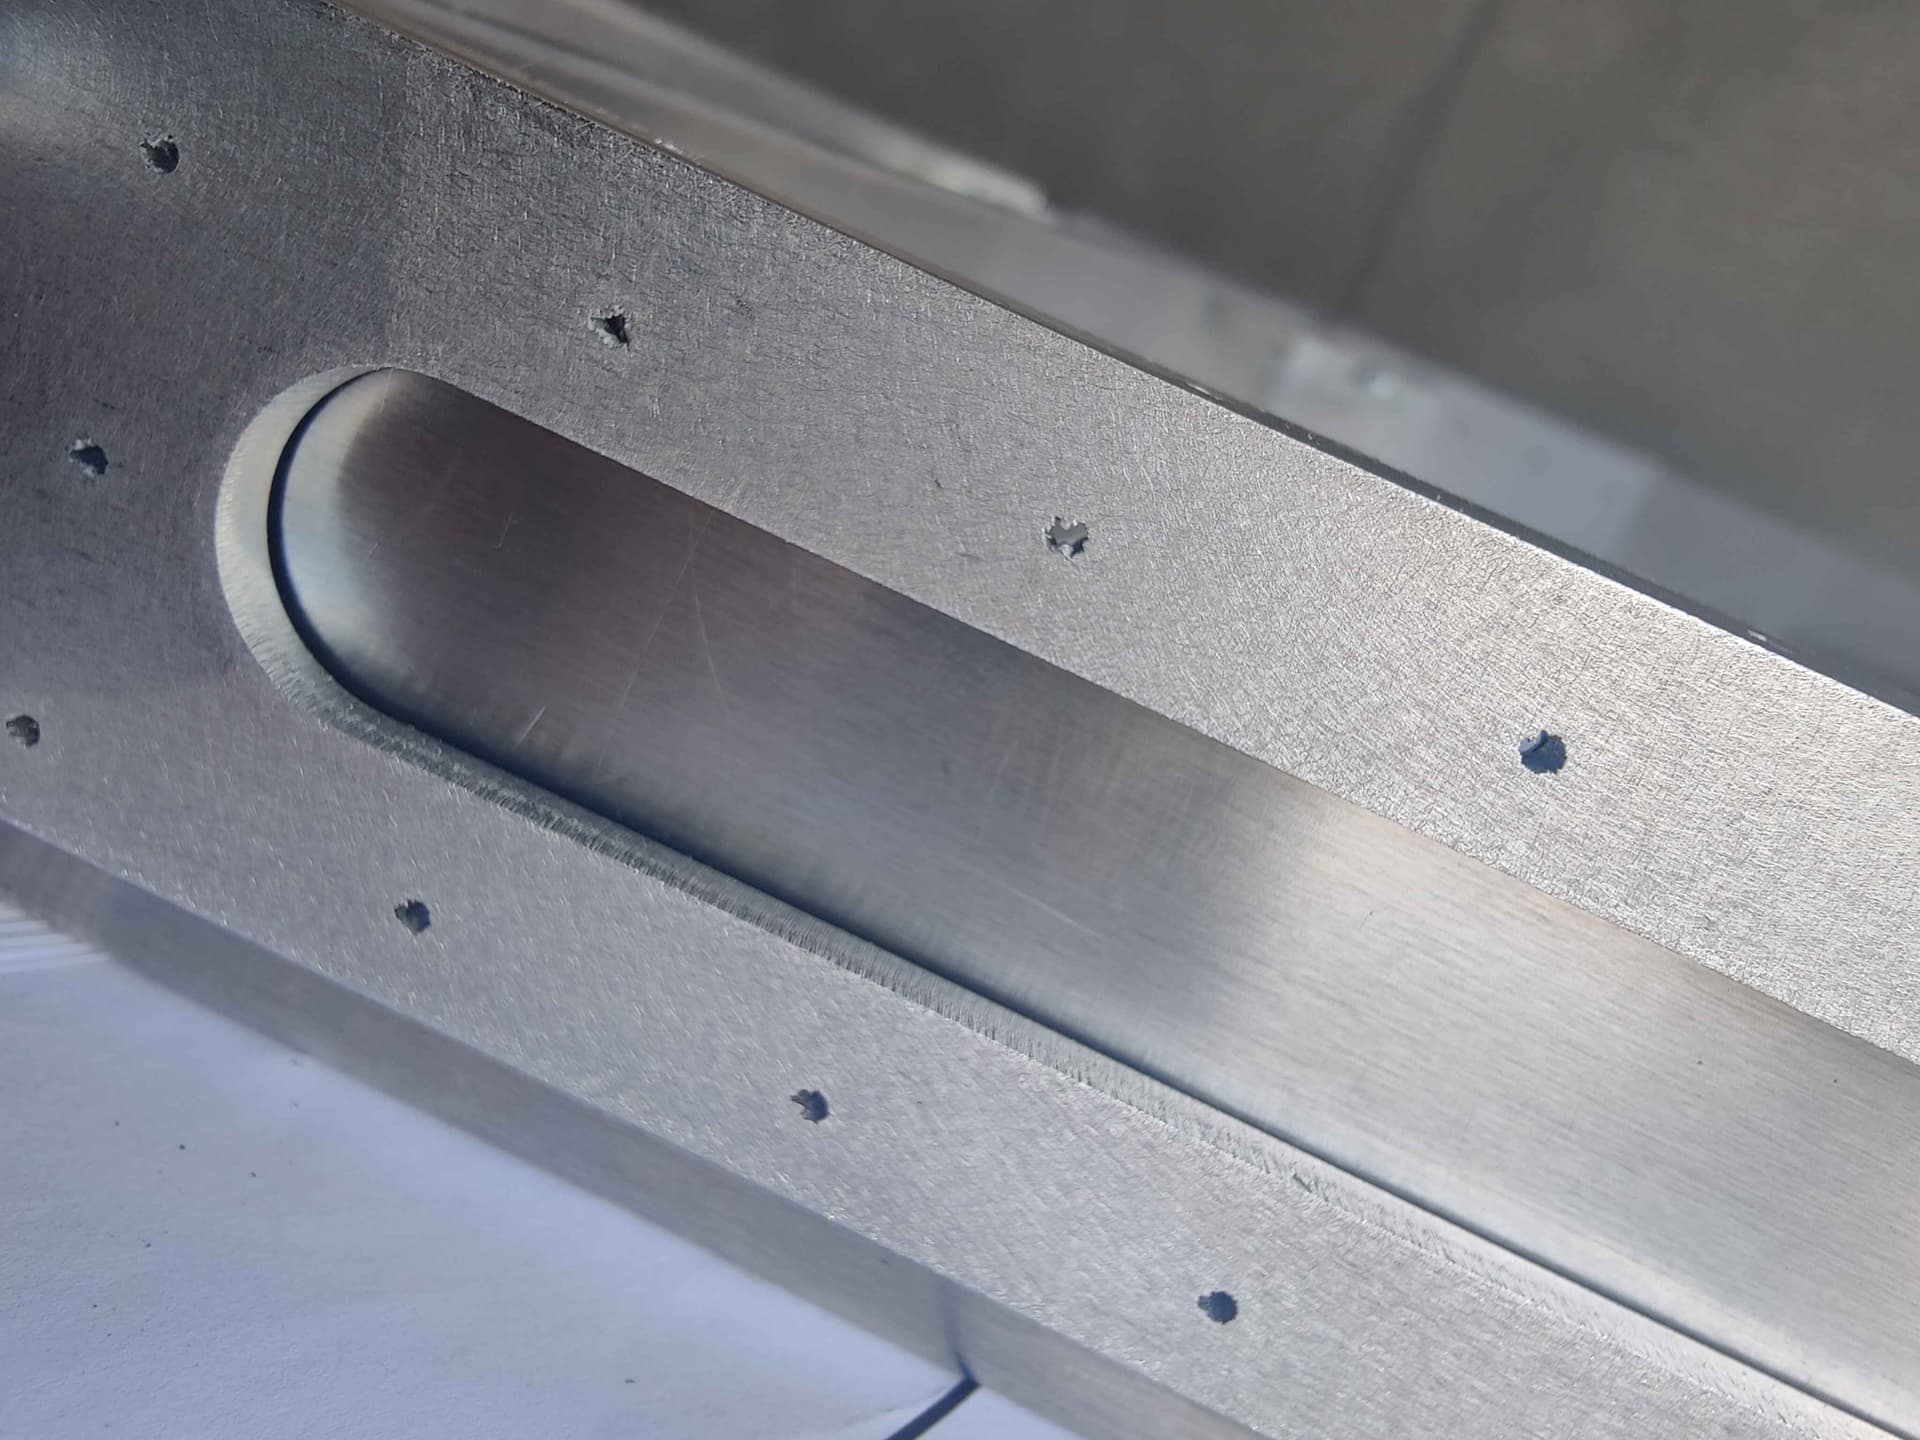
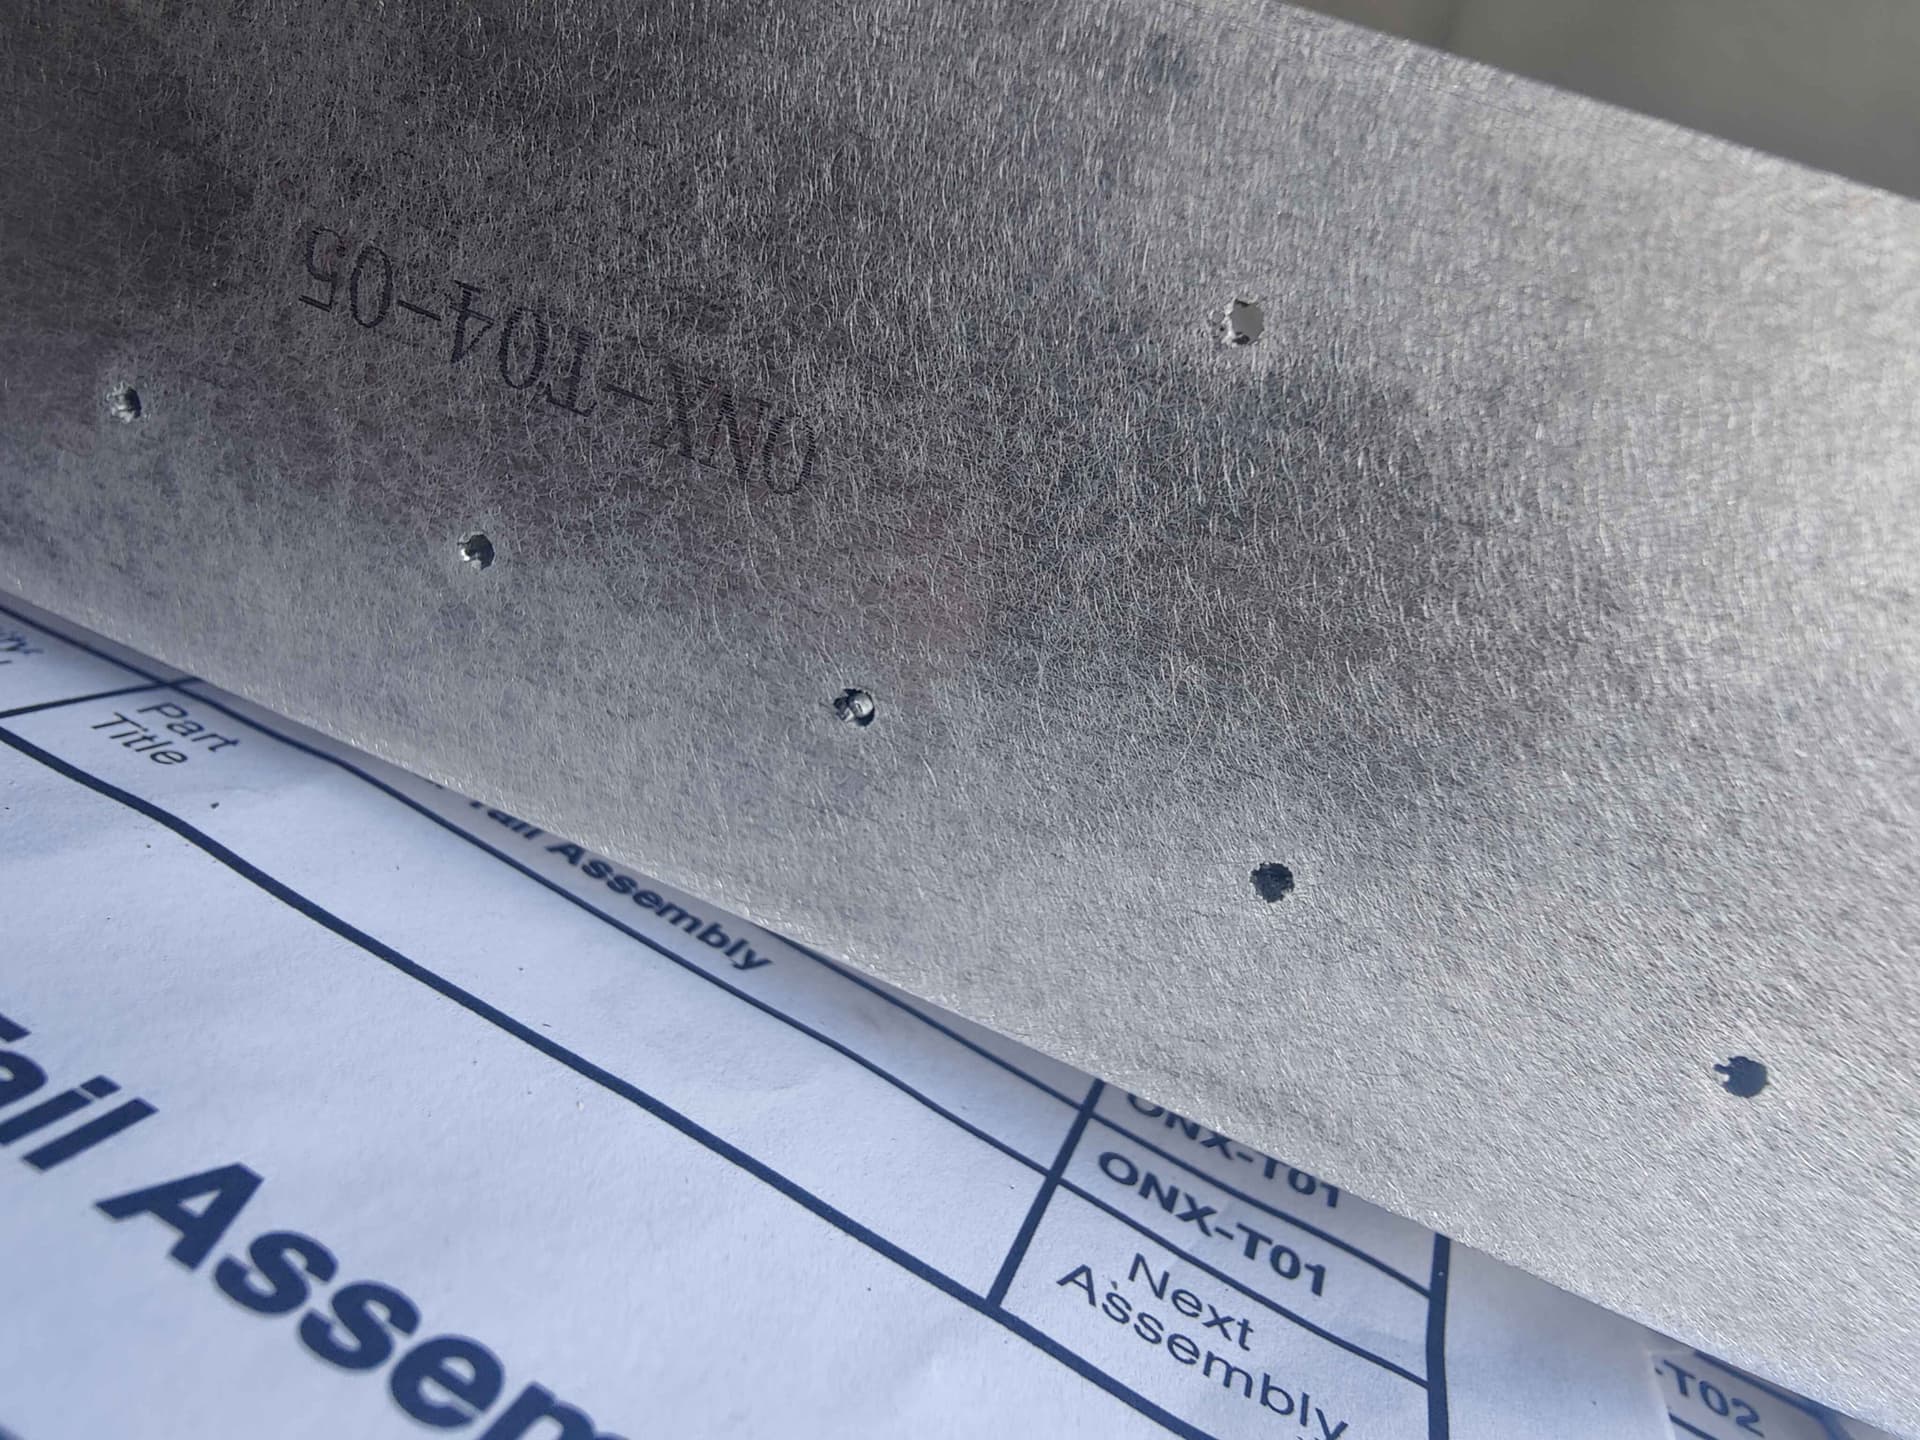
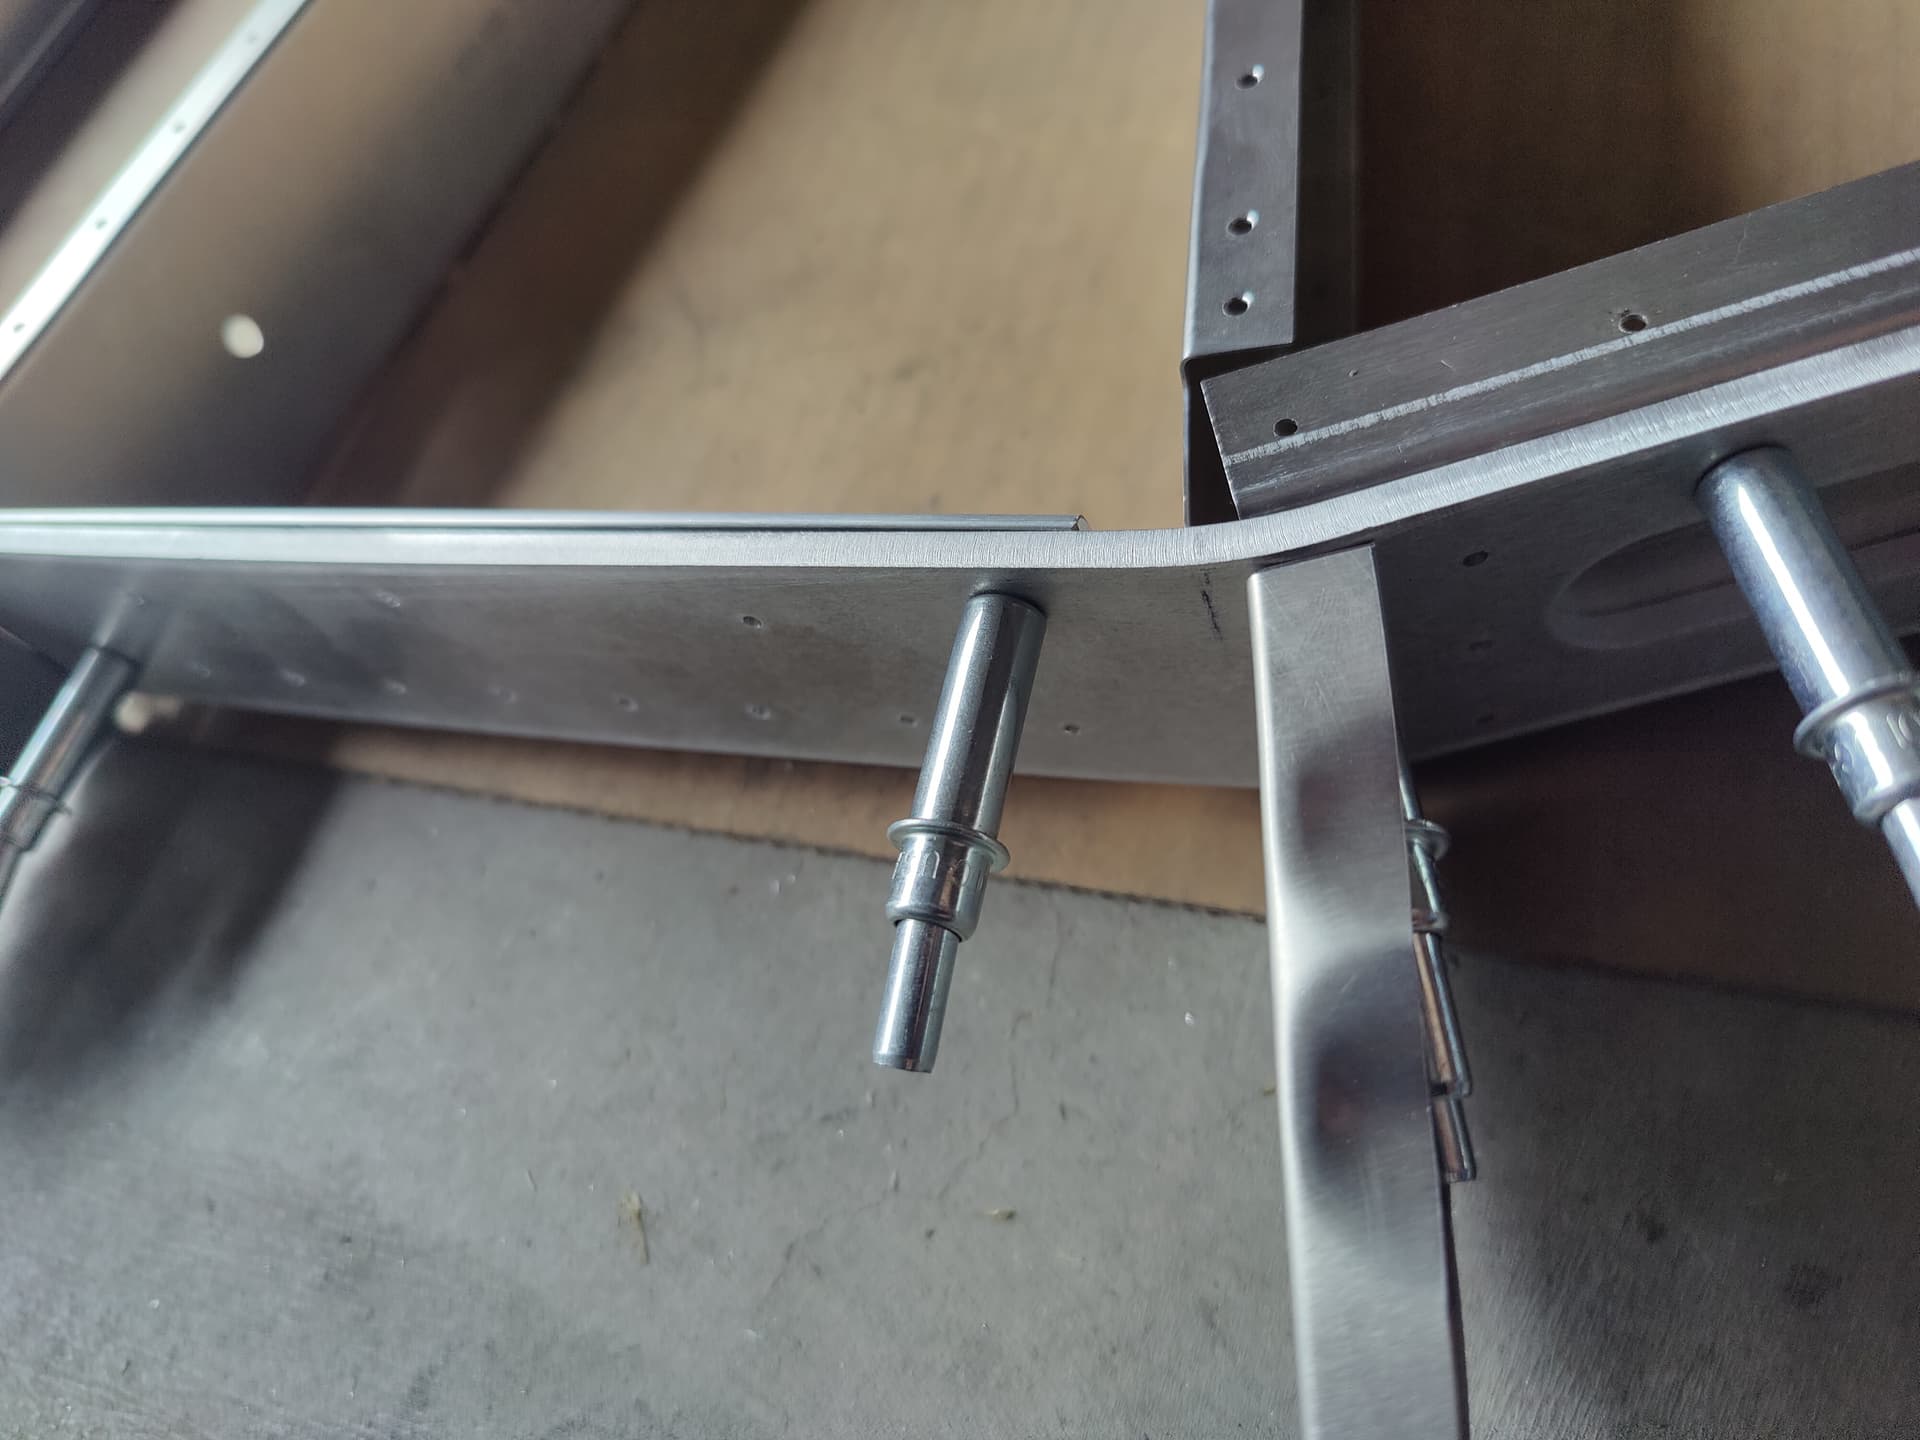
Hey, I’ve gotten a little ways along clecoing the horizontal stabilizer together but, for the life of me, the 3/36” clecos do not want to go through the holes in the front spar strap for the life of me, not unless I force them through which I’m not sure is a good idea. Pictures below of what looks like sloppy machining on the holes. Am I missing something here or am I just going to have to take a drillbit to this thing to make it work?
Picture one, the lower hole just to the right of the bend, I tried to force the cleco through and may have done damage to the hole but I’m not sure, so if it’s time to order a new part, let me know.
I had the same issue on most of the holes throughout my kit. Had to upsize them to #40 drill to get the Clecos in. Not an issue (other than frustrating and time consuming) because the final size on most is upsized to 1/8”
If you start with say every 3rd hole so you can Cleco the assemblies together, then upsize the rest of the to get the remaining Clecos in is how I managed this. Once you are happy with this fitment, you can then upsize to final hole size.
It looks like you’re not familiar with the prep. I noticed on your other post you bent the part before smoothing the edges which makes it more prone to cracking when bending. You’re going to have to prep your parts before assembly. Sonex, in their literature, refers to the holes as “pilot’ holes. Here is a good video on how to prep and tools to use. https://youtu.be/C9XClXqHS1Q?si=Guewj195MvREut_q
I treated all of my laser cut 3/32” holes as pilots only and updrilled to #40 like Murray. 3/32” is too small for silver clecoes anyway. No worries, any ugliness will be long gone when you drill to final size.
Ah shit, does that mean I’m gonna have to reorder that spar strap? Either way, thanks for the warning, I’d definitely have missed that.
unless something is cracked I don’ t see any reason to reorder those parts. Just go through and drill all of those microscopic laser holes up to 3/32” so you can get a silver cleco through them and build away! You will be drilling all those holes up to 1/8” anyway for the rivets.
Keep building, it will get easier!
2 Likes
I agree with Mike. Polish up those edges, look for trouble, and if you don’t find any I’d relax. Various forms of scotch-brite are your friend. The red stuff for cleaning up by hand, and my favorite is this scotch-brite wheel for the bench grinder. I bough my first one around 1990, and finally replaced it last year.
1 Like
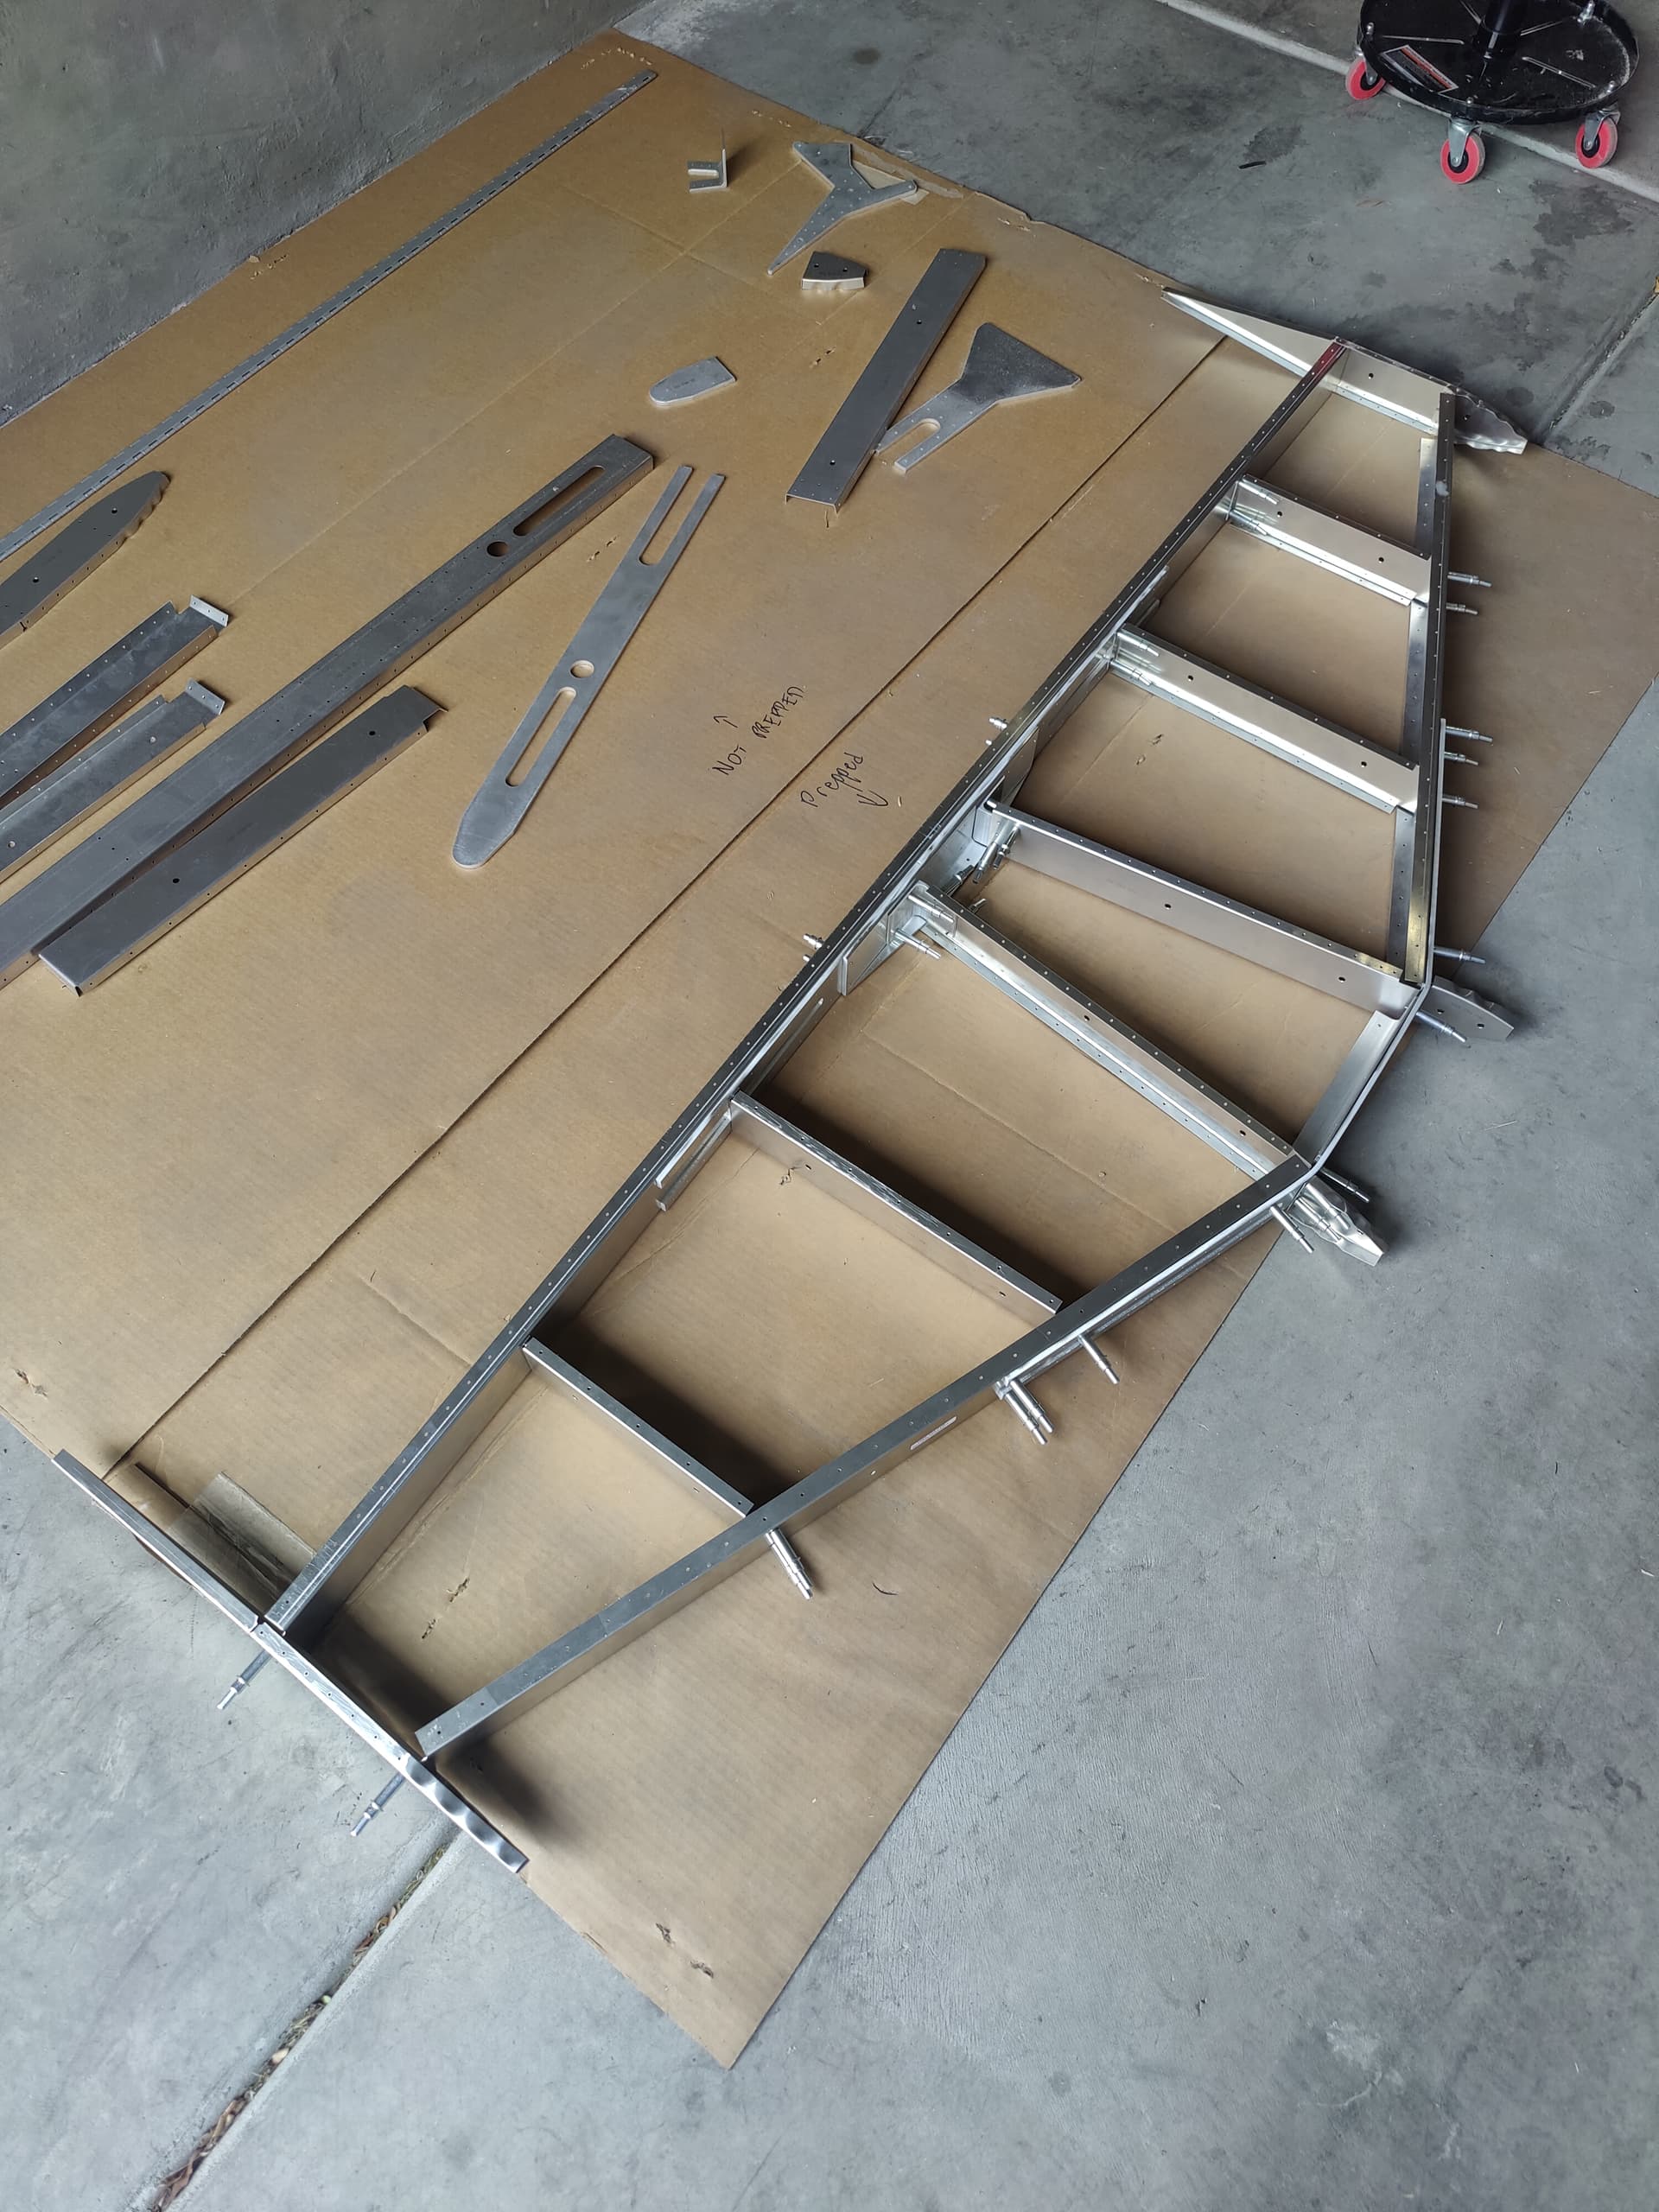
Took the advice, used a different brand fiber wheel on my bench grinder while I wait for the scotchbrite wheels to arrive. Did every part over once on the edges, deburred all the holes before clecoing things back together. Will use a hand grinder and a red scotchbrite wheel to do one last once-over when it arrives. Anything else you see that needs fixing, let me know.
Thanks again for y’all’s help! I know it’s probably an exercise in patience advising someone like me who’s never done aluminum or rivet work before.