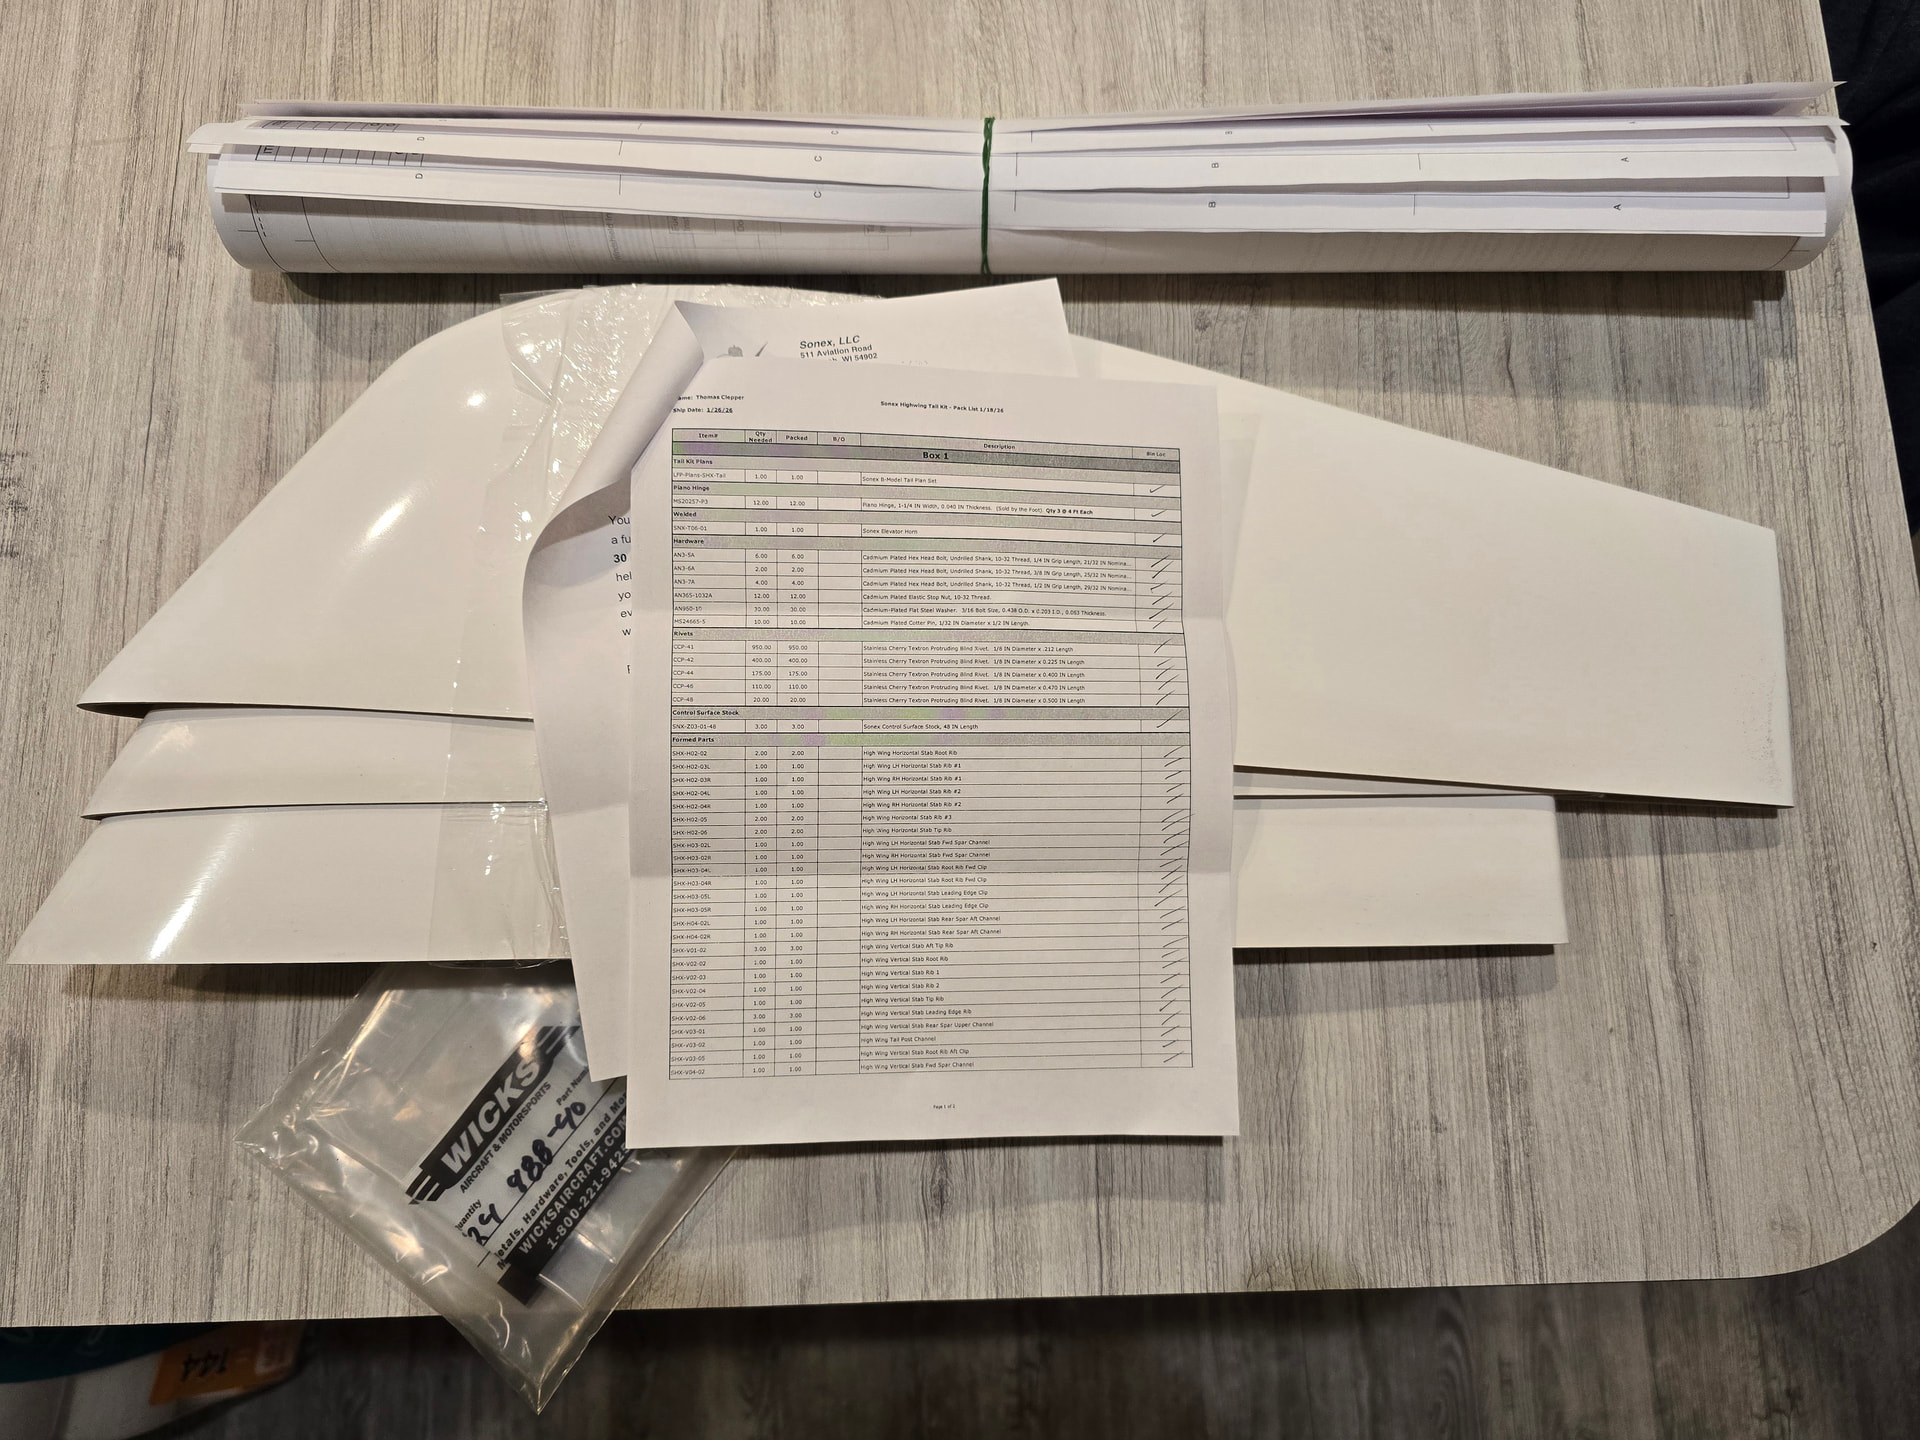
First time builder. My progress will be slow but hopefully steady. Received my tail kit on 1/30/26 and have taken inventory. Looking forward to seeing other people progress along the way.

6 Likes
Welcome!
2 Likes
Welcome to the board and welcome to the building club. Enjoy the process of turning your dream into reality!
2 Likes
Thanks for checking in and welcome! Keep the pictures coming!
1 Like
Welcome Wes. Looking forward to seeing your build!
1 Like
Welcome Wes!! Looking forward to seeing your progress!!
1 Like
Welcome, Wes. Thanks for joining us!
1 Like
Welcome, Wes!Let us know how things progress!
1 Like
Glad you signed up here Wes. I look forward to following along with your log.
1 Like
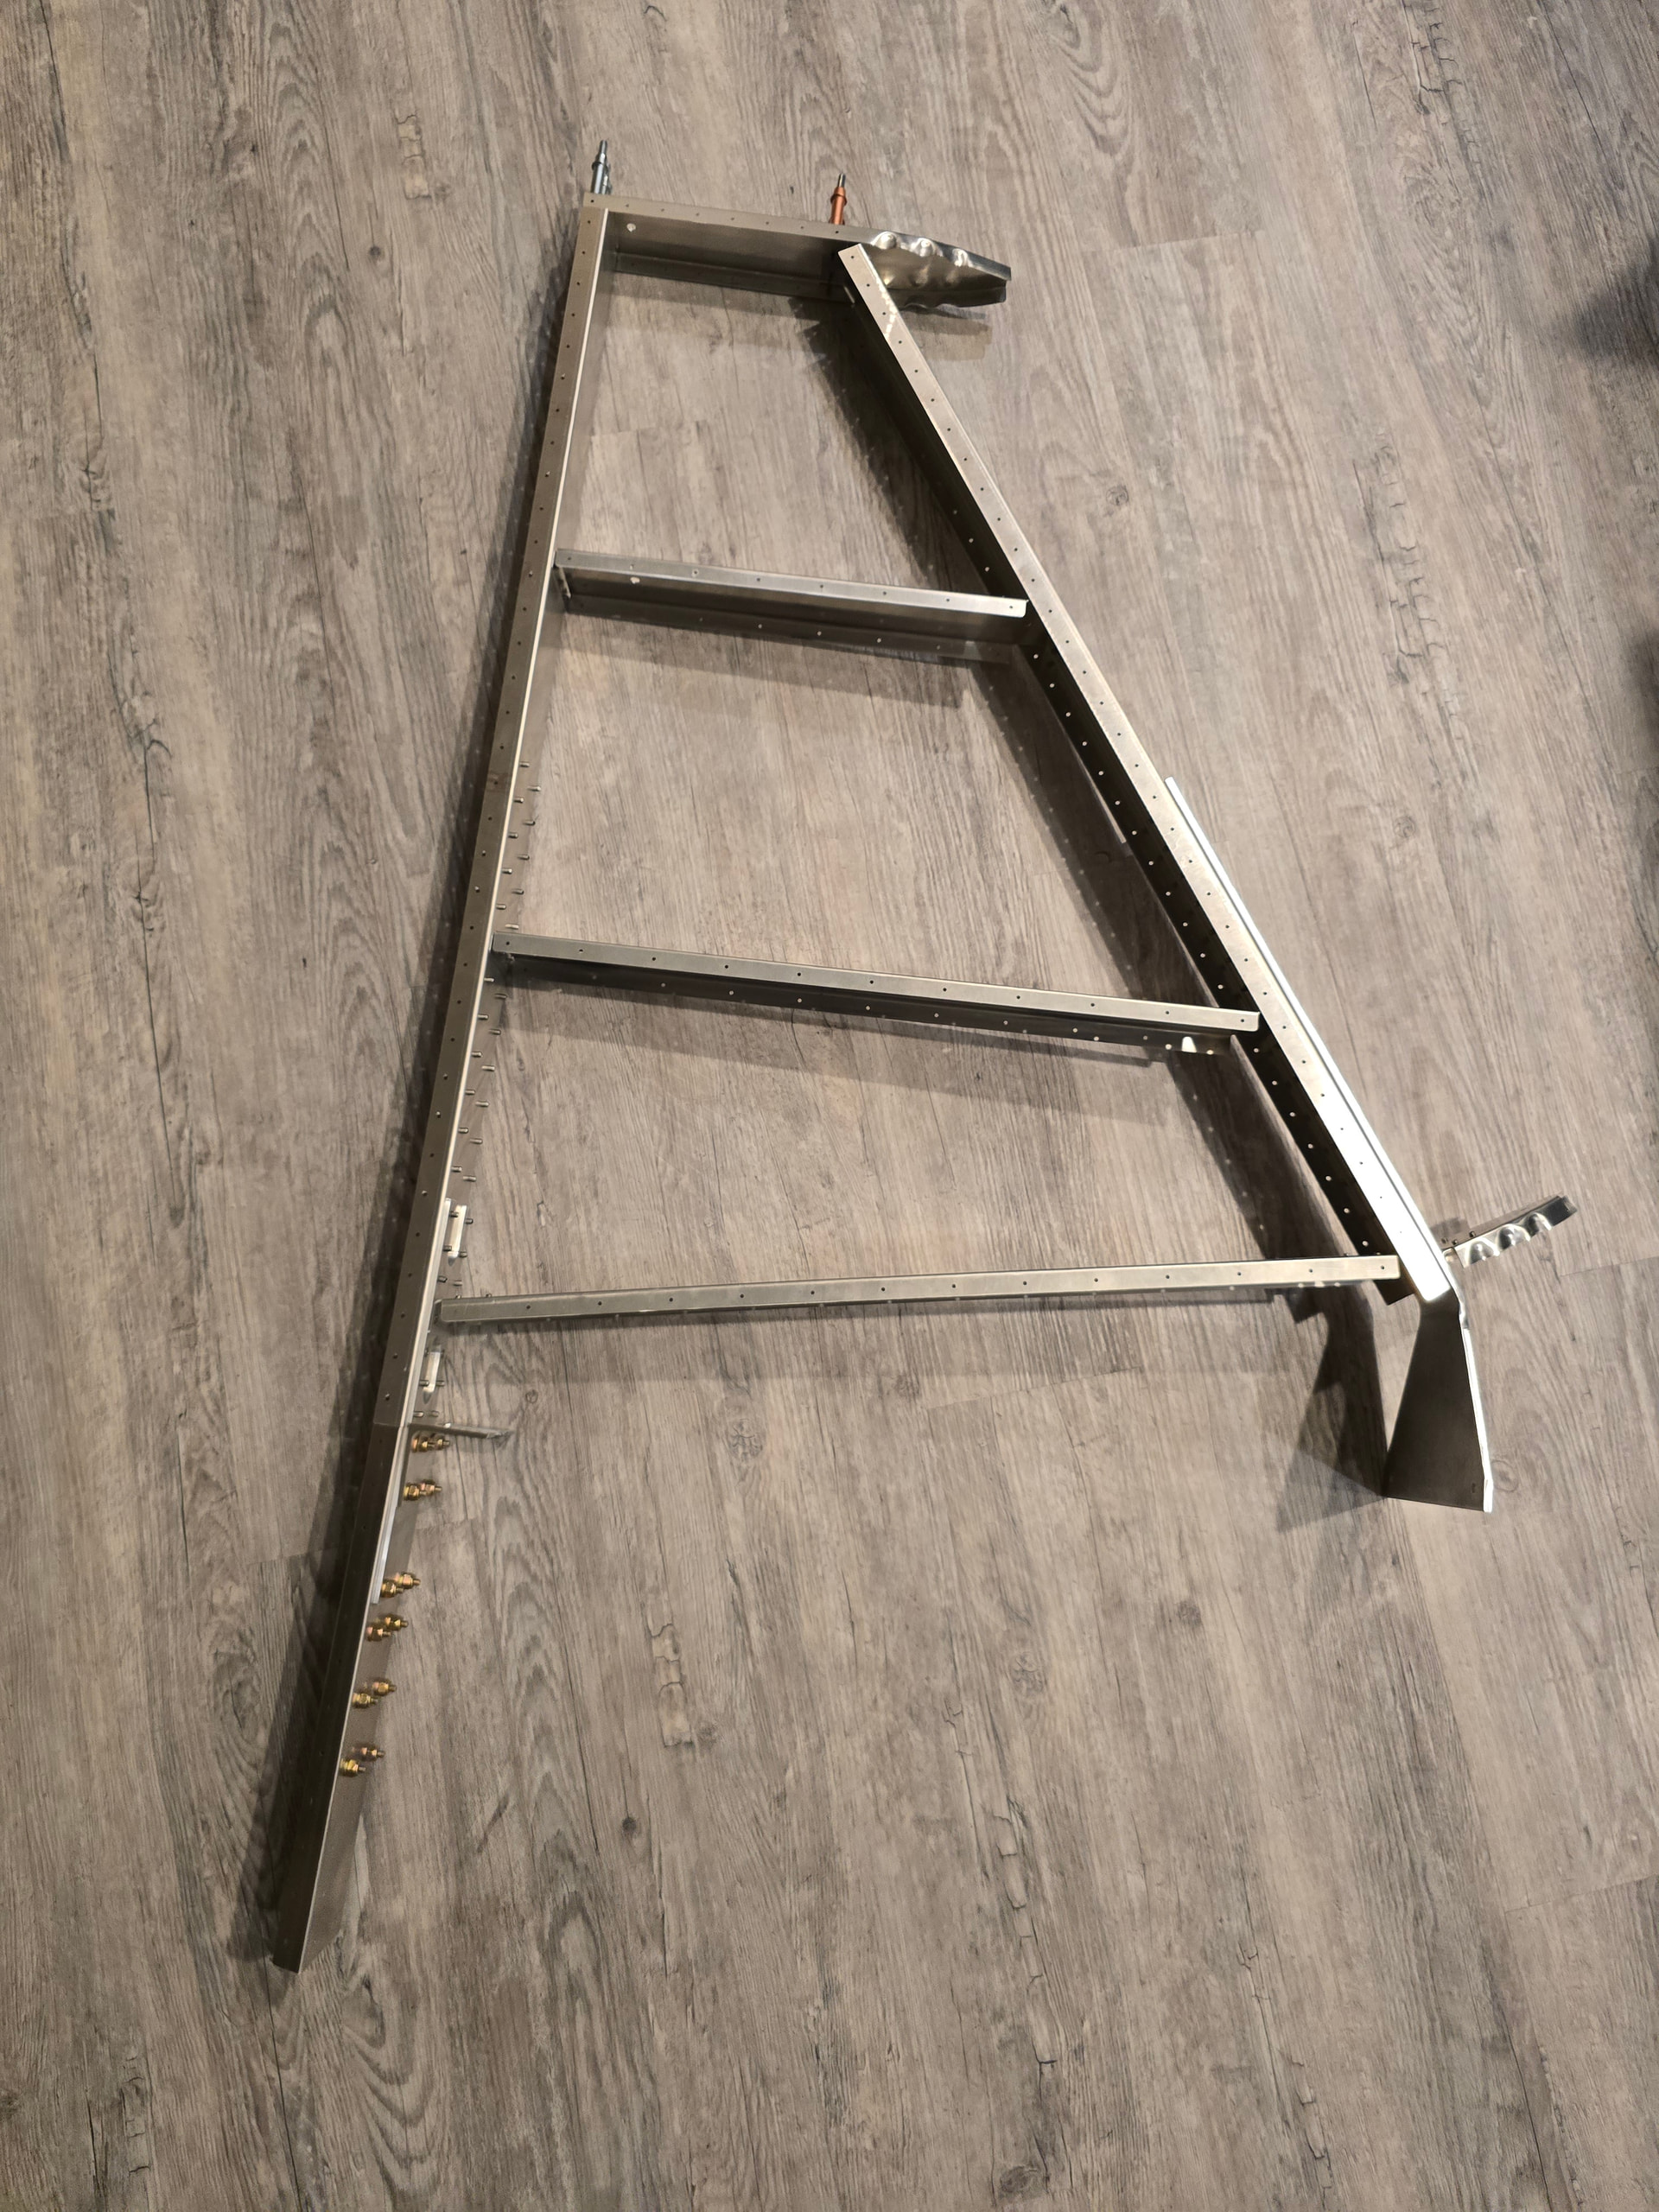
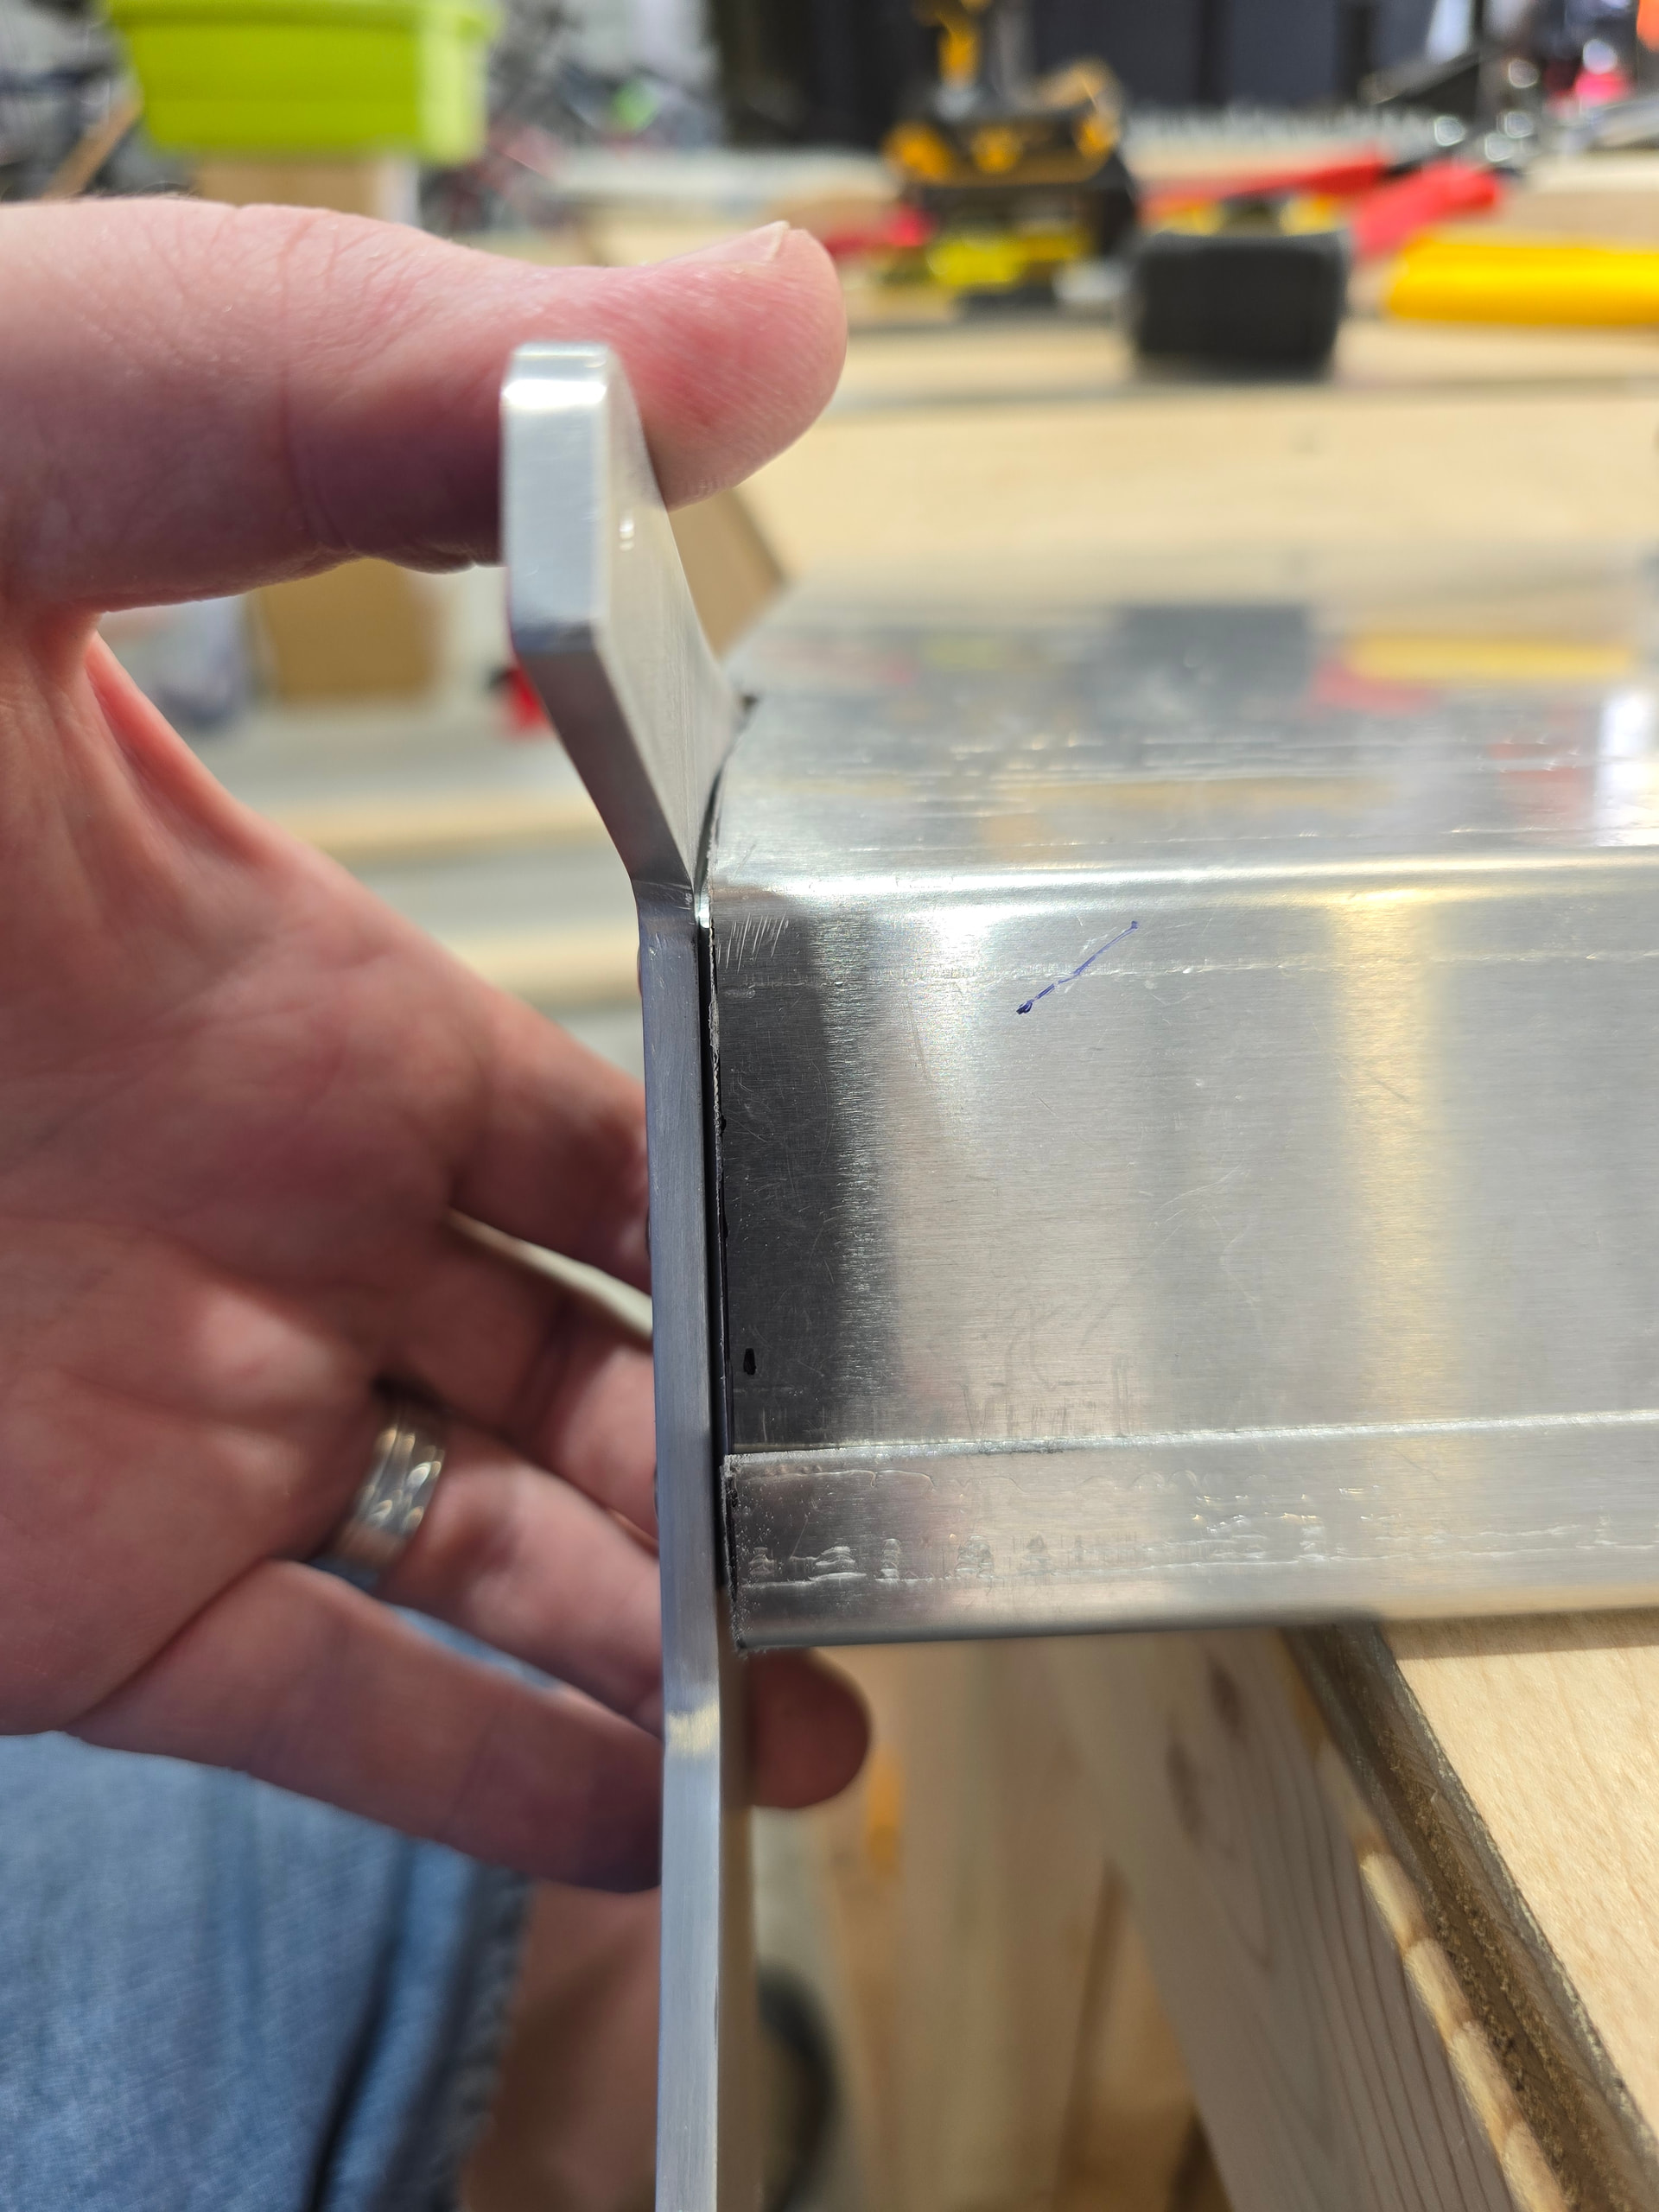
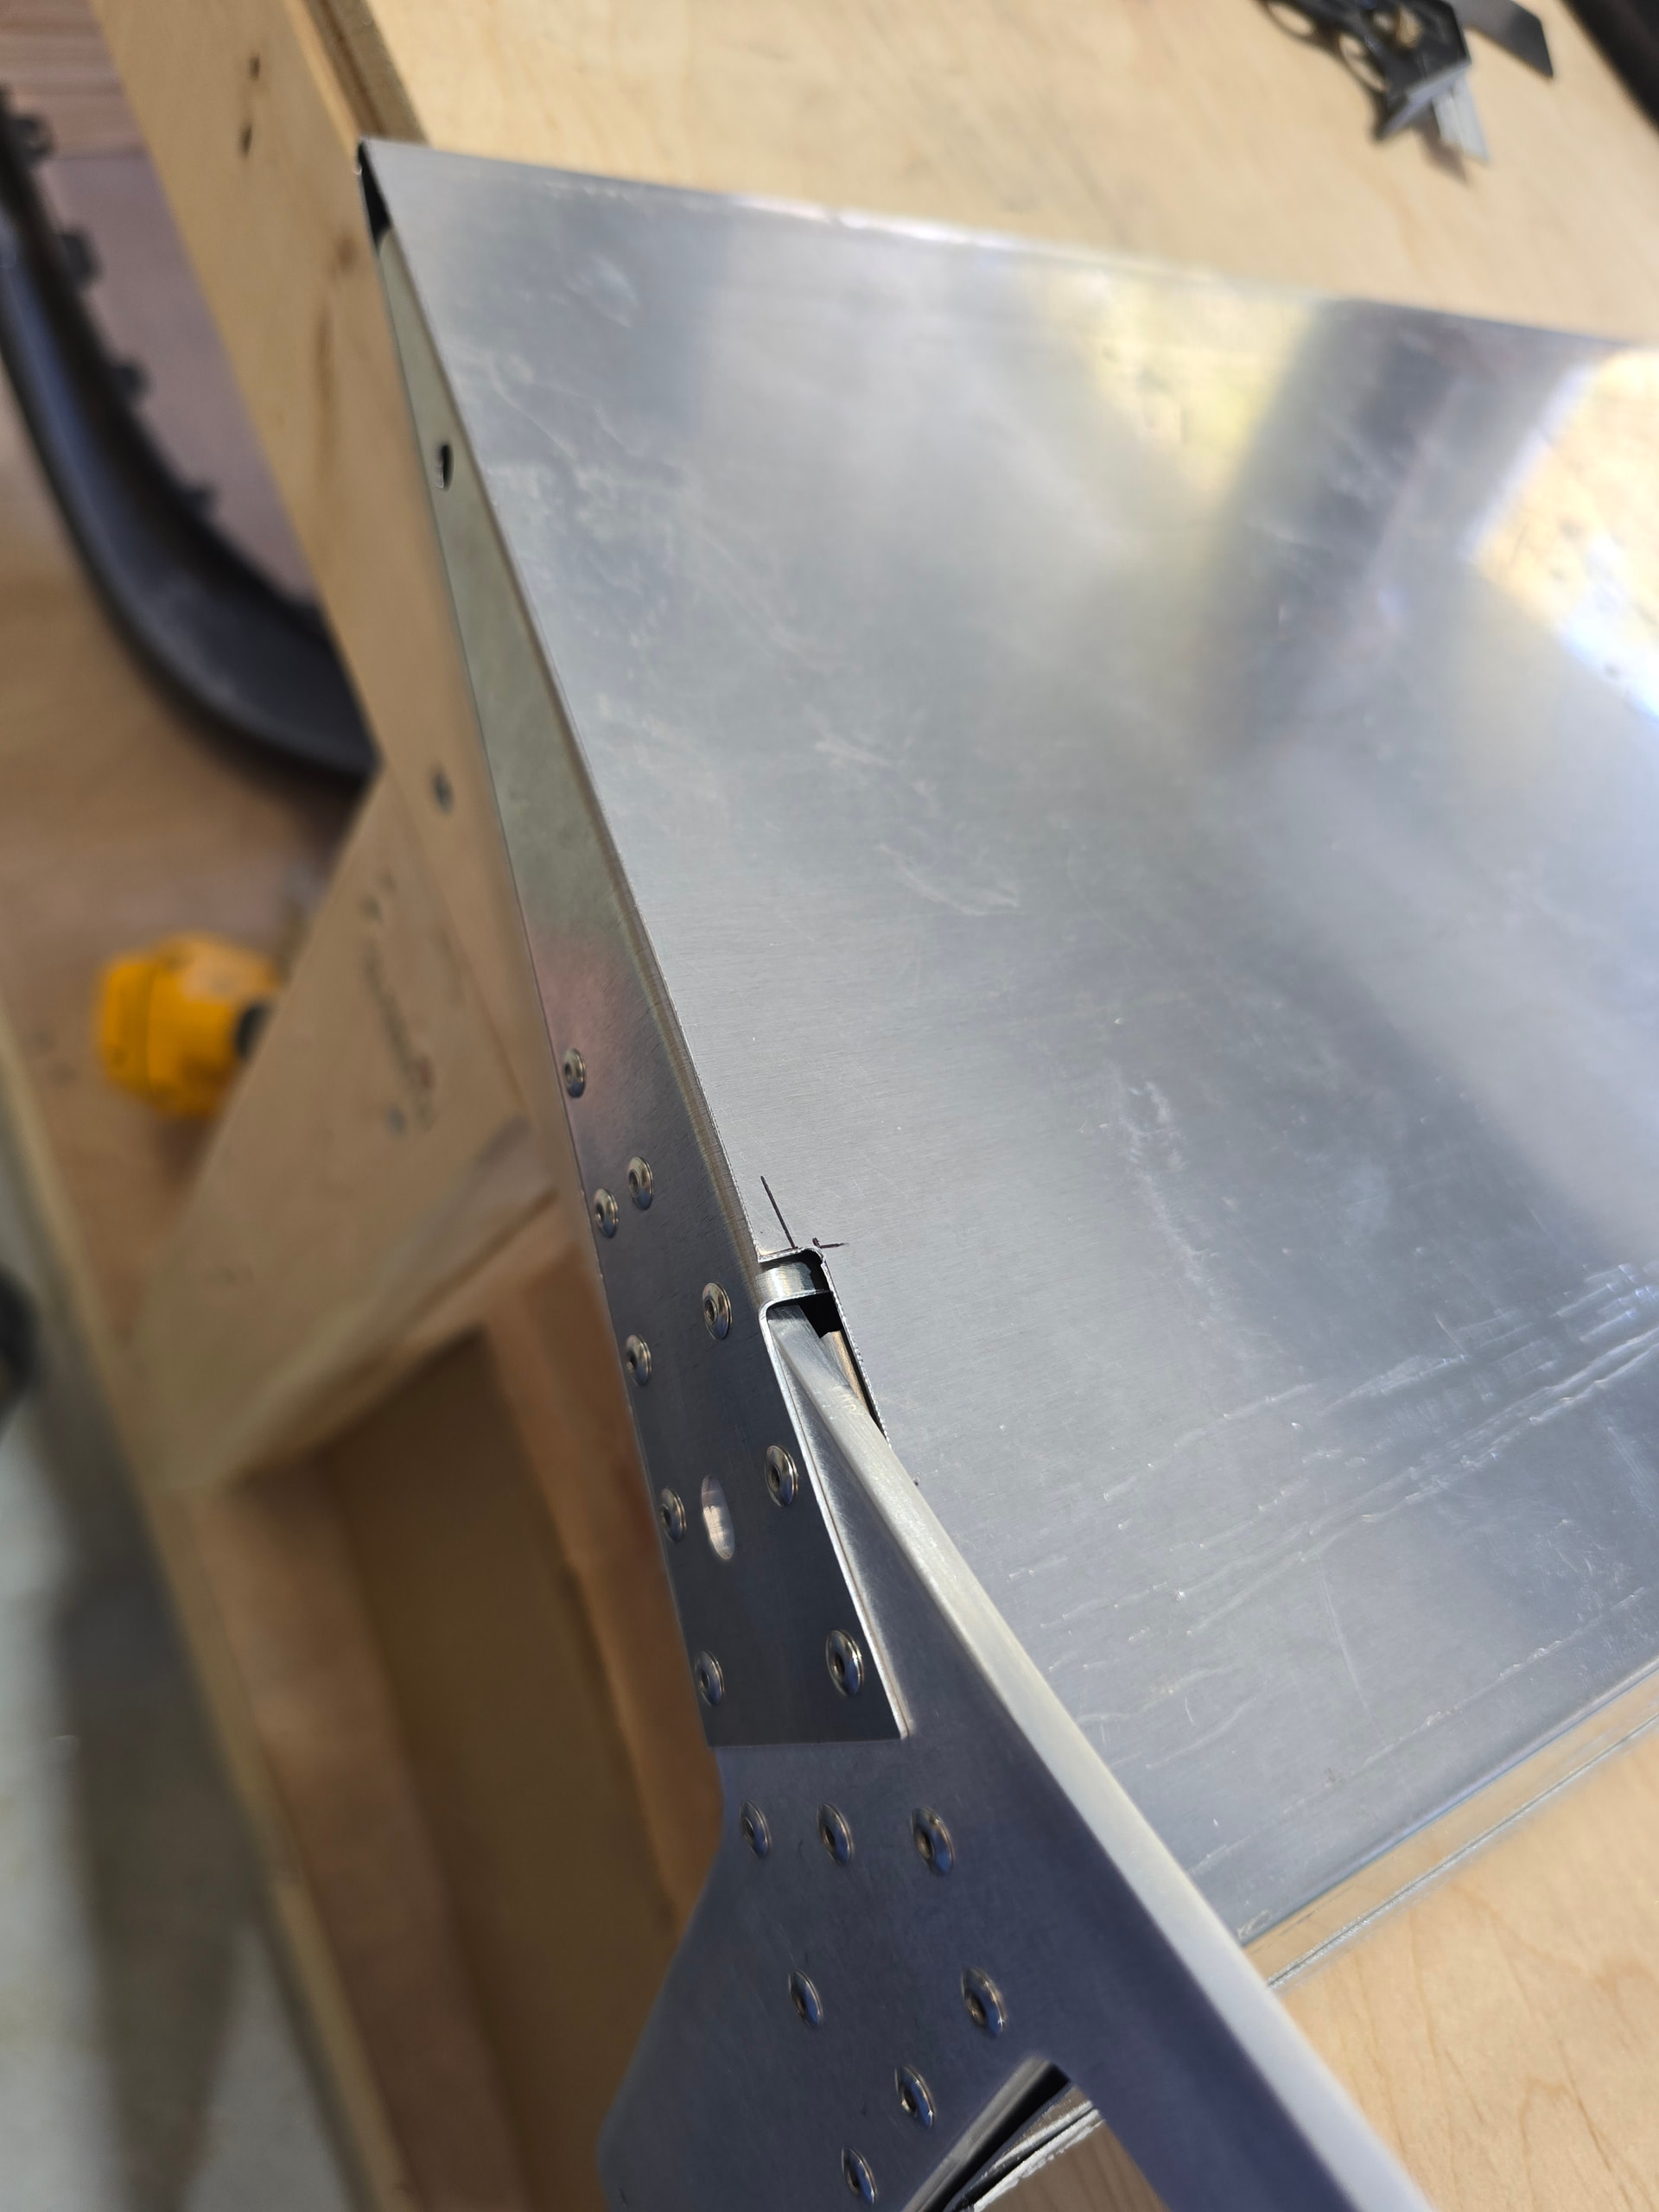
Over the weekend, I was able to get the skeletal structure for the vertical stabilizer together. Cleaning up the edges take a bit more time then I expected but a pretty relaxing process. Crank up the music and taking my time.

2 Likes
Looks great Wes!
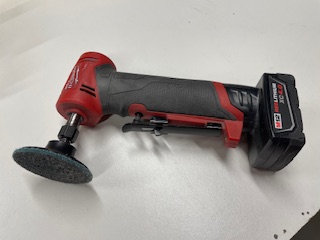
The purpose of the hobby is to buy tools of course, and for cleaning up edges this can’t be beat:
If you look at Chris’s last post on his log, he has found a cheaper version on amazon. You mount the wheel on a bench grinder without any guards and you can run the edges on the wheel and it cleans them right up. Don’t worry though, there is plenty of other drudgery to burn up your time and give you an opportunity to listen to your music.
3 Likes
I’ll second the 6" Scotchbrite wheel working wonders. If you want to buy more tools I found a 3" Scotchbrite pad on a right angle die grinder worked great for really long edges. A 1" Scotchbrite drum and some small sanding drums on a dremel worked well for all the small stuff.
You’ll get quicker on cleaning up edges. I hated it at first but eventually I kinda liked it because it gave me something to do when I wanted to get something done without thinking too much.
5 Likes
I haven’t worked the skin for the vertical stabilizer because I want to research a bit and decide whether I want a light on top. The rudder is now complete. A couple of mistakes but nothing major.
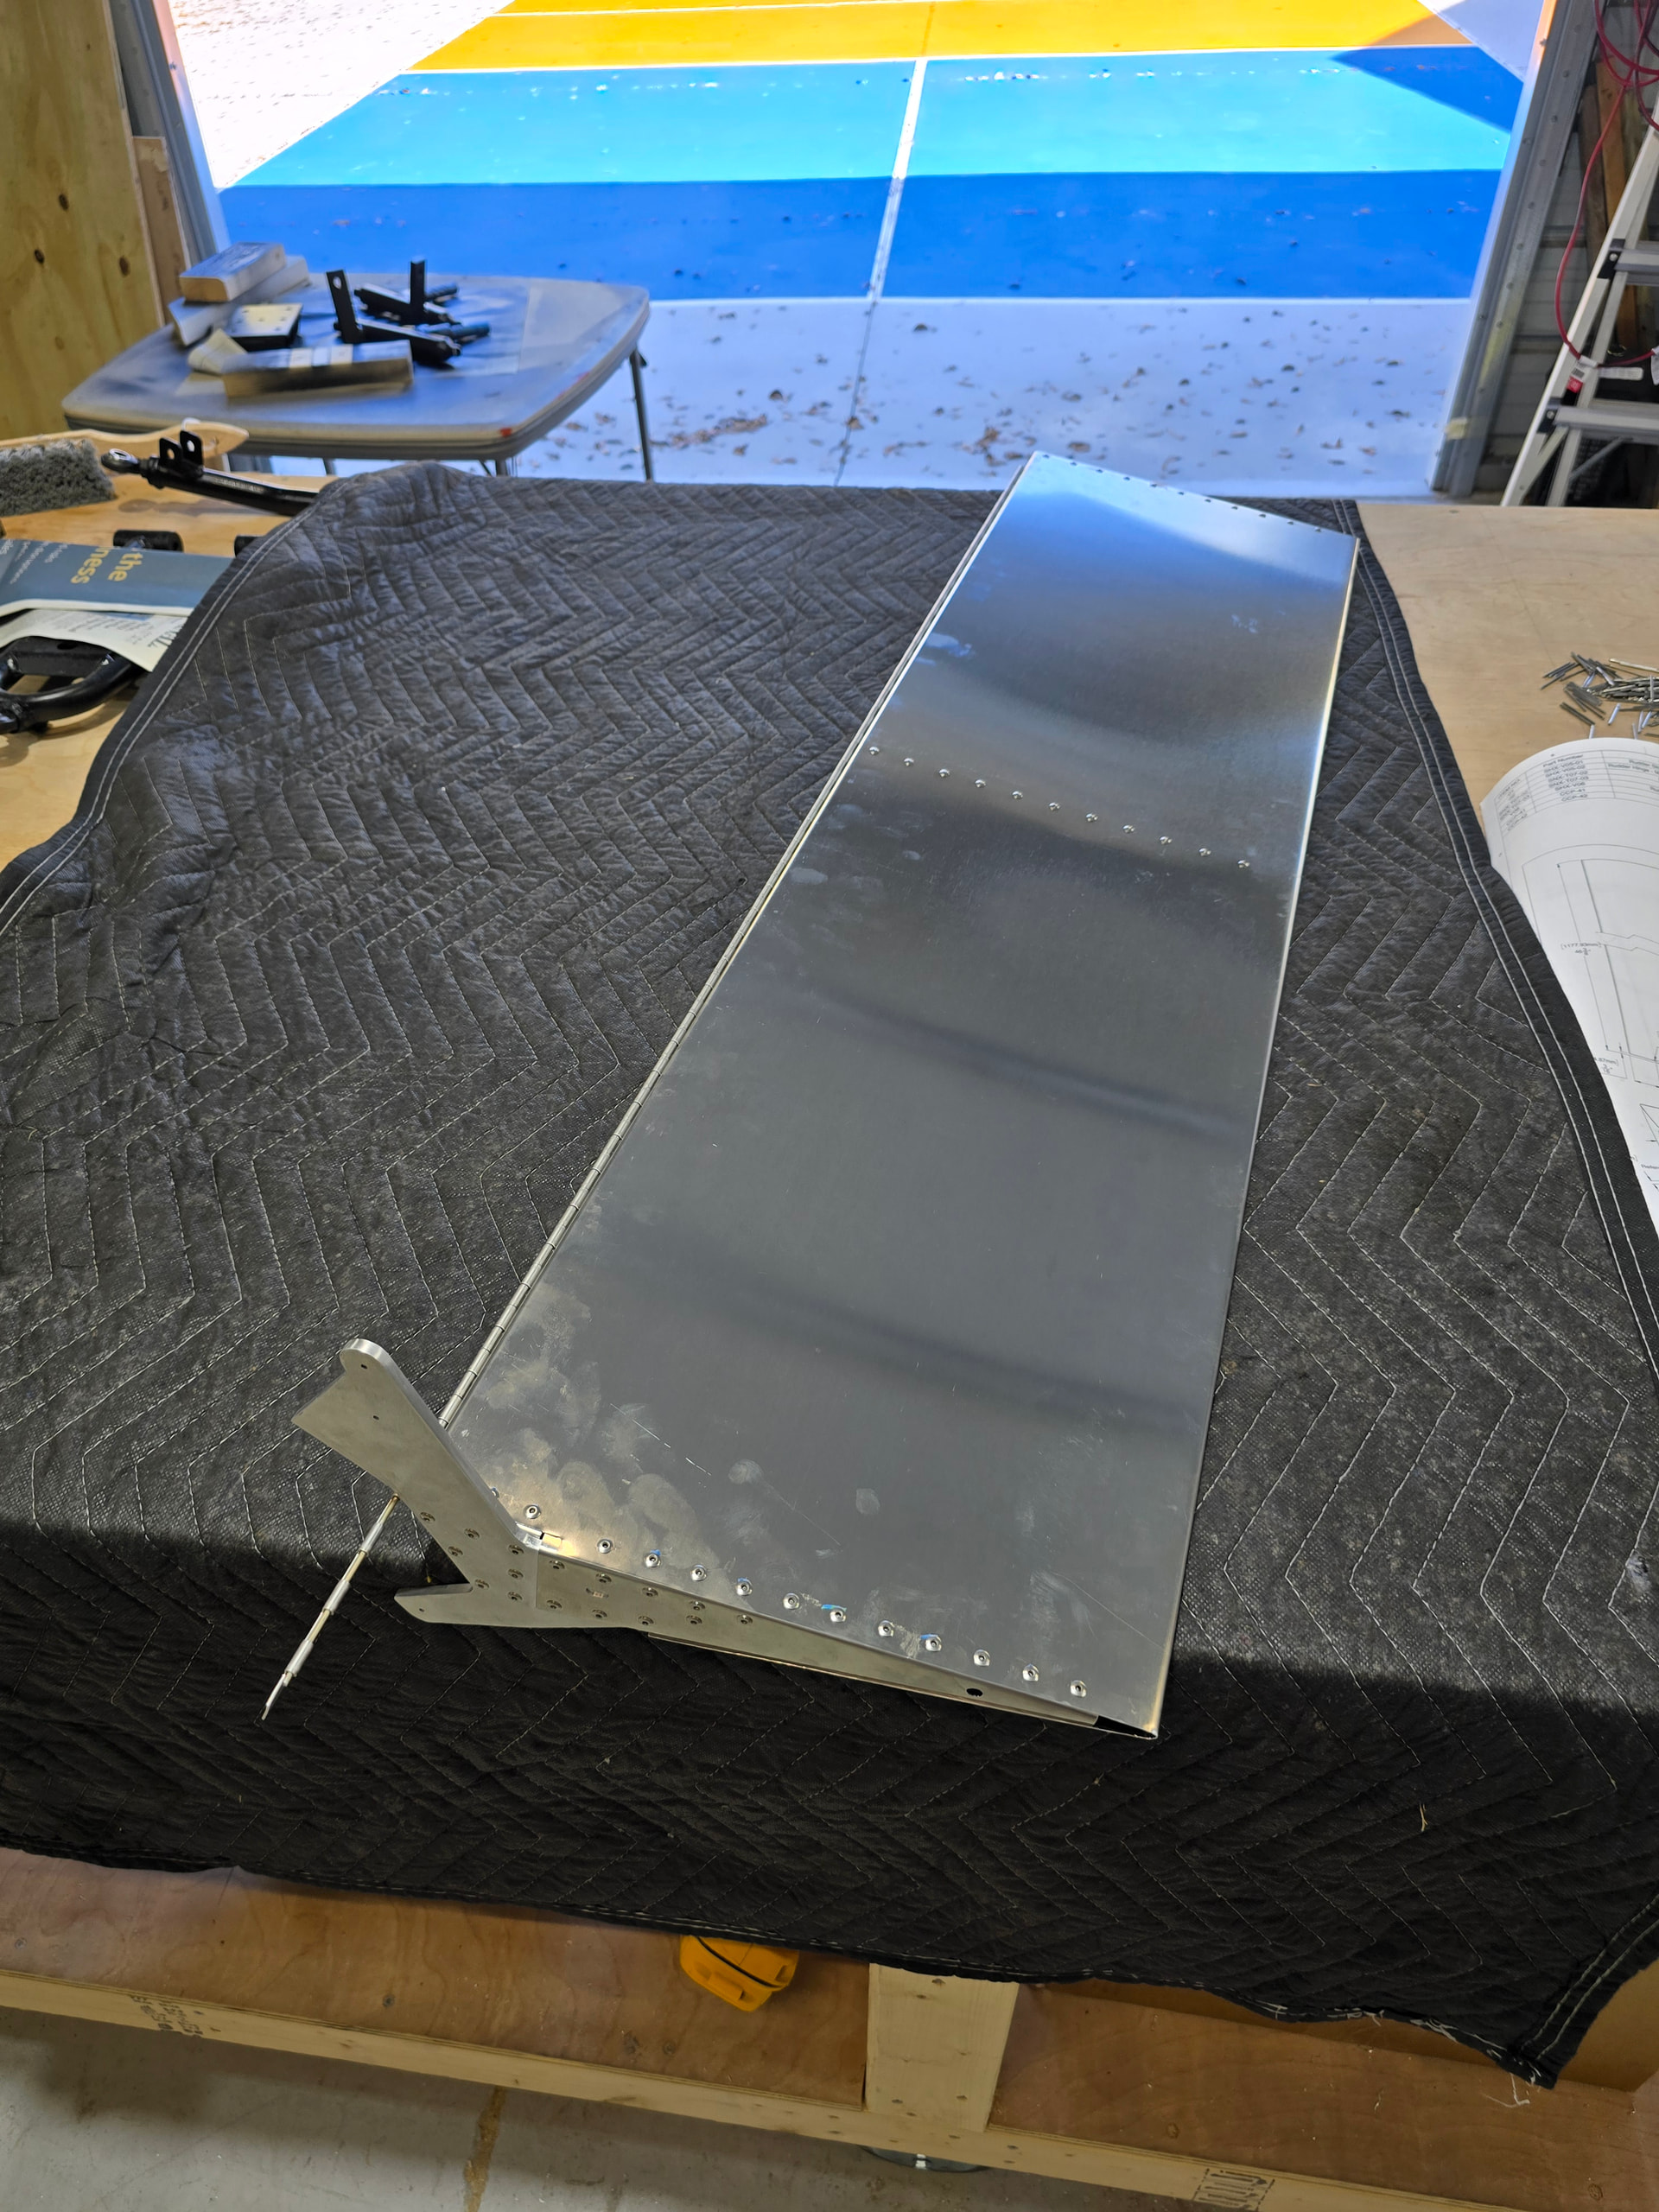
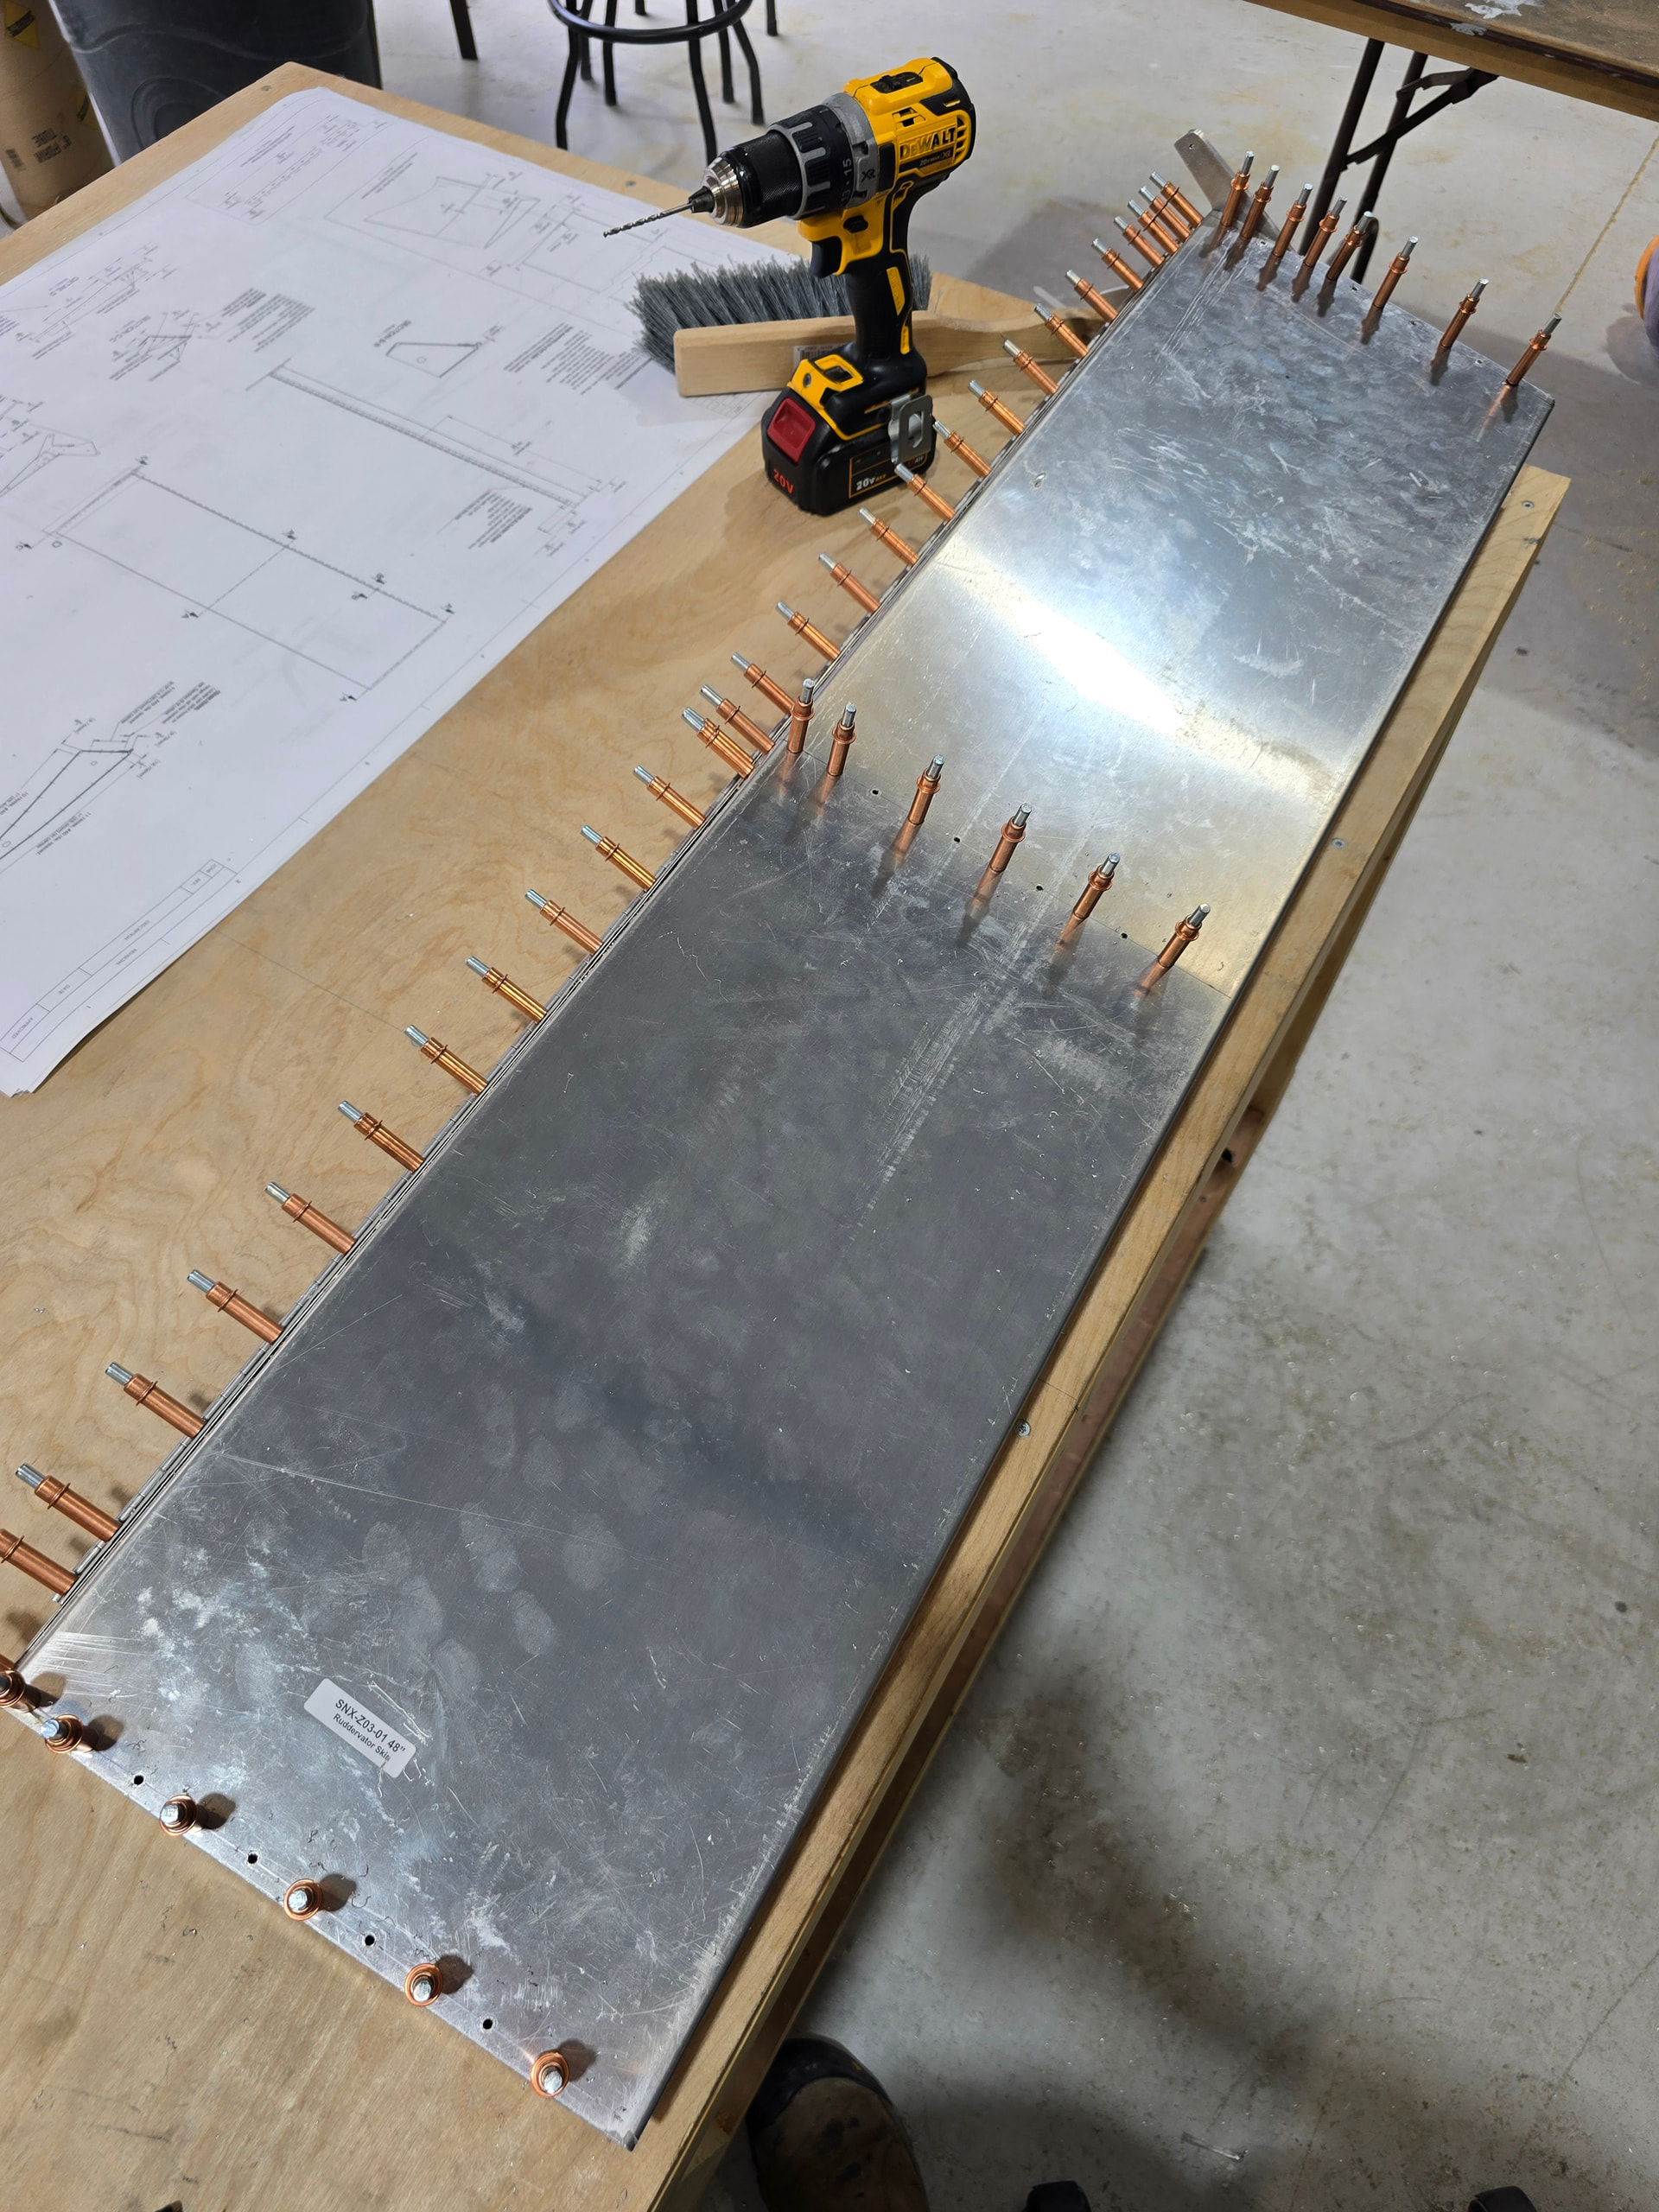

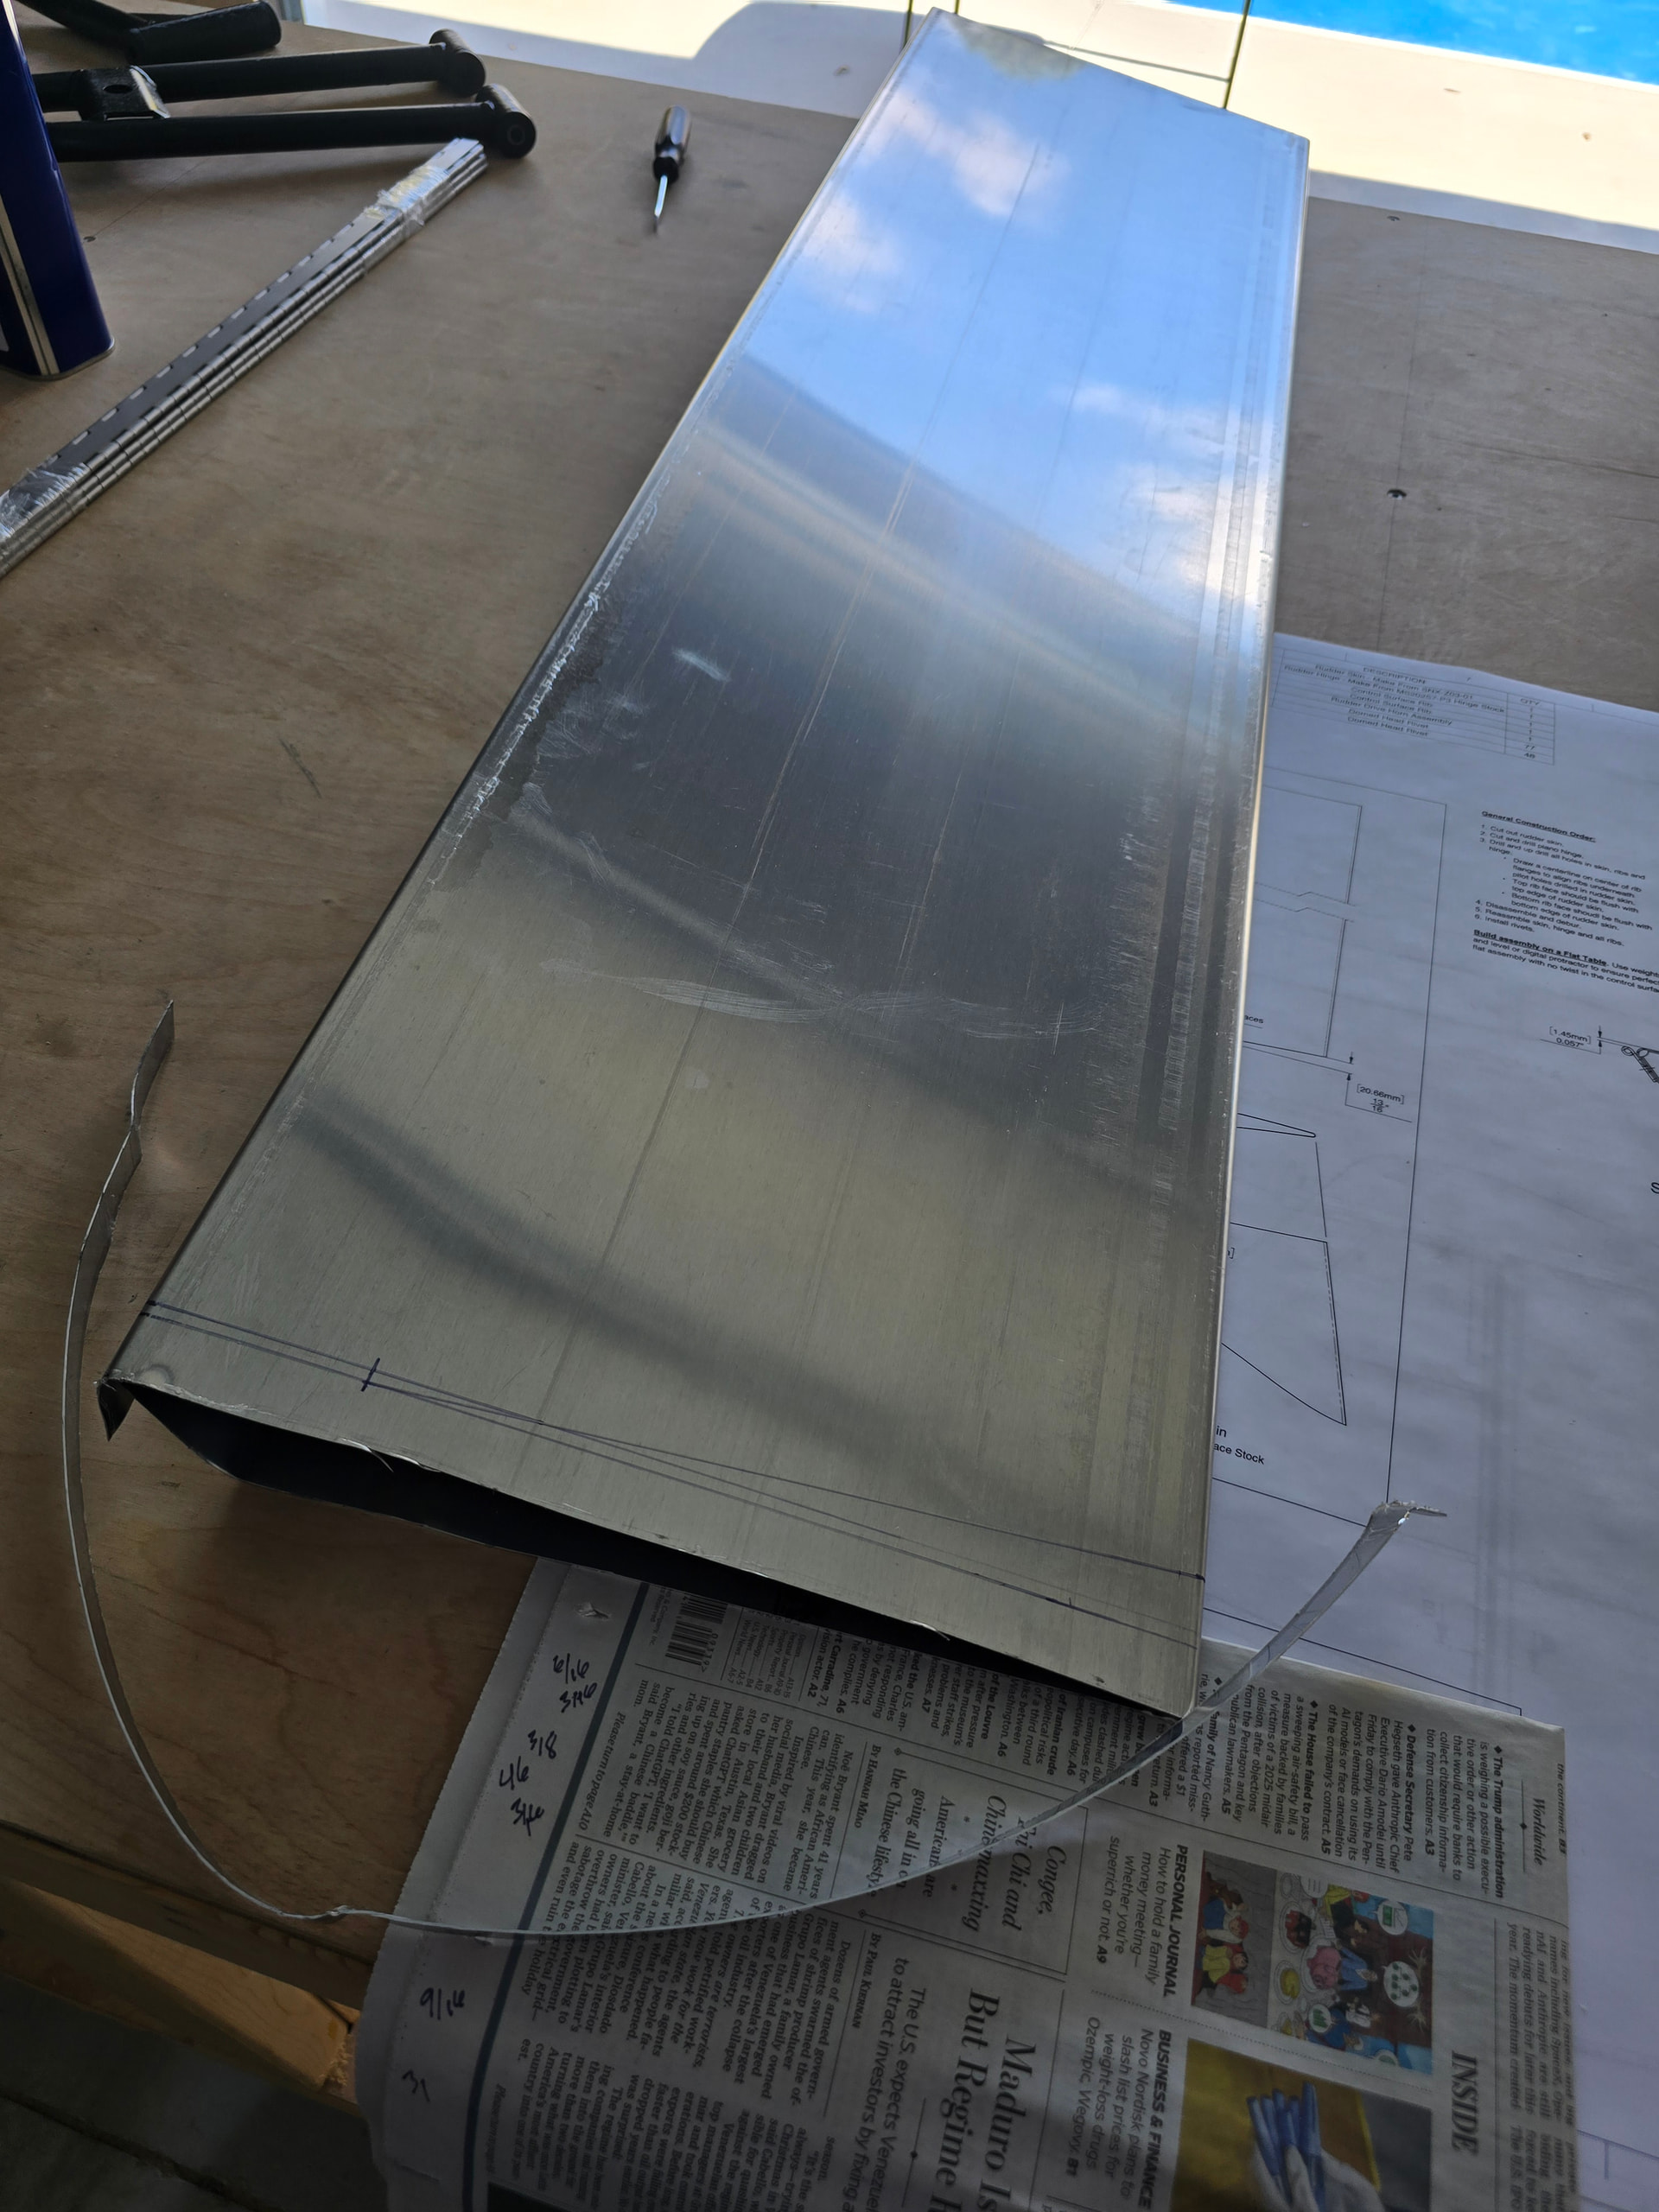
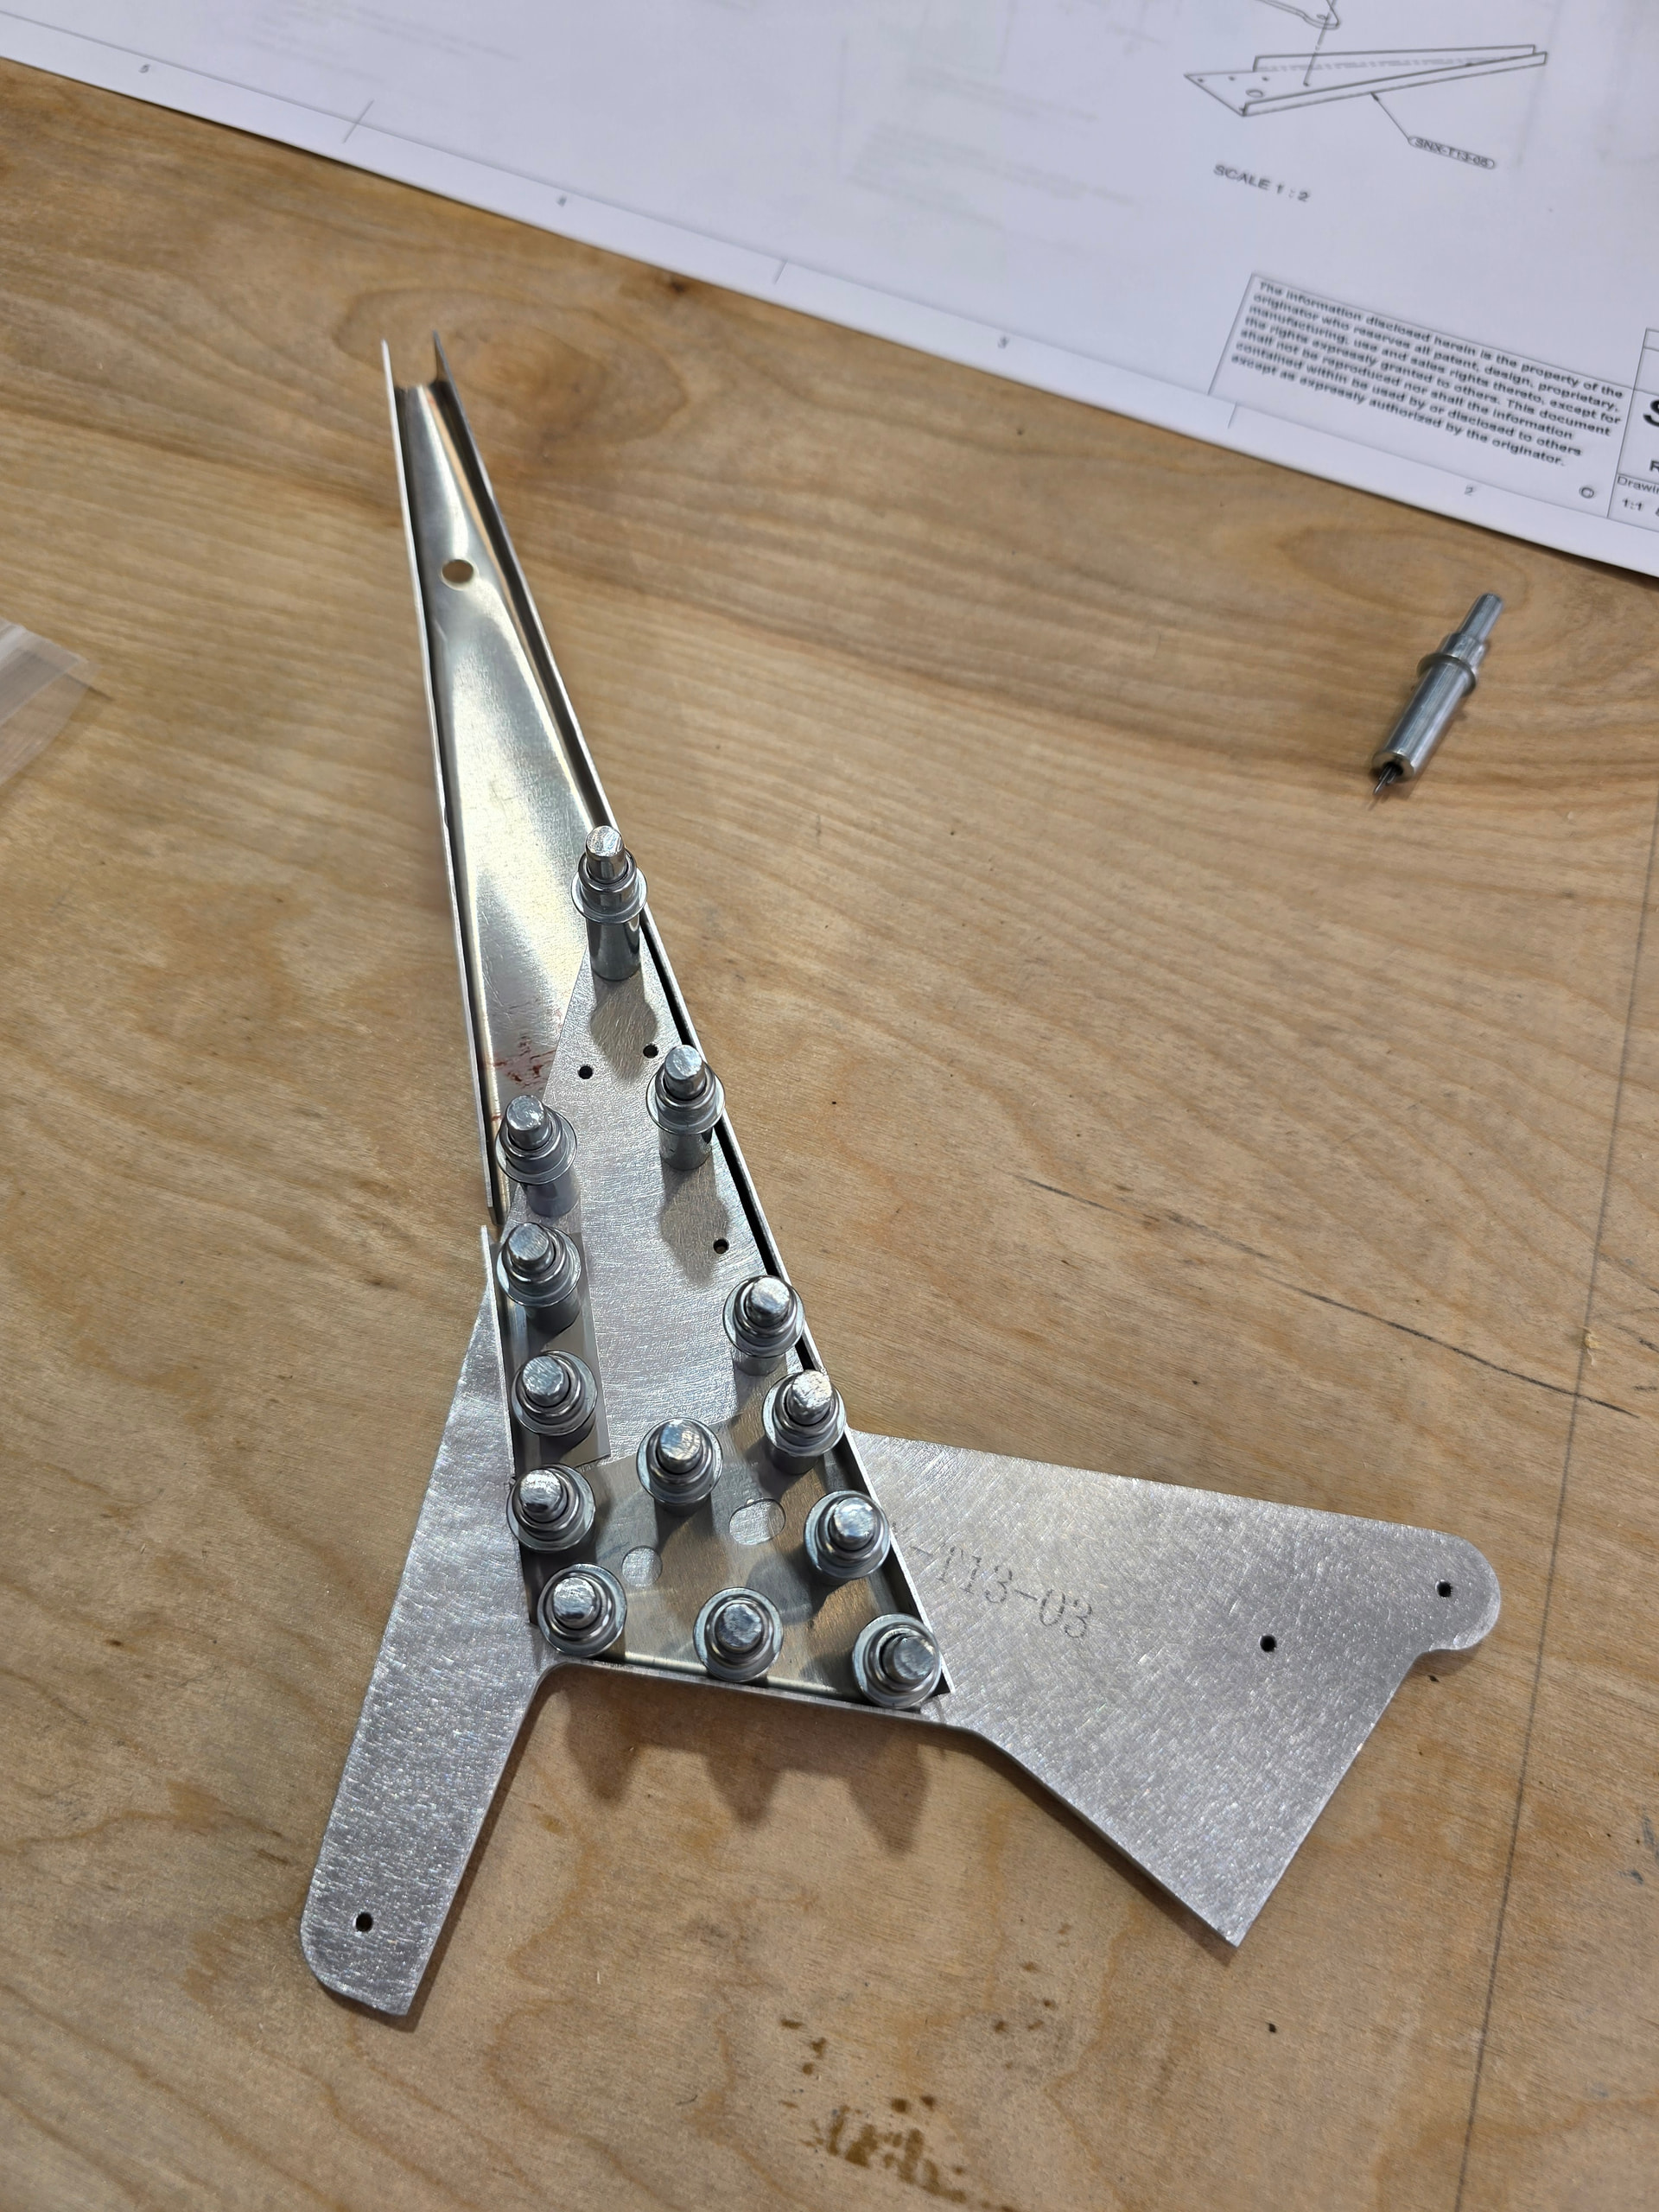
6 Likes
Looking good! With the 3 way wing tip, nav, position, strobe lights, I didnt feel a need to have any tail lights. I’ll barely fly at night but want the ability to. I just want to be legal for night, more concerned with having people see me in the pattern in the daytime.
1 Like
Initially we skipped having a light on the back. But the Uavionix tail beacon was our easy path to ADSB out. So I added one, much harder for a flying aircraft.
We do fly at night. We have Whelen Orion 600s which incorporate the aft-facing white nav light in the wingtip. However I had someone comment that they couldn’t see it taxiing behind me at night. I’m sure it’s fine in the air.
If you are truly undecided, at least run conduit from somewhere forward to under the tip. I used 1/4” OD poly tubing.
1 Like
Note that you can pull this through the existing tooling holes in all the ribs and fuselage formers.
1 Like
Thank you. Ill look into those light and tubing!
1 Like
Here’s what I used for tubing. I’d leave a length rolled up under the stabilizer to pull through the fuselage, at least to the baggage area.
With the tubing in place, you can push some stiff wire down it to pull your electrical wires through it.
2 Likes
I used the same tubing shoved into the tooling holes in the ribs as well. I think I bought the tubing from home depot.
2 Likes