Getting ready
Posted: Fri Jan 08, 2021 11:58 am
by Gmoney
I have decided to purchase a tail kit. Local builder has offered to let me look over his build and review his plans before I take the plunge. Any words of advice? I plan to take a ton of photos of the plane.
Thanks
G
Sent from my iPhone using Tapatalk
Re: Getting ready
Posted: Fri Jan 08, 2021 12:58 pm
by MichaelFarley56
Enjoy the journey!!
If you’re going to look over his airplane and plans, have him explain how the plans work and how you read measurements. They’re easy to understand and well done but at first glance some people don’t understand the logic. Not much to it! If they have the time and offer, a quick demo on drilling, debuting and riveting will help you.
Trust me if I can build one of these, anyone can. Enjoy the journey and congratulations!
Re: Getting ready
Posted: Fri Jan 08, 2021 5:02 pm
by Rynoth
What Mike said is spot-on. When I visited the factory for their seminar on building a Sonex (that is where I made my decision to proceed with purchasing my build), it was that process they taught of cutting, filing, drilling, deburring, and riveting a sample part that made me realize I could really and truly do it myself. That sample piece is still a prominent fixture in my living room.
Have him show you his band saw/cutting tools, his scotchbrite wheel/sanding/filing method, his drilling/deburring methods, and his riveting methods.
Re: Getting ready
Posted: Fri Jan 08, 2021 5:38 pm
by lakespookie
Going over his tool selection and some of the other items not listed in the tool list are helpful like the power tools and ancillary stuff like organizational tools etc. I also recommend a respirator when deburing when using the grinding bench and also the bending tools and how to make the few number of bends you have to make in the kit they are not many but are not well documented as far as process as opposed to resulting peice.
Re: Getting ready
Posted: Sat Jan 09, 2021 7:00 am
by pfhoeycfi
I purchased the tools on the list before I started…and haven’t found a way to stop buying more tools in the 3 years I’ve been at it. I have purchased so many tools in fact that I may have no choice but to build another airplane once the Sonex is complete. You’ll figure out what you need as you go but it can be frustrating (for me anyway) to get to a step only to realize you need to stop…go online…and order another tool.
Good luck
peter
Re: Getting ready
Posted: Sat Jan 09, 2021 9:30 am
by Sonex1517
I believe it may have been Bryan Cotton who said (I’m paraphrasing) “buying tools is the point of the hobby.”
Glad you took the plunge! Have fun!
Many of my tools are now used by EAA 461 so other members may enjoy them.
Getting ready
Posted: Sat Jan 09, 2021 11:52 pm
by Gmoney
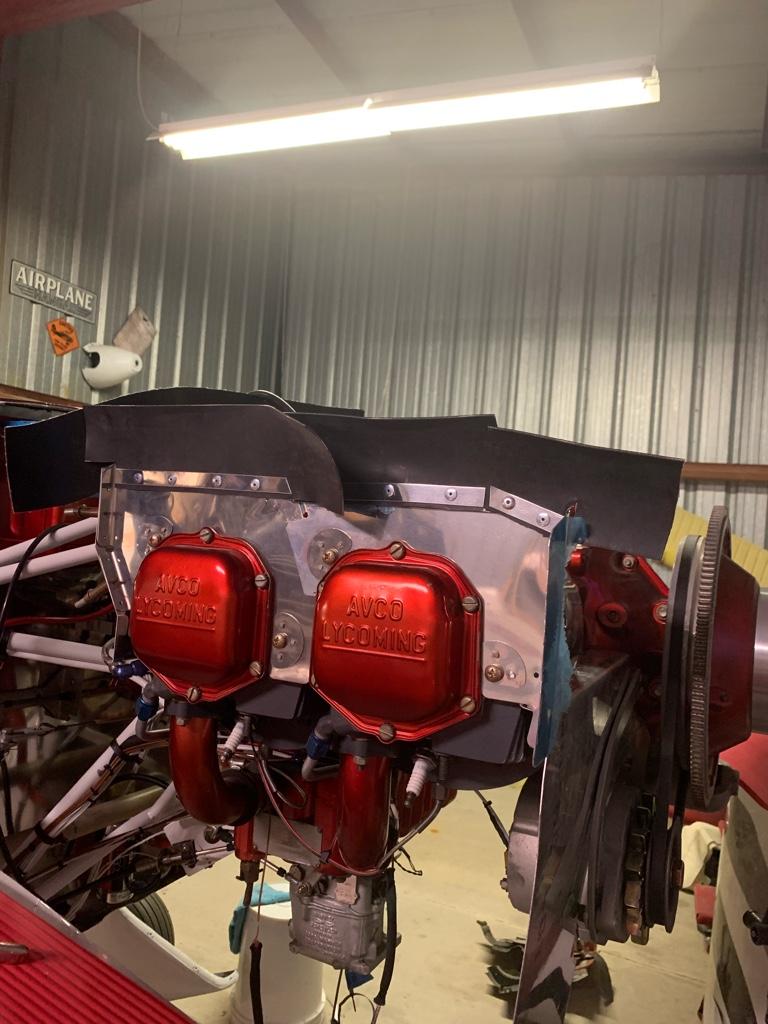
Thank you all for the advice! I have a small amount of experience. And tools are NOT a problem, been hands on project guy my whole life. I’ll be talking to Sonex very soon. No time like now to give it a go. A motor project I got to help out with a couple years ago. Heavily modified Vans baffling kit.
G
Sent from my iPhone using Tapatalk
Getting ready
Posted: Wed Jan 20, 2021 10:40 am
by Gmoney
Well, payment was processed yesterday. 4-6 weeks and the tail kit arrives. Really looking forward to the project.
G
Sent from my iPhone using Tapatalk
Getting ready
Posted: Wed Feb 24, 2021 7:56 pm
by Gmoney
Plans arrived today! Tail kit should be coming very soon. Almost have enough funds to order fuse kit..
G
Sent from my iPhone using Tapatalk
Re: Getting ready
Posted: Wed Feb 24, 2021 9:06 pm
by Scott Todd
It’s exciting ![]() What tail kit did you order?
What tail kit did you order?
Re: Getting ready
Posted: Wed Feb 24, 2021 11:08 pm
by Bryan Cotton
Welcome to the gang! Where are you located, G?
Getting ready
Posted: Fri Feb 26, 2021 12:33 am
by Gmoney
Waiex B is the kit! I am located in West Tawakoni TX.
Really looking forward to the project.
G
Sent from my iPhone using Tapatalk
Getting ready
Posted: Mon Mar 08, 2021 4:34 pm
by Gmoney
My tail kit ships Friday! Man am I looking forward to this..
Sent from my iPhone using Tapatalk
Getting ready
Posted: Tue Mar 30, 2021 9:09 am
by Gmoney
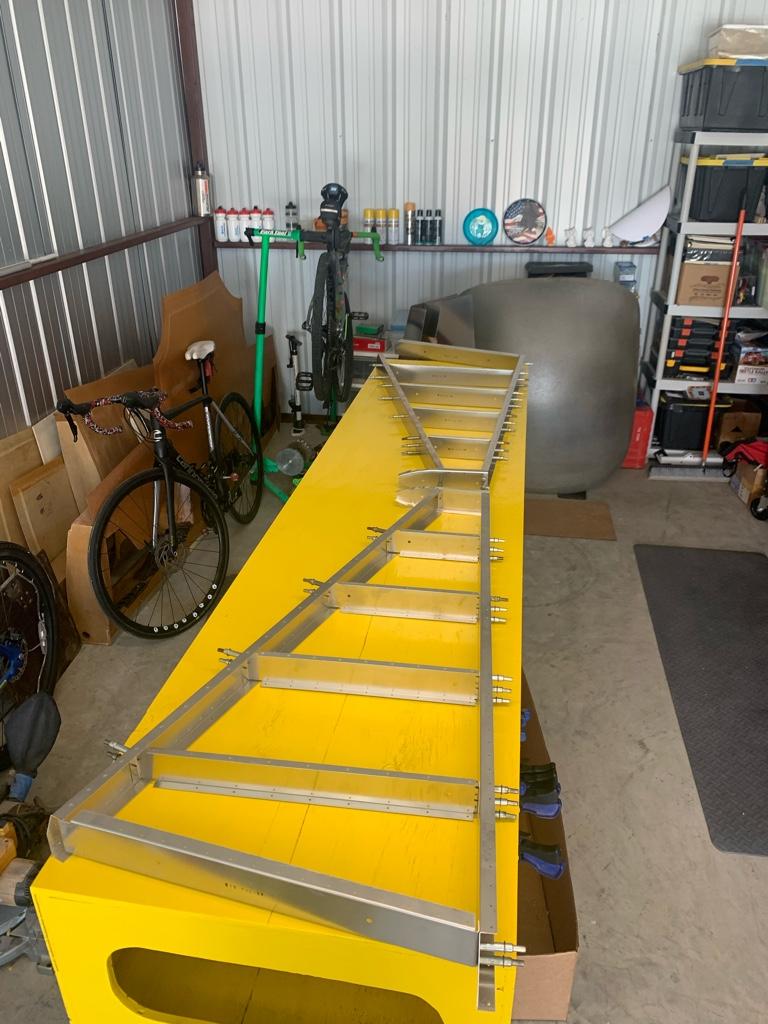
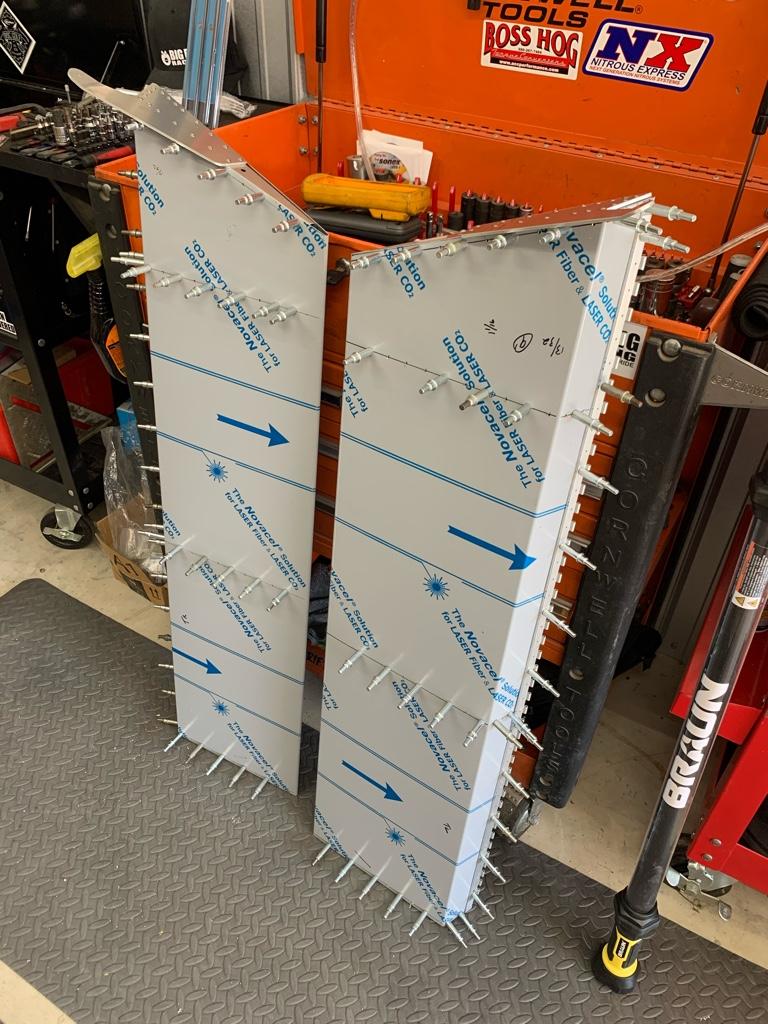
Debured and cleco’d together. I need to make a couple bends this weekend and see if I can’t get them knocked out.
G
Sent from my iPhone using Tapatalk
Re: Getting ready
Posted: Tue Mar 30, 2021 6:06 pm
by lakespookie
Make sure you double check the bend direction, i was a little unclear and ended up bending one of the horns in the wrong direction and had to replace the horn because it is a structural element did not want to risk losing a tail.
there is also an AN bolt hole that you will need a diffrent drill bit from the standard bits for rivetting as the AN bolt is a hair thicker than any of the standard bits and it will be way to tight otherwise. I guess you could wobble the bit to widen the hole but i would suggest just getting the one off bit they are not that expensive and easily available at a hardware store.
Re: Getting ready
Posted: Tue Mar 30, 2021 6:11 pm
by lakespookie
Also maybe ask for some suggestions on how to do the ruddervator tips i ended up just doing the best i could to make it match but i am not 100% happy with how they turned out they are not unsafe but i felt like a better system or approach has to exsist for how to cut/line those guys up its kind of hard to measure and match them since its a curved surface and i dont 100% think they are exactly the same. i am sure they come out of some mold but they are a composite part that is subject to some variablility. Other than that its pretty straight forward of a build. It will go way quicker than you think and the wings/fueselage are at about an 8 to 10 week lead time so i would start looking into putting that order in sooner rather than later unless you want to sit around waiting on the next kit. But that really depends on how quick you build the tails went together much faster than I expected. I think I got them done in under 80-100 hours total. also for the tips a dremel is gold, and for the bend you can use thick wall tubing or an impact socket in the about 7/8th to 1inch range should get you the right radi.
Re: Getting ready
Posted: Tue Mar 30, 2021 8:18 pm
by Bryan Cotton
lakespookie wrote:I guess you could wobble the bit to widen the hole but i would suggest just getting the one off bit they are not that expensive and easily available at a hardware store.
In general it’s a bad practice on aircraft to wobble drill bits for clearance. For structural bolts you want round snug fit holes.
Re: Getting ready
Posted: Wed Mar 31, 2021 8:18 pm
by lakespookie
Bryan Cotton wrote:
lakespookie wrote:I guess you could wobble the bit to widen the hole but i would suggest just getting the one off bit they are not that expensive and easily available at a hardware store.
In general it’s a bad practice on aircraft to wobble drill bits for clearance. For structural bolts you want round snug fit holes.
you sir are not wrong, And i purchsed larger bits for my aircraft. I dont recall if its structural or not at this point this was a year ago just something that i thought of as being a challenge.
Re: Getting ready
Posted: Thu Apr 01, 2021 6:09 am
by GordonTurner
Even better os to get the correct reamer for each bolt size. I have one that is the exact correct size for the rivets, and one each for an3, an4, and an6. The bolts have a very very slight range of size, so for the important seeming ones i try a few bolts and find one thats tight.
Getting ready
Posted: Sun Apr 04, 2021 4:36 pm
by Gmoney
Thank you all for the hints and tips. Had family drop in for the long weekend. I have three 1” impacts on the ready for the bends.
I can already tell you I need to order my next sub kit. I am going to get the fuse kit next.
The fiberglass tips. I will install initially but if the wait is long for my next kit I plan on making some carbon ones. At a first glance they look simple enough to make a set of plugs.
Thanks again. More pics on progress next weekend.
G$
Sent from my iPhone using Tapatalk
Re: Getting ready
Posted: Sun Apr 04, 2021 7:18 pm
by lakespookie
Sounds good i am waiting on my wing kit and fuse will follow that so maybe we can trade tips later in the year =)
Getting ready
Posted: Sun Apr 04, 2021 9:21 pm
by Gmoney
lakespookie wrote:Sounds good i am waiting on my wing kit and fuse will follow that so maybe we can trade tips later in the year =)
Sounds great!
Sent from my iPhone using Tapatalk
Getting ready
Posted: Fri May 07, 2021 12:04 am
by Gmoney
A little progress today.
Sent from my iPhone using Tapatalk
Getting ready
Posted: Fri May 07, 2021 12:06 am
by Gmoney
My video build log. Nothing special.
G
Sent from my iPhone using Tapatalk
Re: Getting ready
Posted: Fri May 07, 2021 9:29 am
by Bryan Cotton
Gmoney wrote:https://youtu.be/1MUEUm9l_7o
My video build log. Nothing special.
G
Good video - and the big scary cut is one of those things you get used to. You have a good attitude on the process and I think it’s better to make some mistakes along the way rather than succumb to paralysis by analysis. Remember, anybody can do it right the first time but real skill is shown when we fix screwups.
There is no sense deburring twice. Take out half of those #40 clecoes, upsize to #30, then the other half, then disassemble and deburr.
Lay out all the holes on your hinge pin. Clamp your hinge pin to the lip, just the top surface. Gnu-vise is the tool of choice but little C clamps will also work. Do your measurement on hinge on either end and the middle. Transfer holes to that lip. Remove the hinge pin (mark which ruddervator it is for) and put it aside. Put the ruddervator on a FLAT surface and transfer the holes from the lip to the other part.
I made some thin scraps of metal to hook over the leading edge of the ruddervators, ailerons, and flaps. Measure out your rivet holes once, transfer it to that strip of metal, and that speeds up the process of locating holes.
Re: Getting ready
Posted: Fri May 07, 2021 10:00 am
by pappas
It might be too late for this advice but I suggest that everyone layout and rivet each side of the Flaps, ailerons, elevators, or ruddervators with the side opposite to which you are working on clamped to a flat work surface. It is really easy to get a twist in them if you are handling them or they can move while drilling or riveting.
Additionally, I NEVER drill or rivet a hinge to any surface, especially a long run, if the hinge is separated from the other half. It seems like each separate half would maintain its “straightness”, but it rarely does.
If one side is riveted to the flap or aileron without being attached to the other half of the hinge with the pin it is very easy for the hinge to NOT actually be straight. You won’t find this out until you try to assemble the flap or aileron to the wing. That is when you have a hell of a time trying to get the hinge pin to slide smoothly between the two halves. 1/32nd or 1/16th of an inch will have you wondering why the pins won’t slide in and bind or why the hinges don’t mate exactly.
Do yourself a favor and make your layouts with both halves of the hinges attached to each other.
Re: Getting ready
Posted: Fri May 07, 2021 12:27 pm
by GordonTurner
That is EXCELLENT advice from Lou.
Gordon
Re: Getting ready
Posted: Fri May 07, 2021 1:26 pm
by Bryan Cotton
I’ve always put my hinges on as halves. But I also always clamp them and check straightness.
Getting ready
Posted: Fri May 07, 2021 3:11 pm
by Gmoney
Thank you guys! More mistakes made last night for sure. I’m headed to do some more work now. I’ll update again soon.
G
Sent from my iPhone using Tapatalk
Re: Getting ready
Posted: Sun May 09, 2021 2:28 pm
by Bryan Cotton
My flap and ailerons were documented here:
viewtopic.php?f=39&t=578&start=500
At the moment the photobucket links seem to be working, though with a photobucket watermark.
If you go one page past that link you will see the tool for marking the rib holes I was talking about.
Edit: I found the picture and am adding it.
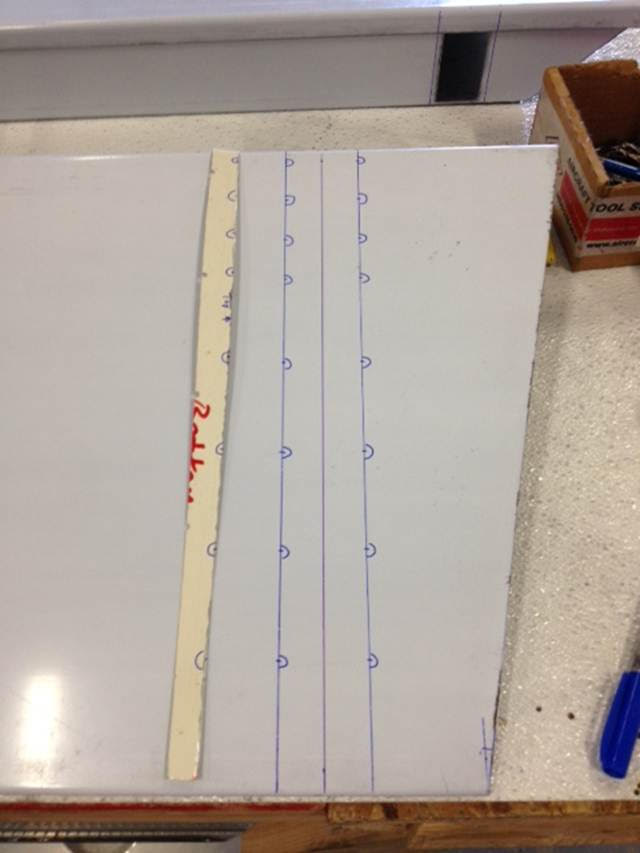
flap hole marking tool.jpg (41.46 KiB) Viewed 2918 times