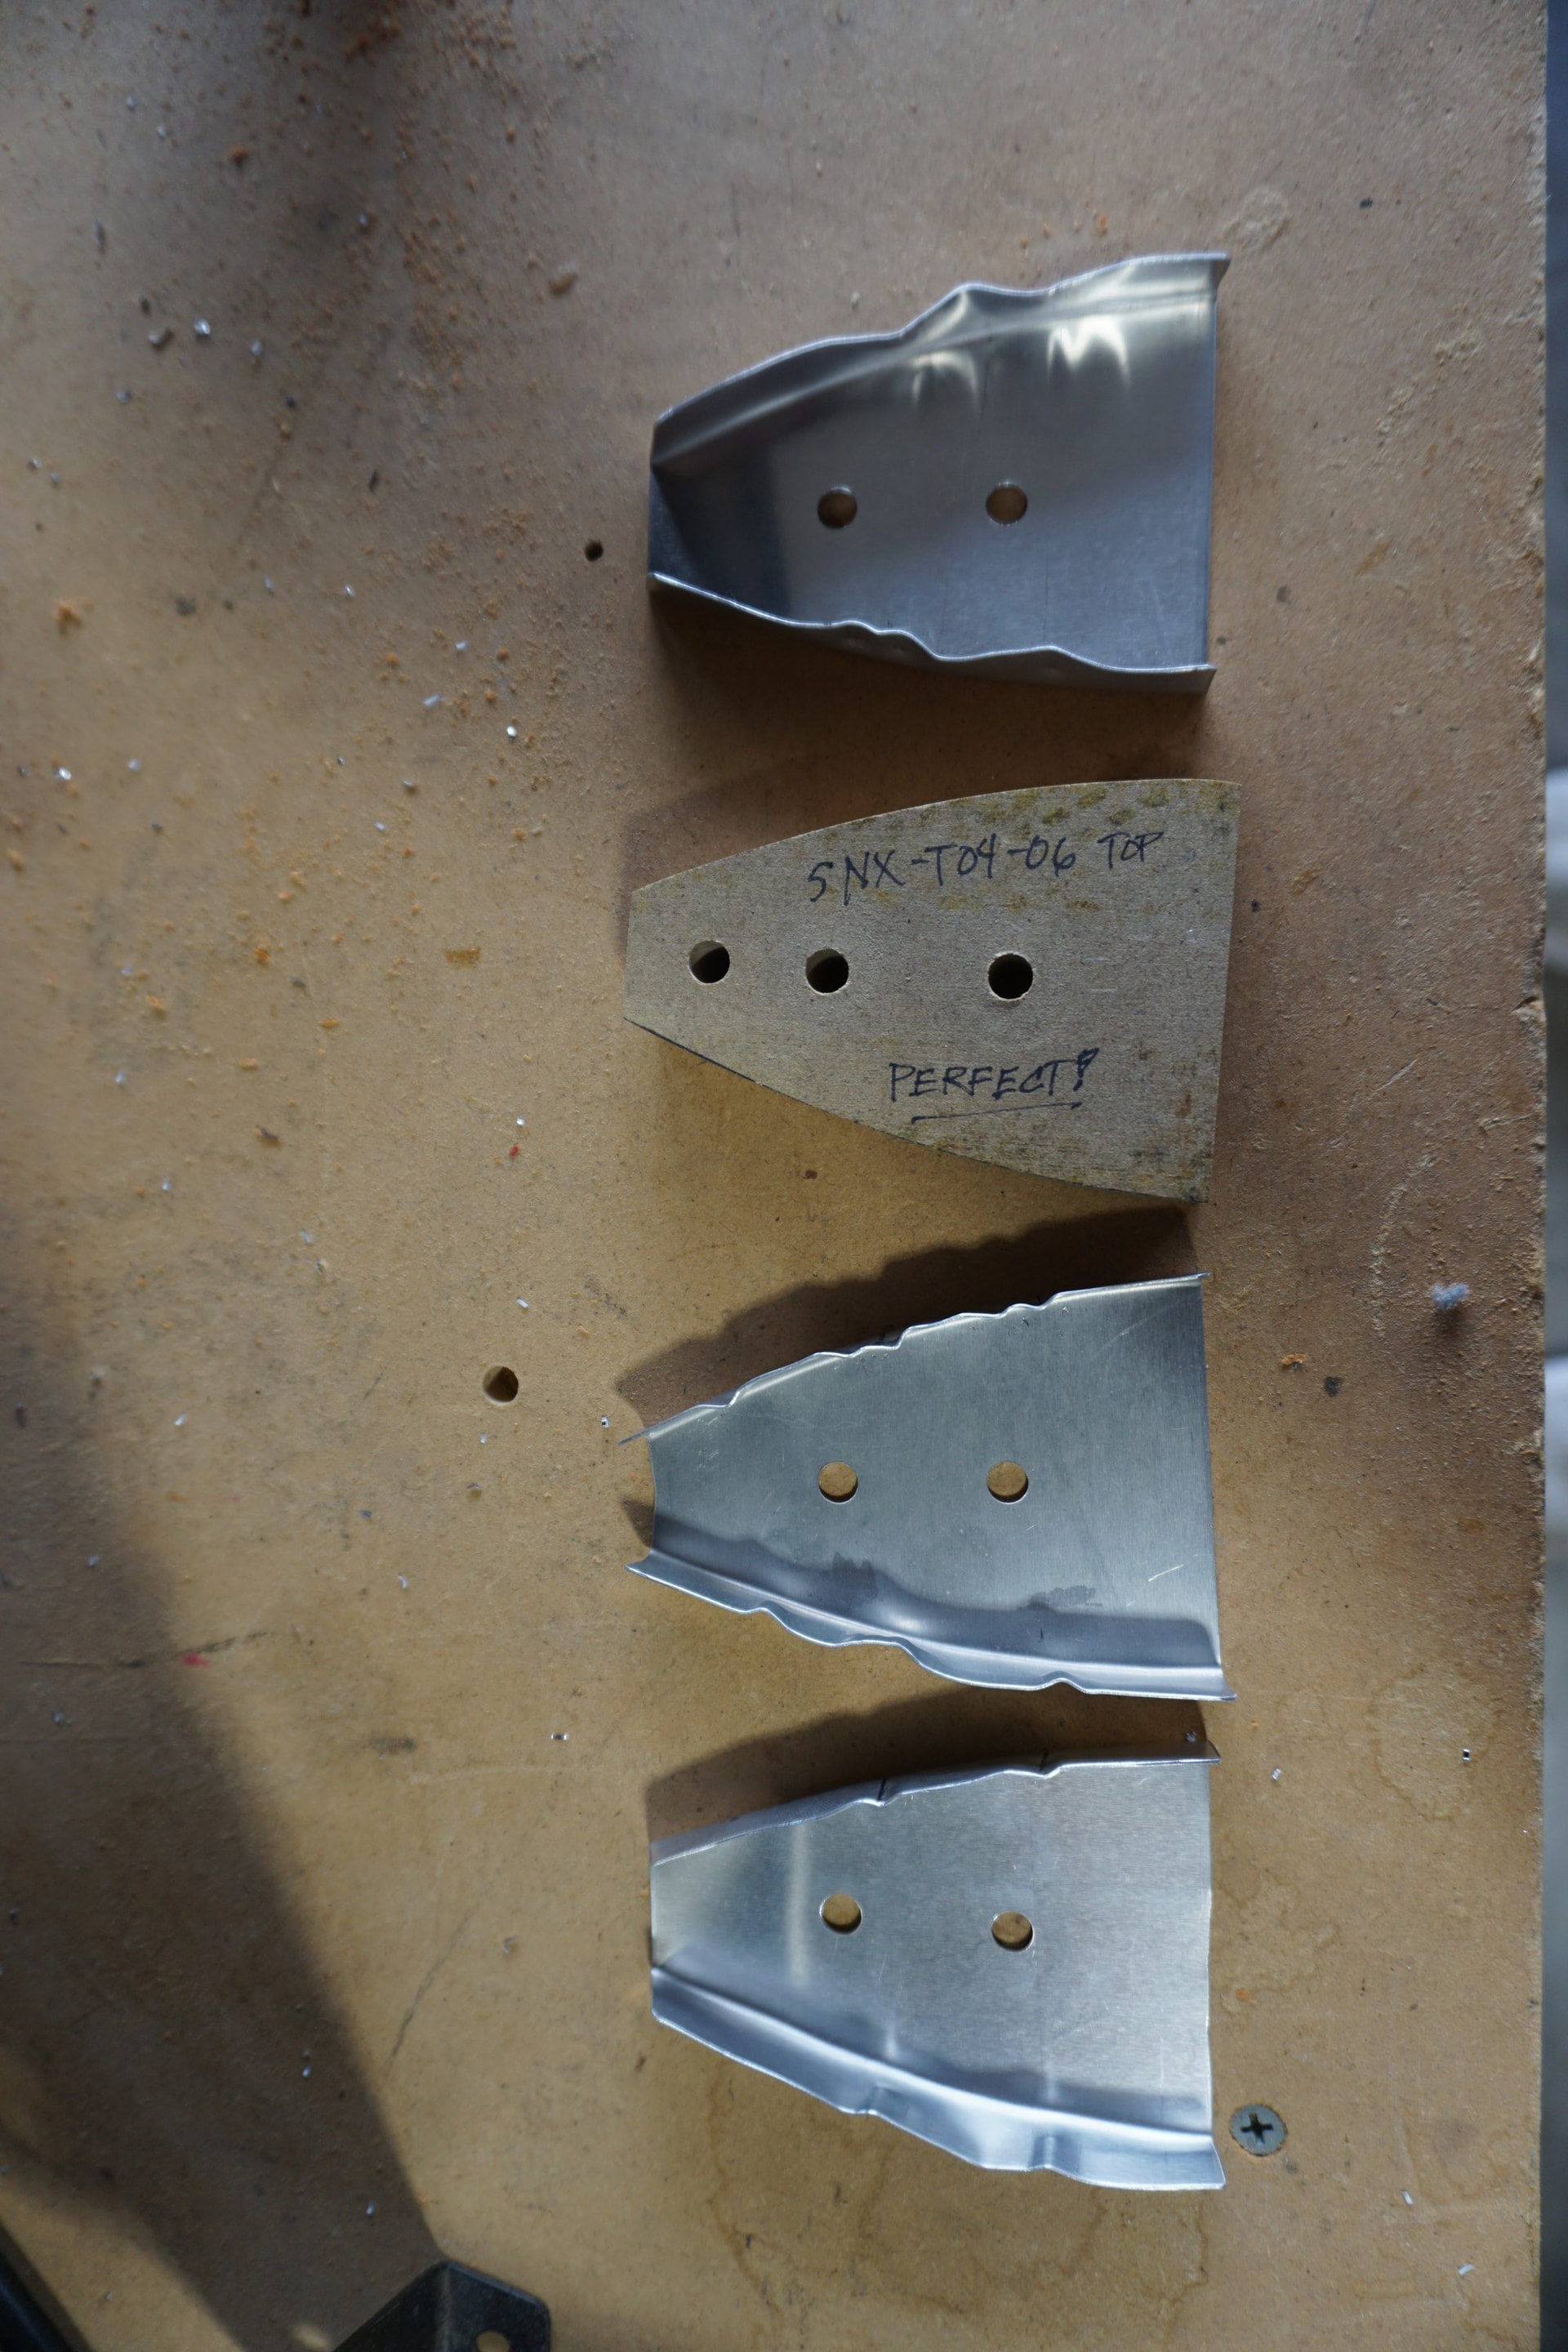
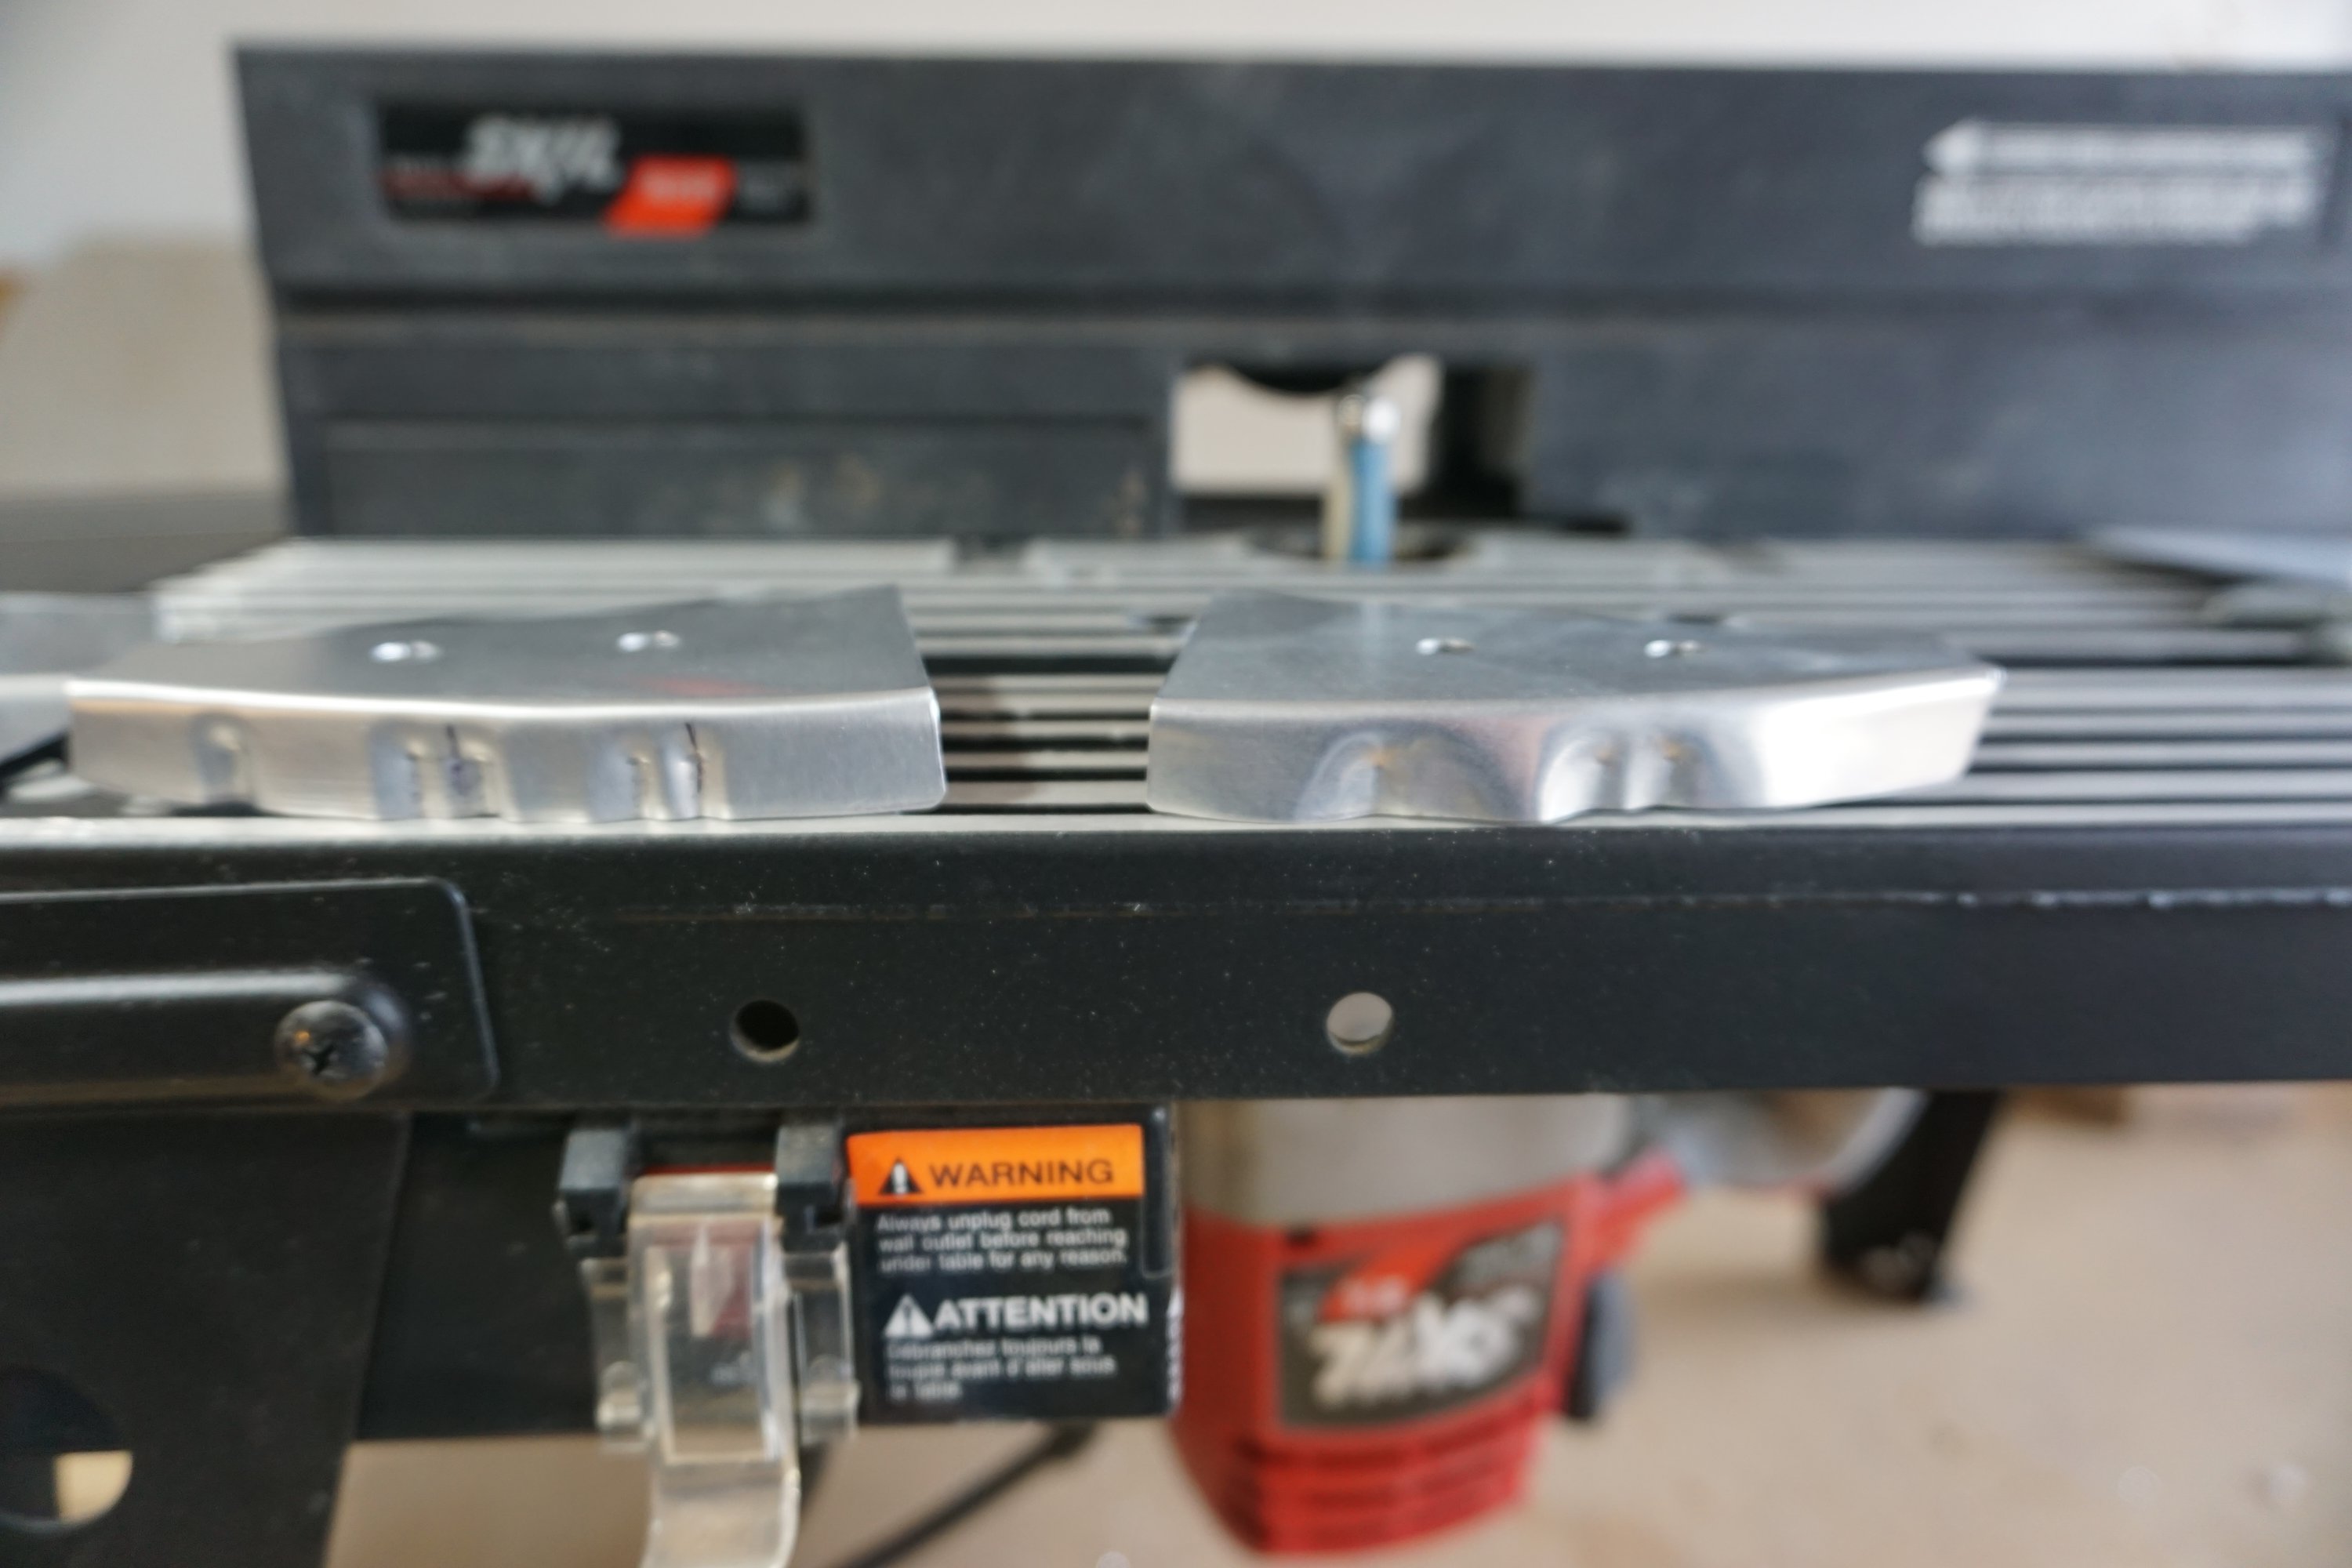
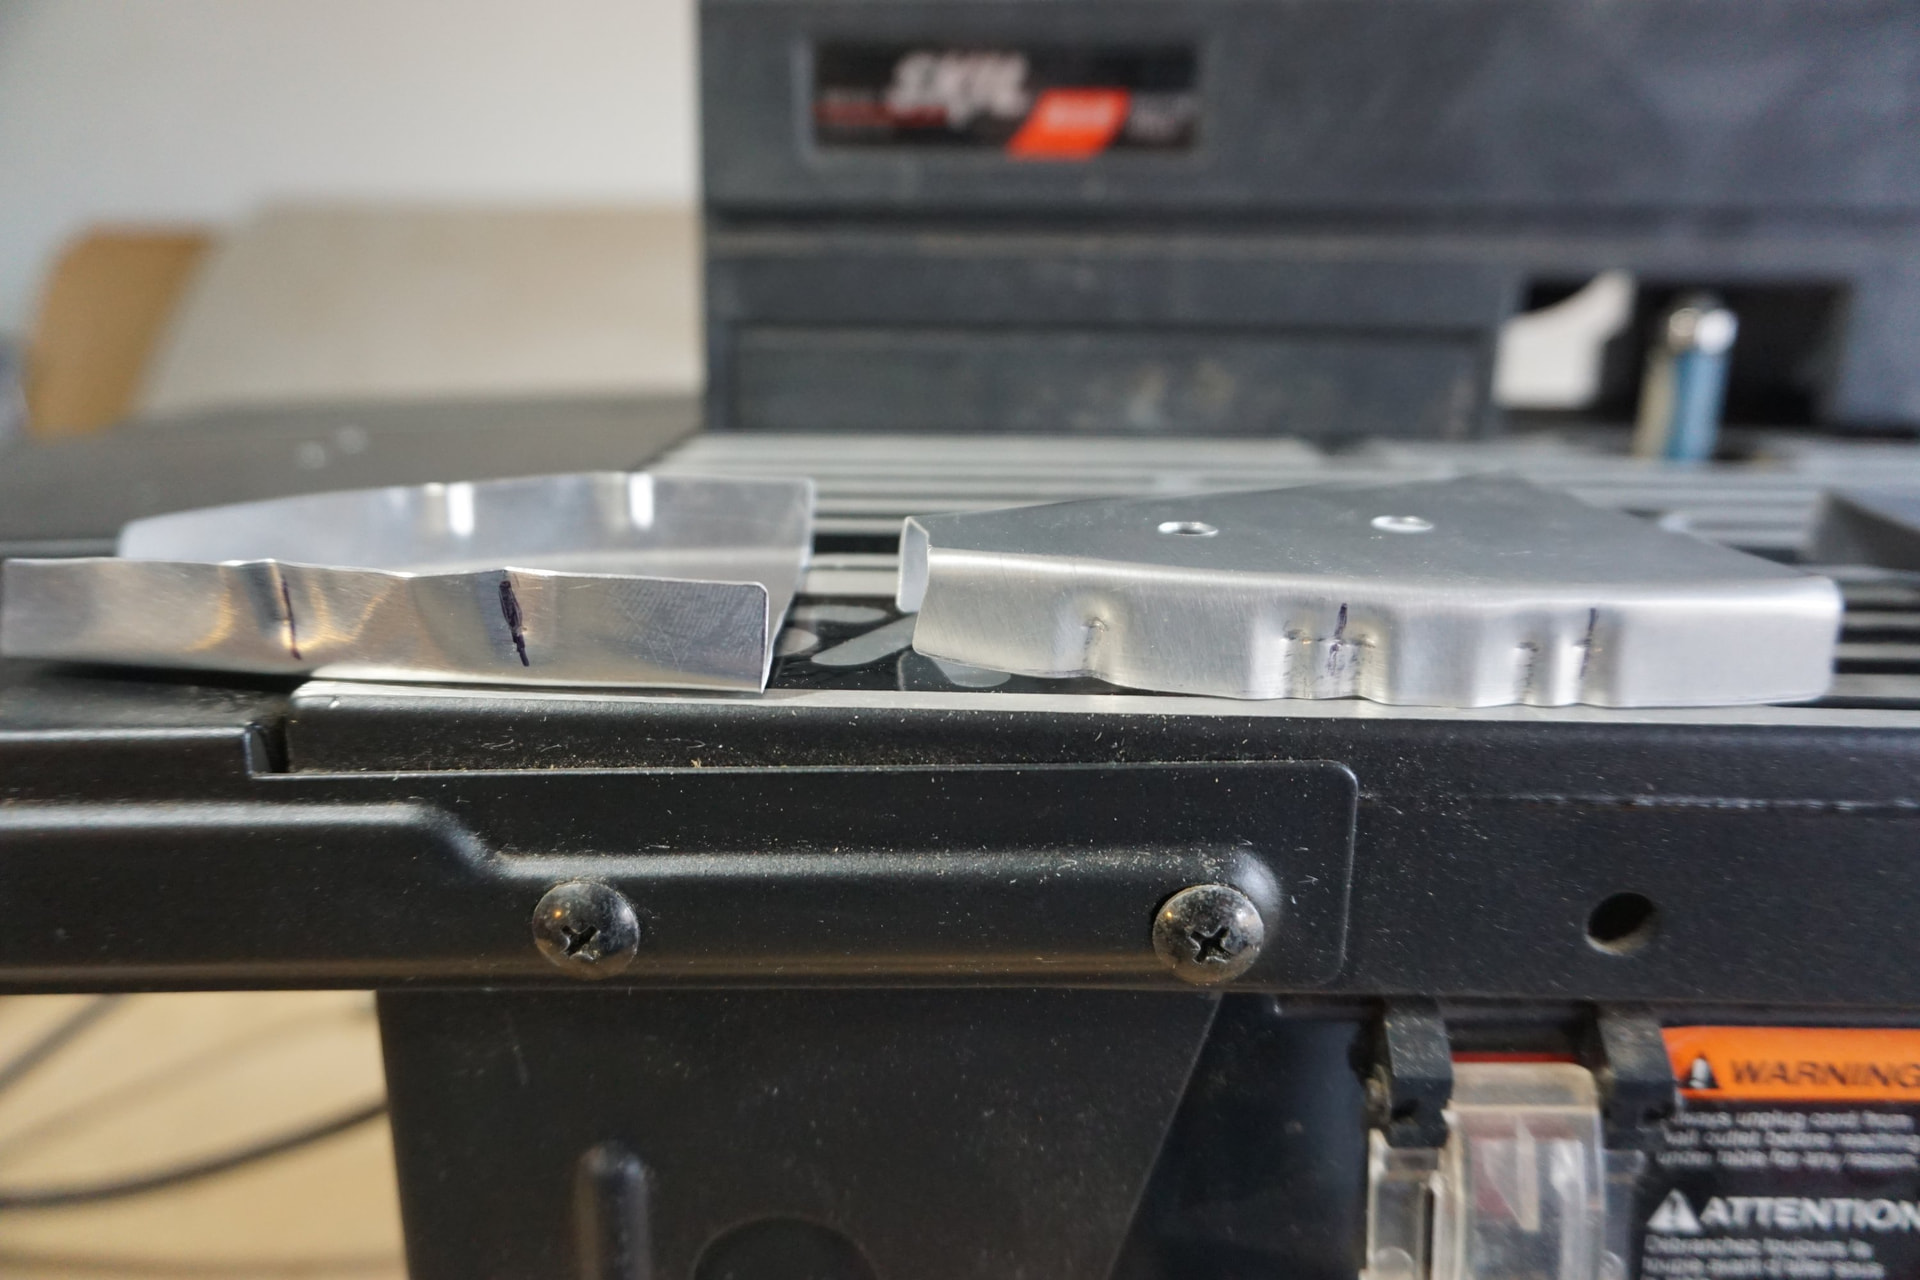
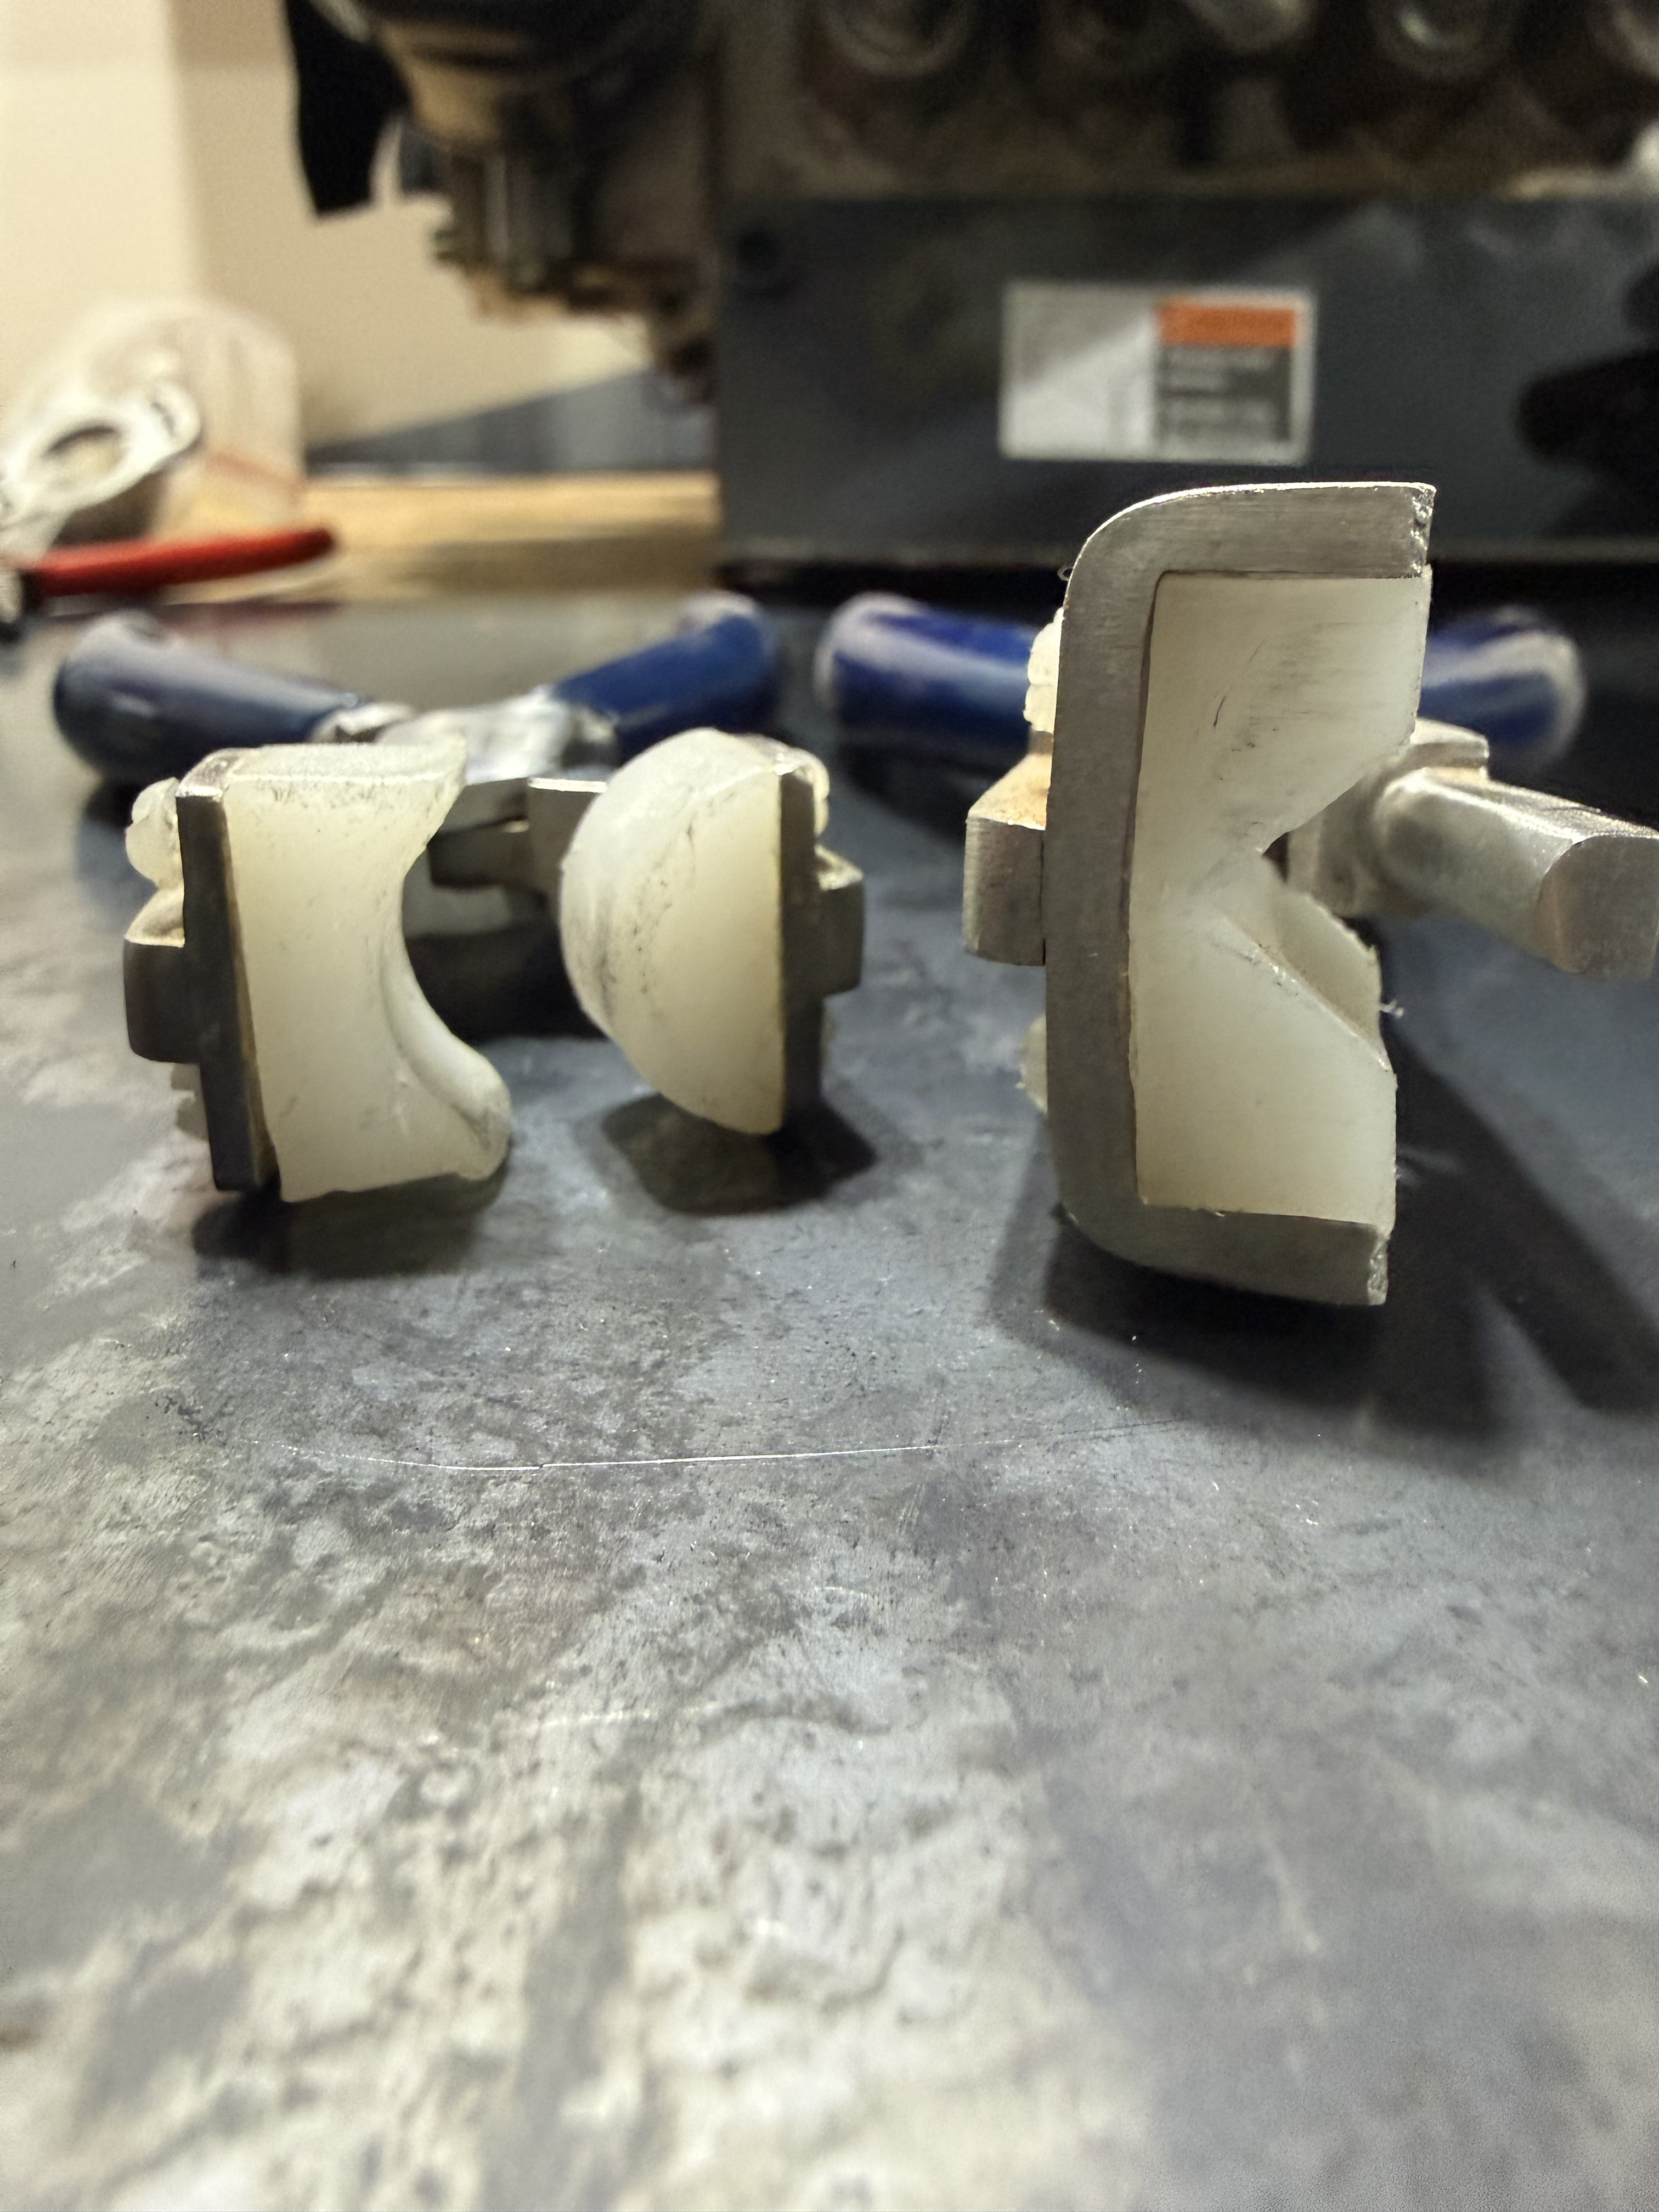
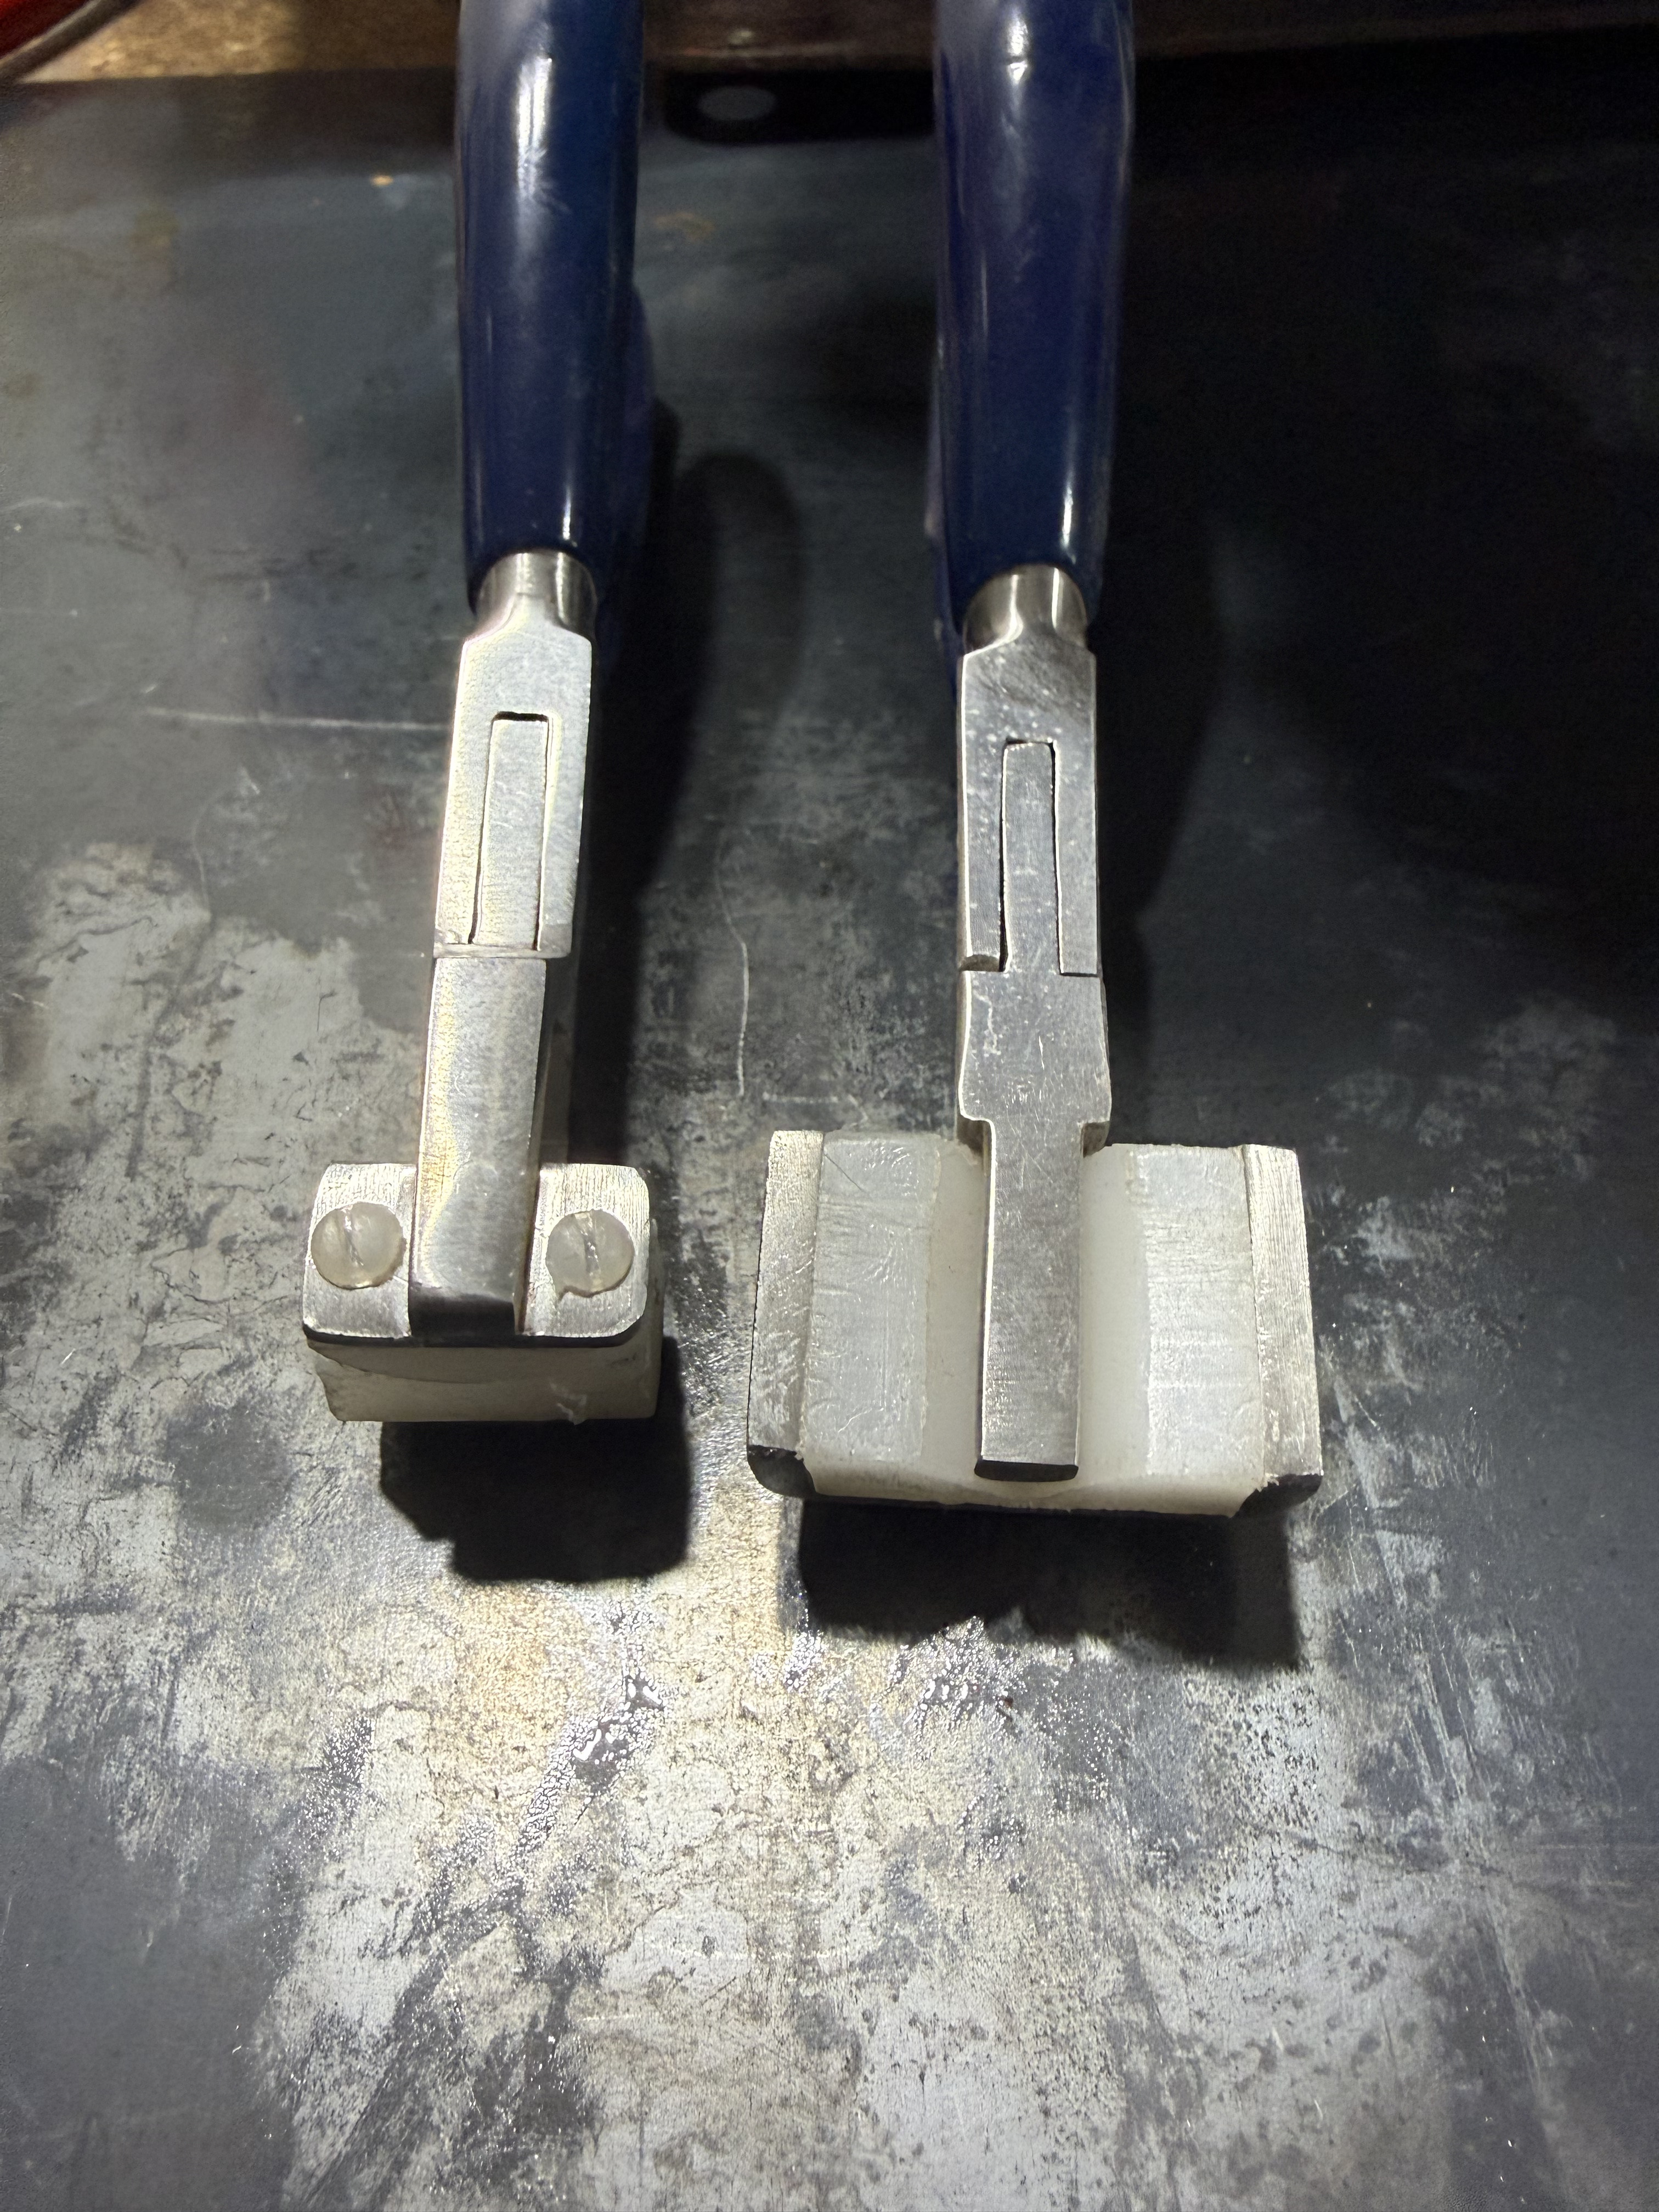
I spent a lot of time making form blocks and cutting templates for parts in January and many of those include curves requiring fluting. As the first metal part I actually attempted, I tried to make the nose tip rib (SNX-T04-06). Unfortunately, fluting well is apparently much harder than Kerry Fores and a host of youtubers make it look online! I have several examples now of this part done w/ very poor fluting results (see pictures below, but unfortunately it’s pretty hard to tell how bad they are from the pictures).
I started with a forming block with completely flat sides, i.e., no grooves for flutes on the sides.
First and second attempts I just used the fluting pliers. They seemed insufficient to pull enough material to take up all the excess that needs to be consumed. They also created a lot more undulation and waviness because the flute they produce is so narrow and when you try to produce another very close to the first you end up with a ripple effect.
I then set up the router to route some divots into the sides of the forming blocks to give the metal somewhere to go.
Third attempt I did the hammer handle method for making the flutes (use the handle of a hammer to shape the flute by banging it with another hammer). These flutes came out broader, seemed to consume more material overall, and were overall more satisfactory. Still not “final part” quality, though.
The time consumed to cut a piece, prep it, do the bending, etc., was not trivial, so at this point I took a break from the fluting with the plan to get some feedback from the group. I’ve watched many youtube videos and there don’t seem to be any “here’s all the trouble I had and how I fixed it”. More just people doing it successfully. So what do you think – is this just a practice issue? Is there a technique I’m missing? Is this particular part the hardest of the fluted parts so it’s a bad example? I have to do fifty-something ribs, all of the turtle deck, and a couple of other miscellaneous pieces so I’d like to get good at this before I start wasting more substantial material and time. Any insights appreciated.
I think it’s just a technique issue. My prior project was a scratch built hummelbird and I had to make a lot of ribs. I haven’t finished the hummelbird yet, but someday!
If you do fluting pliers, don’t do another flute next to the first. Just take another stab at the existing flute, to either make it deeper, or if you have overdone it flip the pliers around and unbend a little bit.
I’ve got the flute locations filed out on my form block. I don’t use a hammer handle, just a big screwdriver. Something that is maybe 3/8” in diameter, give or take. You have to hold at an angle, and just whack it on the edge of the rib stock - not near the bend. It takes a little practice to get it close. All you are looking for is three things:
The flange should be about 90 degrees-ish from the rib
The flutes should not be where the rivets go
The rib should not be a bananna
Hard to be sure from the pictures but I think I see a few things I would do differently. Keep the flutes apart. You are not trying to get some perfect curve but stick to the 3 points above. Don’t use too big of a thing to whack the rib into the relief. Angle it enough so you are taking up more material on the edge and none right by the bend. With either pliers or the whacking technique keep the flute away from the bend.
I would typically just use the screwdriver and a hammer to do the initial flutes, and then adjust them as required with fluting pliers lined up in the existing flutes if needed.
Also I’ve always kept a 6” wide roll of flashing around. Great for making templates and practice parts. Once you get your confidence you can hang the flashing parts on the wall, gift them to coworkers, or sell them on Etsy.
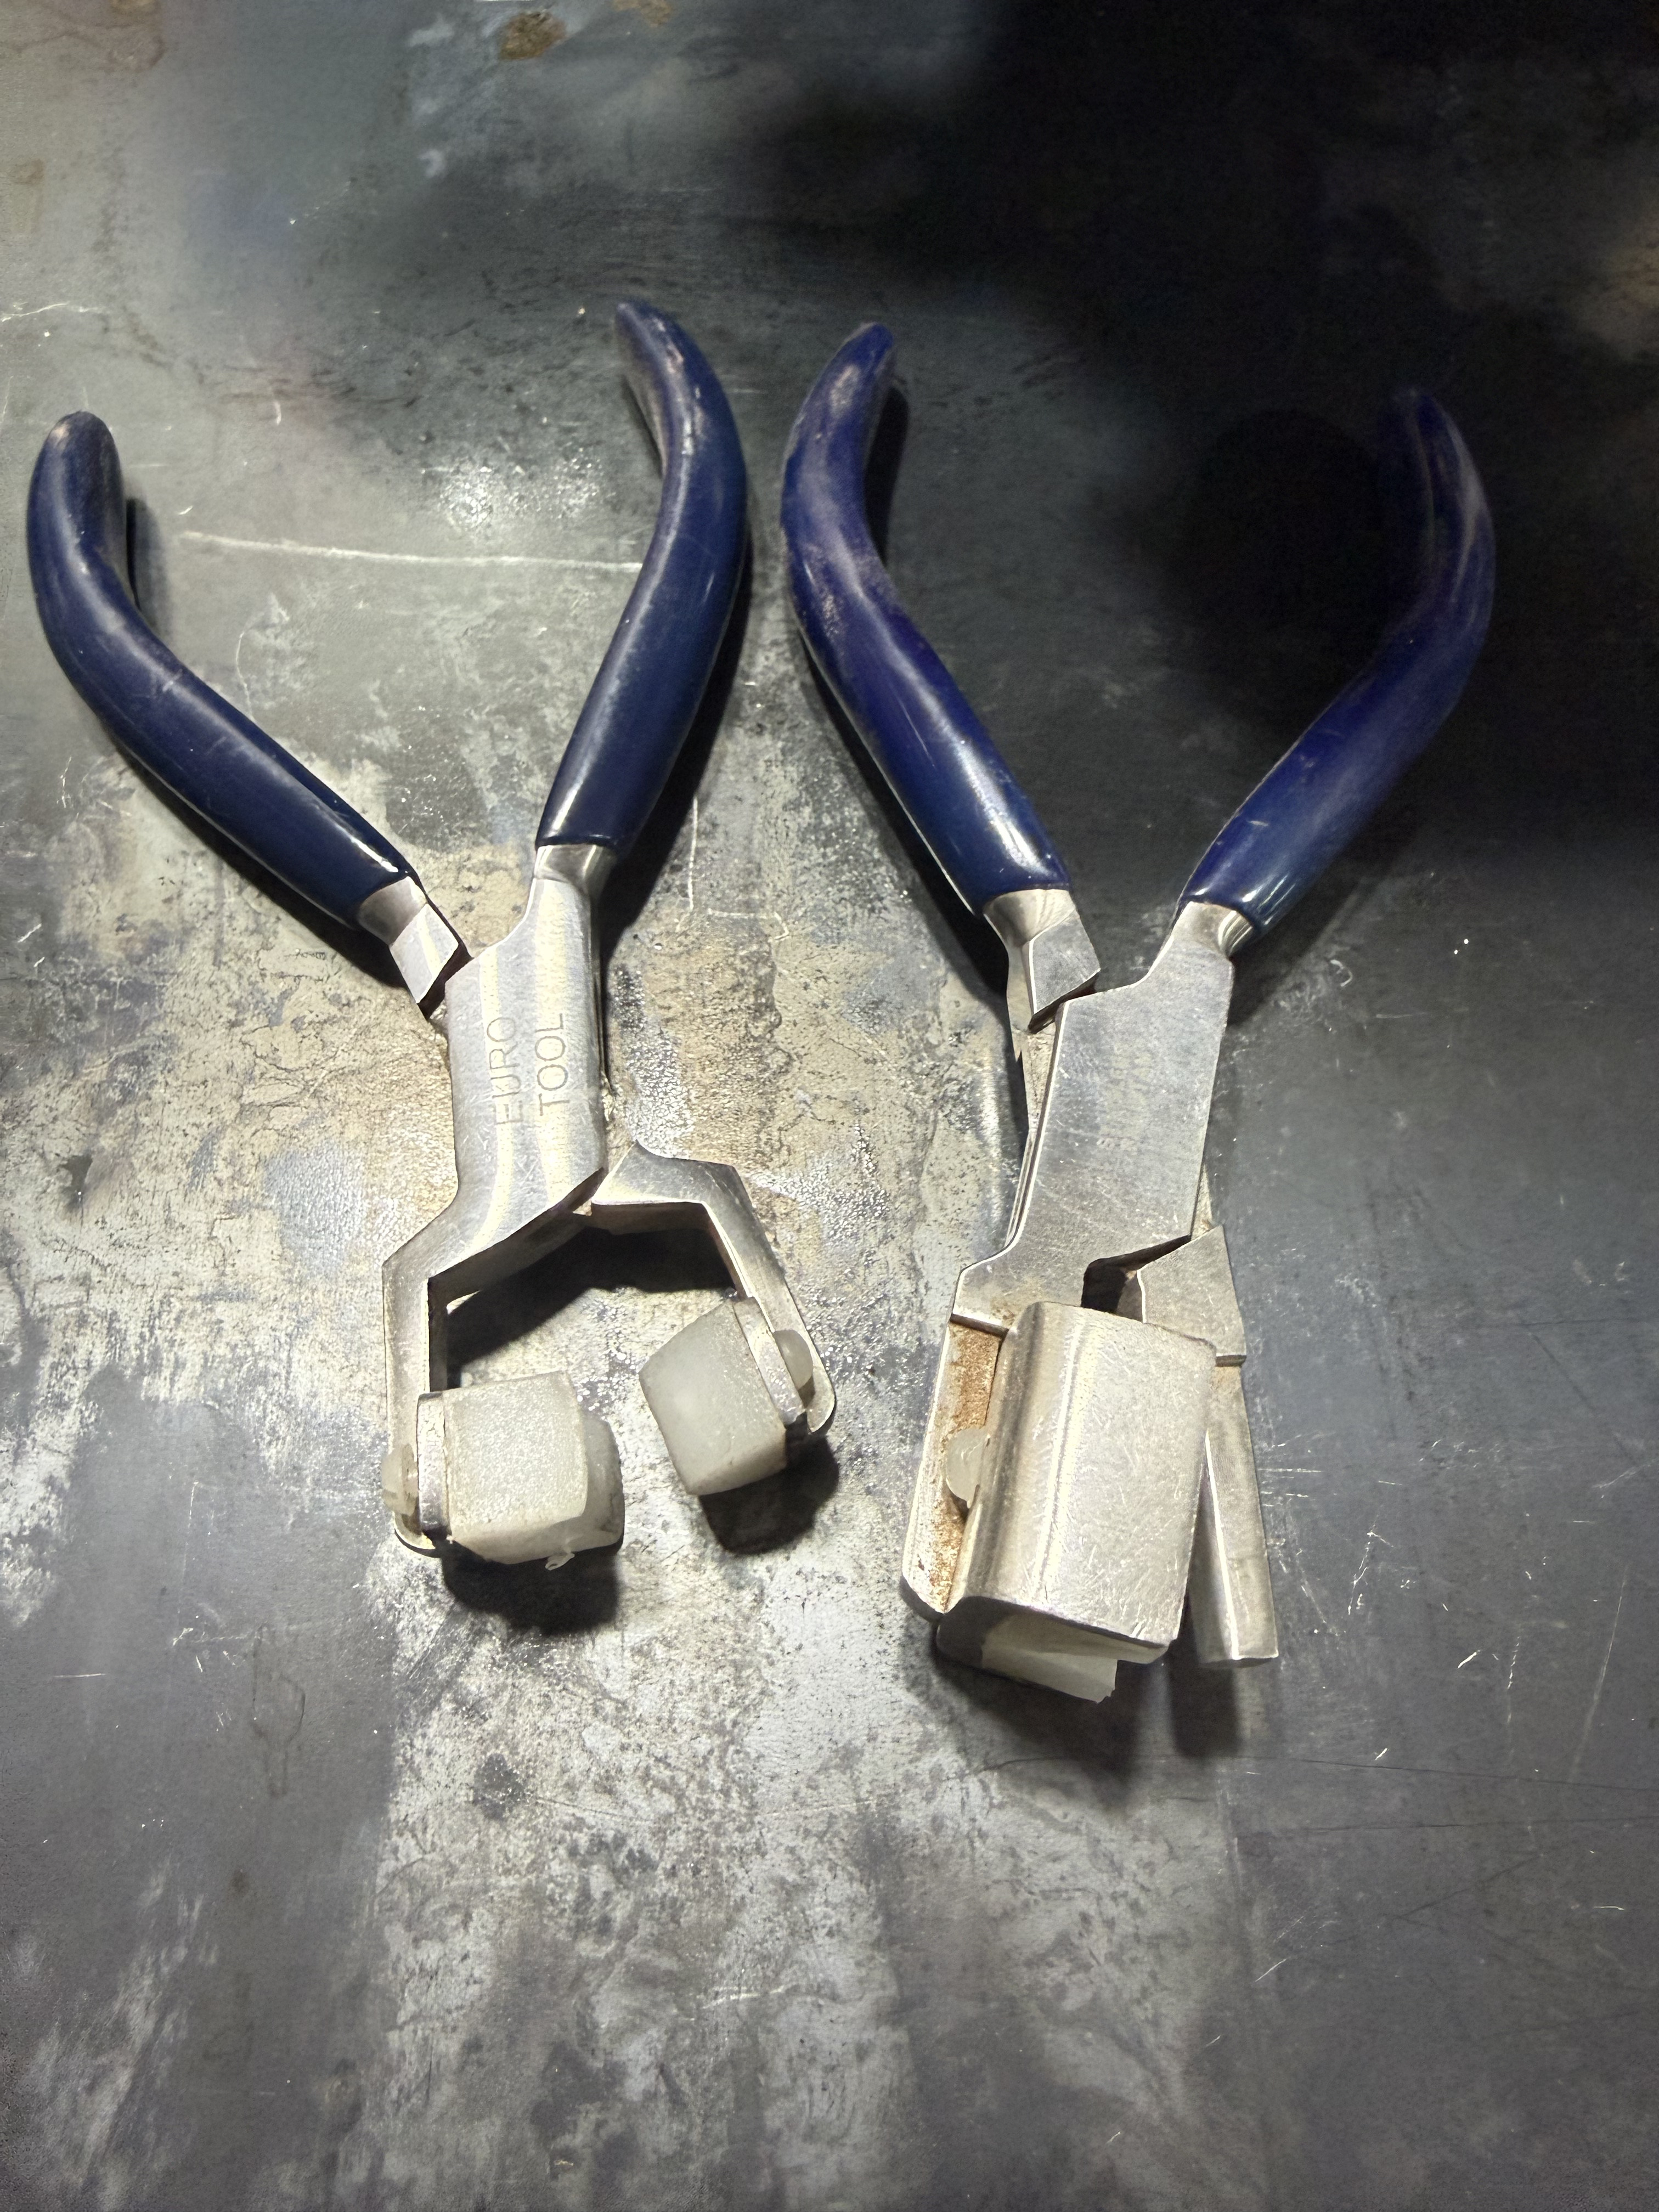
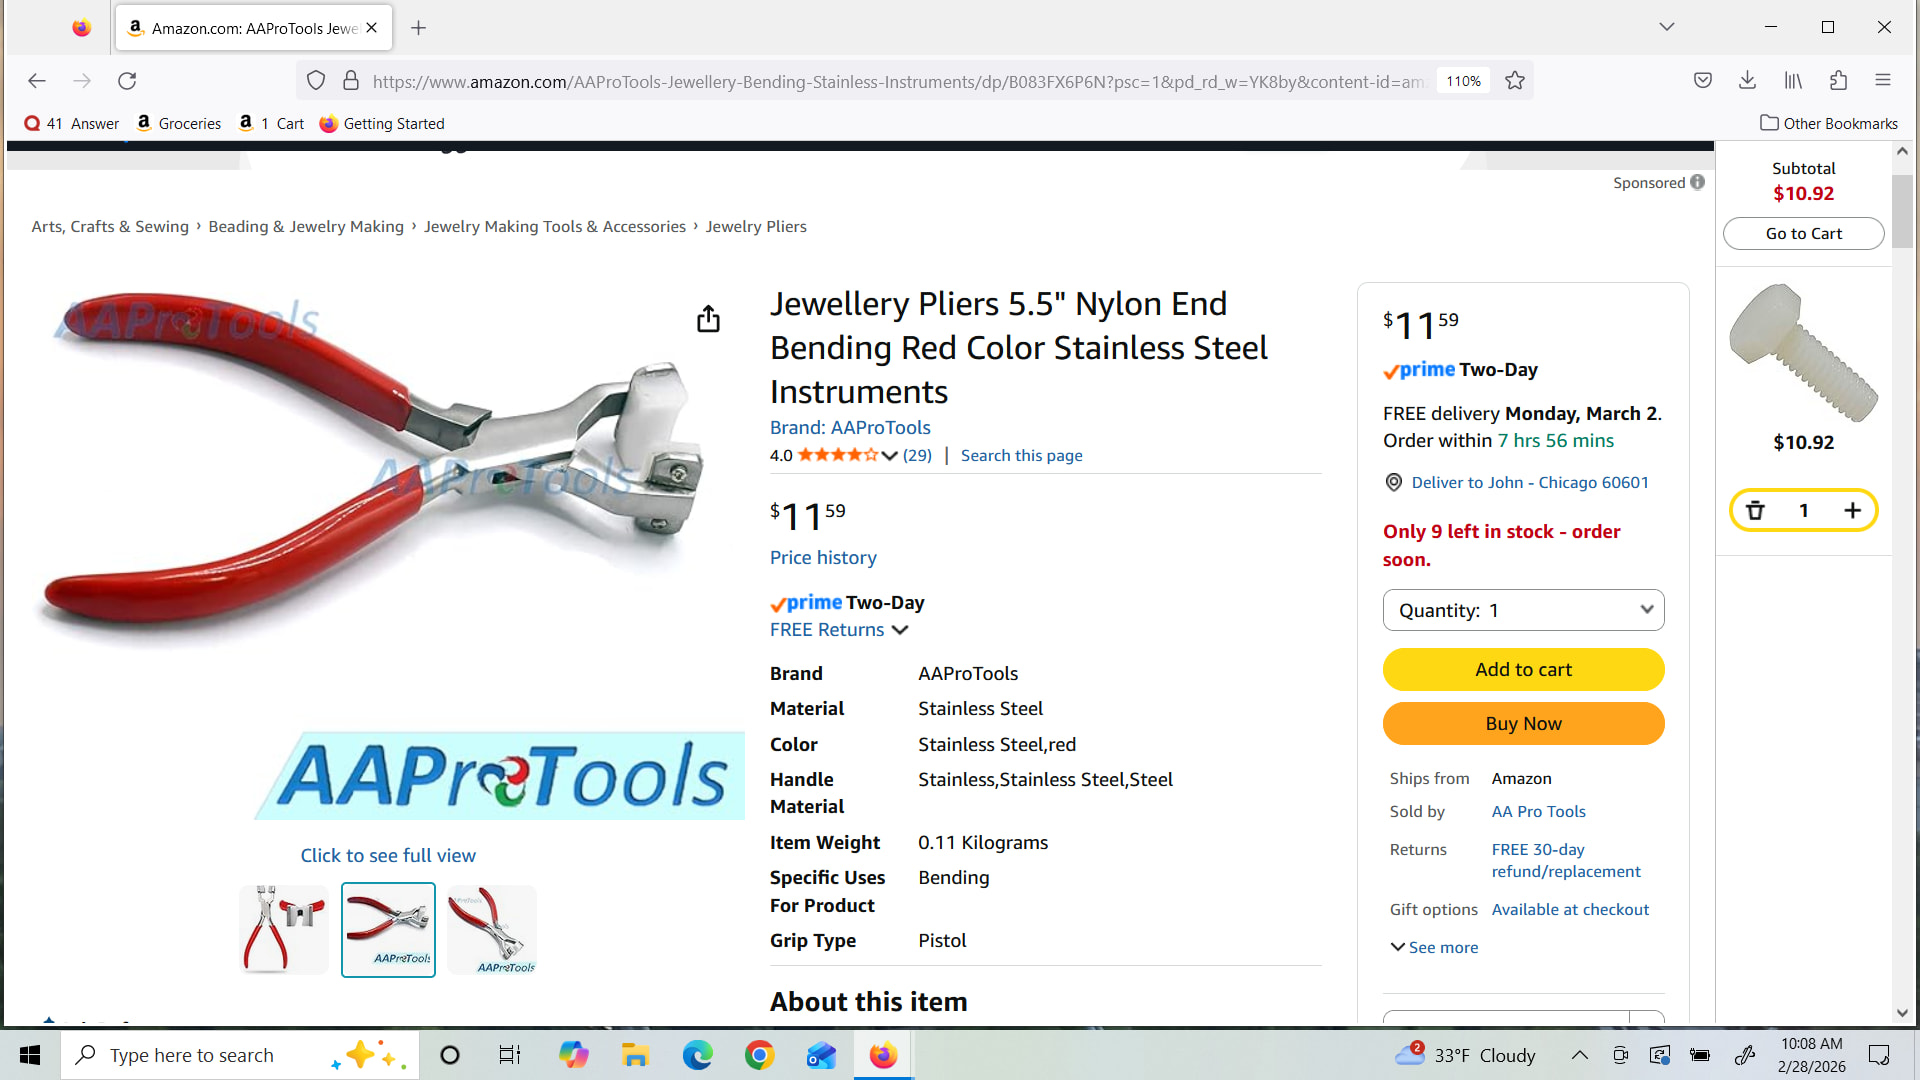
Are you using fluting pliers like these ones? Fluting Plier | Aircraft Spruce ® I found these ones with the rods welded to the jaws made tighter flutes that take up more material and I generally preferred them over the type that makes wider flutes.
I do think larger parts are generally easier than the smaller parts.
I saw a technique where you take the banana-shaped part out of the forming blocks, and flute it while it’s resting on the workbench until the place you’re fluting touches the workbench. Then move on to other fluting locations until the whole part is flat. This doesn’t necessarily have to be done directly on the bench as long as you can visualize that you’re making the part flat one flute at a time. If I remember correctly, I think it helps to start near the middle and work out.
One other thing - I just noticed your form block looks like it has a sharp edge. That’s a really bad practice. Anytime you bend metal the radius should be 4X the thickness of the part, as a rule of thumb. With 6061 you can get away with a bit less but I’d shoot for 4X. Take that router, get a roundoff bit and make those edges round.
Assuming a worst case of .032” stock, that would be 0.128” radius, or a 1/8” roundover bit would be good enough. That’s also really important for all the channels you will bend up.
Hey - thanks to Bryan and all for the comments. All good feedback. A few responses to some of the questions / comments:
Flutes right next to each other: this was just an experiment to pull enough material out to straighten out the flange. In general my problem seems to too much waviness in my flanges as opposed to getting the part to lay flat. I’ll definitely drop this as the experiment was very unsuccessful.
I’ll give a try to the screwdriver technique.
gammaxy - yes, using those exact pliers.
Sharp-edged blocks - I definitely stressed over this while thinking about making form blocks, both a bend radius on the corner as well as possibly sanding a 15 degree angle into the flange surface on the block to allow for springback. I didn’t see either in Kerry’s video so I skipped it and the bend radius seems to have come out okay. I will test it tomorrow with a drill bit to measure the radius and make a chamfer if it’s not enough; great point and thanks for the feedback. Definitely want to build safe parts.
Again, thanks to all for the feedback. I’ll jump back in and start making some more with these tips tomorrow. And may have to invest in a roll of flashing.
I don’t think it’s very common for Sonex builders to round the edges of the form blocks, although I’m sure it’s fine and maybe better. Pretty confident Sonex didn’t mention it at the build workshop. I think the process just doesn’t result in a sharp bend unless you’re really trying for one.
Even on the sheet metal brakes I used, I just covered the sharp edges of the metal with tape to prevent marring the surface and positioned the pressing plate far enough from the bend to create the desired radius. A little practice on scrap helped dial in the positioning.
You can find minimum bend radii in AC43-13. Even though that’s written for certified aircraft, metal doesn’t know if it’s experimental or not. I really think it’s better.
I took a length of flashing, which is 0.010” thick, and hemmed it. Meaning I bent it down the middle as far as I could, then flipped it around and squashed it flat. I then bent that 0.020” of metal as far as I could. The inside radius is about 0, the outside radius is about 0.020”. That lets me bend to a 0.020” radius. Then I did it again, and bent the second piece around the first one. On the second piece the inside radius is 0.020” and the outside radius is 0.040”. Rinse and repeat as far as you want to go. You will need to set back the clamping leaf each time and for the real part the radius tool you just made should be set back by at least the thickness of the part. I use flashing because it’s cheap and handles the sharp bend no problem.
Having built several Sonex from scratch, I can say the first thing to do is file the edge of the form block where the fluting is to be. Use a rat tail file and do not file straight across. Leave the edge untouched and file at an angle so it is deeper on the other edge. It is good to make the groove a little wider at the bottom also, just like a finished flute should be. Don’t worry about the bend radius. You won’t get it less that the 1/16” necessary for .025 6061T6. You can run a file over the edge and remove very little if you want. Tap the flange down with a plastic mallet and as it starts to lay down, use a phillips screwdriver shank layed over the groove and pound the screwdriver into the groove. That will be a good start for the flute. Pound the flange down tight against the form block. Remove form block and lay part on bench. Use mallet again to pound flange to a 90 degree angle. Then use the fluting pliers to fine tune so part lays flat. I have a video I made of making a wing rib from start to finish. If someone wants a copy, e-mail me and I will try to send it.
Hi Ron - Thanks for the detailed feedback. I’ll give it a try. Would love to have your video. I’ll DM you an email address and if you don’t mind you can email it to me. Thanks again for the info and taking the time to respond.
And four Sonex!?!?! How did you end up building that many Sonex and what did you do with all of them?
First one was started in 1998 and finished in 2001. It was around the 17th or 18th to fly counting factory prototypes. Flew for 2 years and sold. By 2008 I finished my RV6 and started another Sonex from scratch. A few upgrades on this one including flush AN rivets, hydraulic toe brakes, wheel pant to gear leg intersection fairings and it took 3 1/2 years to cpmplete. Only flew for a year and sold. A while back a friend bought a project that was screwed up drilling the wings to the fuselage. I repaired that and also converted it from a tri-gear VW mount to a Jabiru 3300. It has been sitting in his hangar for several years ready for final assembly. Around 4 years ago I started another from scratch and after getting some done, I talked another friend into buying it but he wanted me to help him complete it. It ended up more like I finished it with his help. It is now at his hangar and he is working on final assembly. This one has the UL350. My current Sonex build is a tri-gear AeroVee project that I picked up last July and it will be done in a couple months. That seems like a lot of building, but I also built two Tailwinds that can be seen in a Sport Aviation feature article. I think it was June 2020 issue. Side note, I am located in Rockford, IL at 1C8.
That’s awesome - sounds like you definitely have a strong passion for the building side. Do you fly just as much as you build or would you say you’re more the builder and less concerned with the flying part? Also, I assume the more you build, the better you get, and the more rewarding the build process is overall?
I used these Euro Tool fluting pliers which came with an RV tool set I purchased from Cleveland tools many moons ago. They work great and I don’t recall needing any learning curve to use them.
Wow - those look way more like the actual flutes that come in the company mfg parts (although I realize they stamp those with a former). Very interesting; I hadn’t seen those before.
I used to fly quite a bit, but as I get older I fly less. Still enjoy building. The builds improve and are quicker with experience. Hope to fly a lot this summer when I get the new one finished.