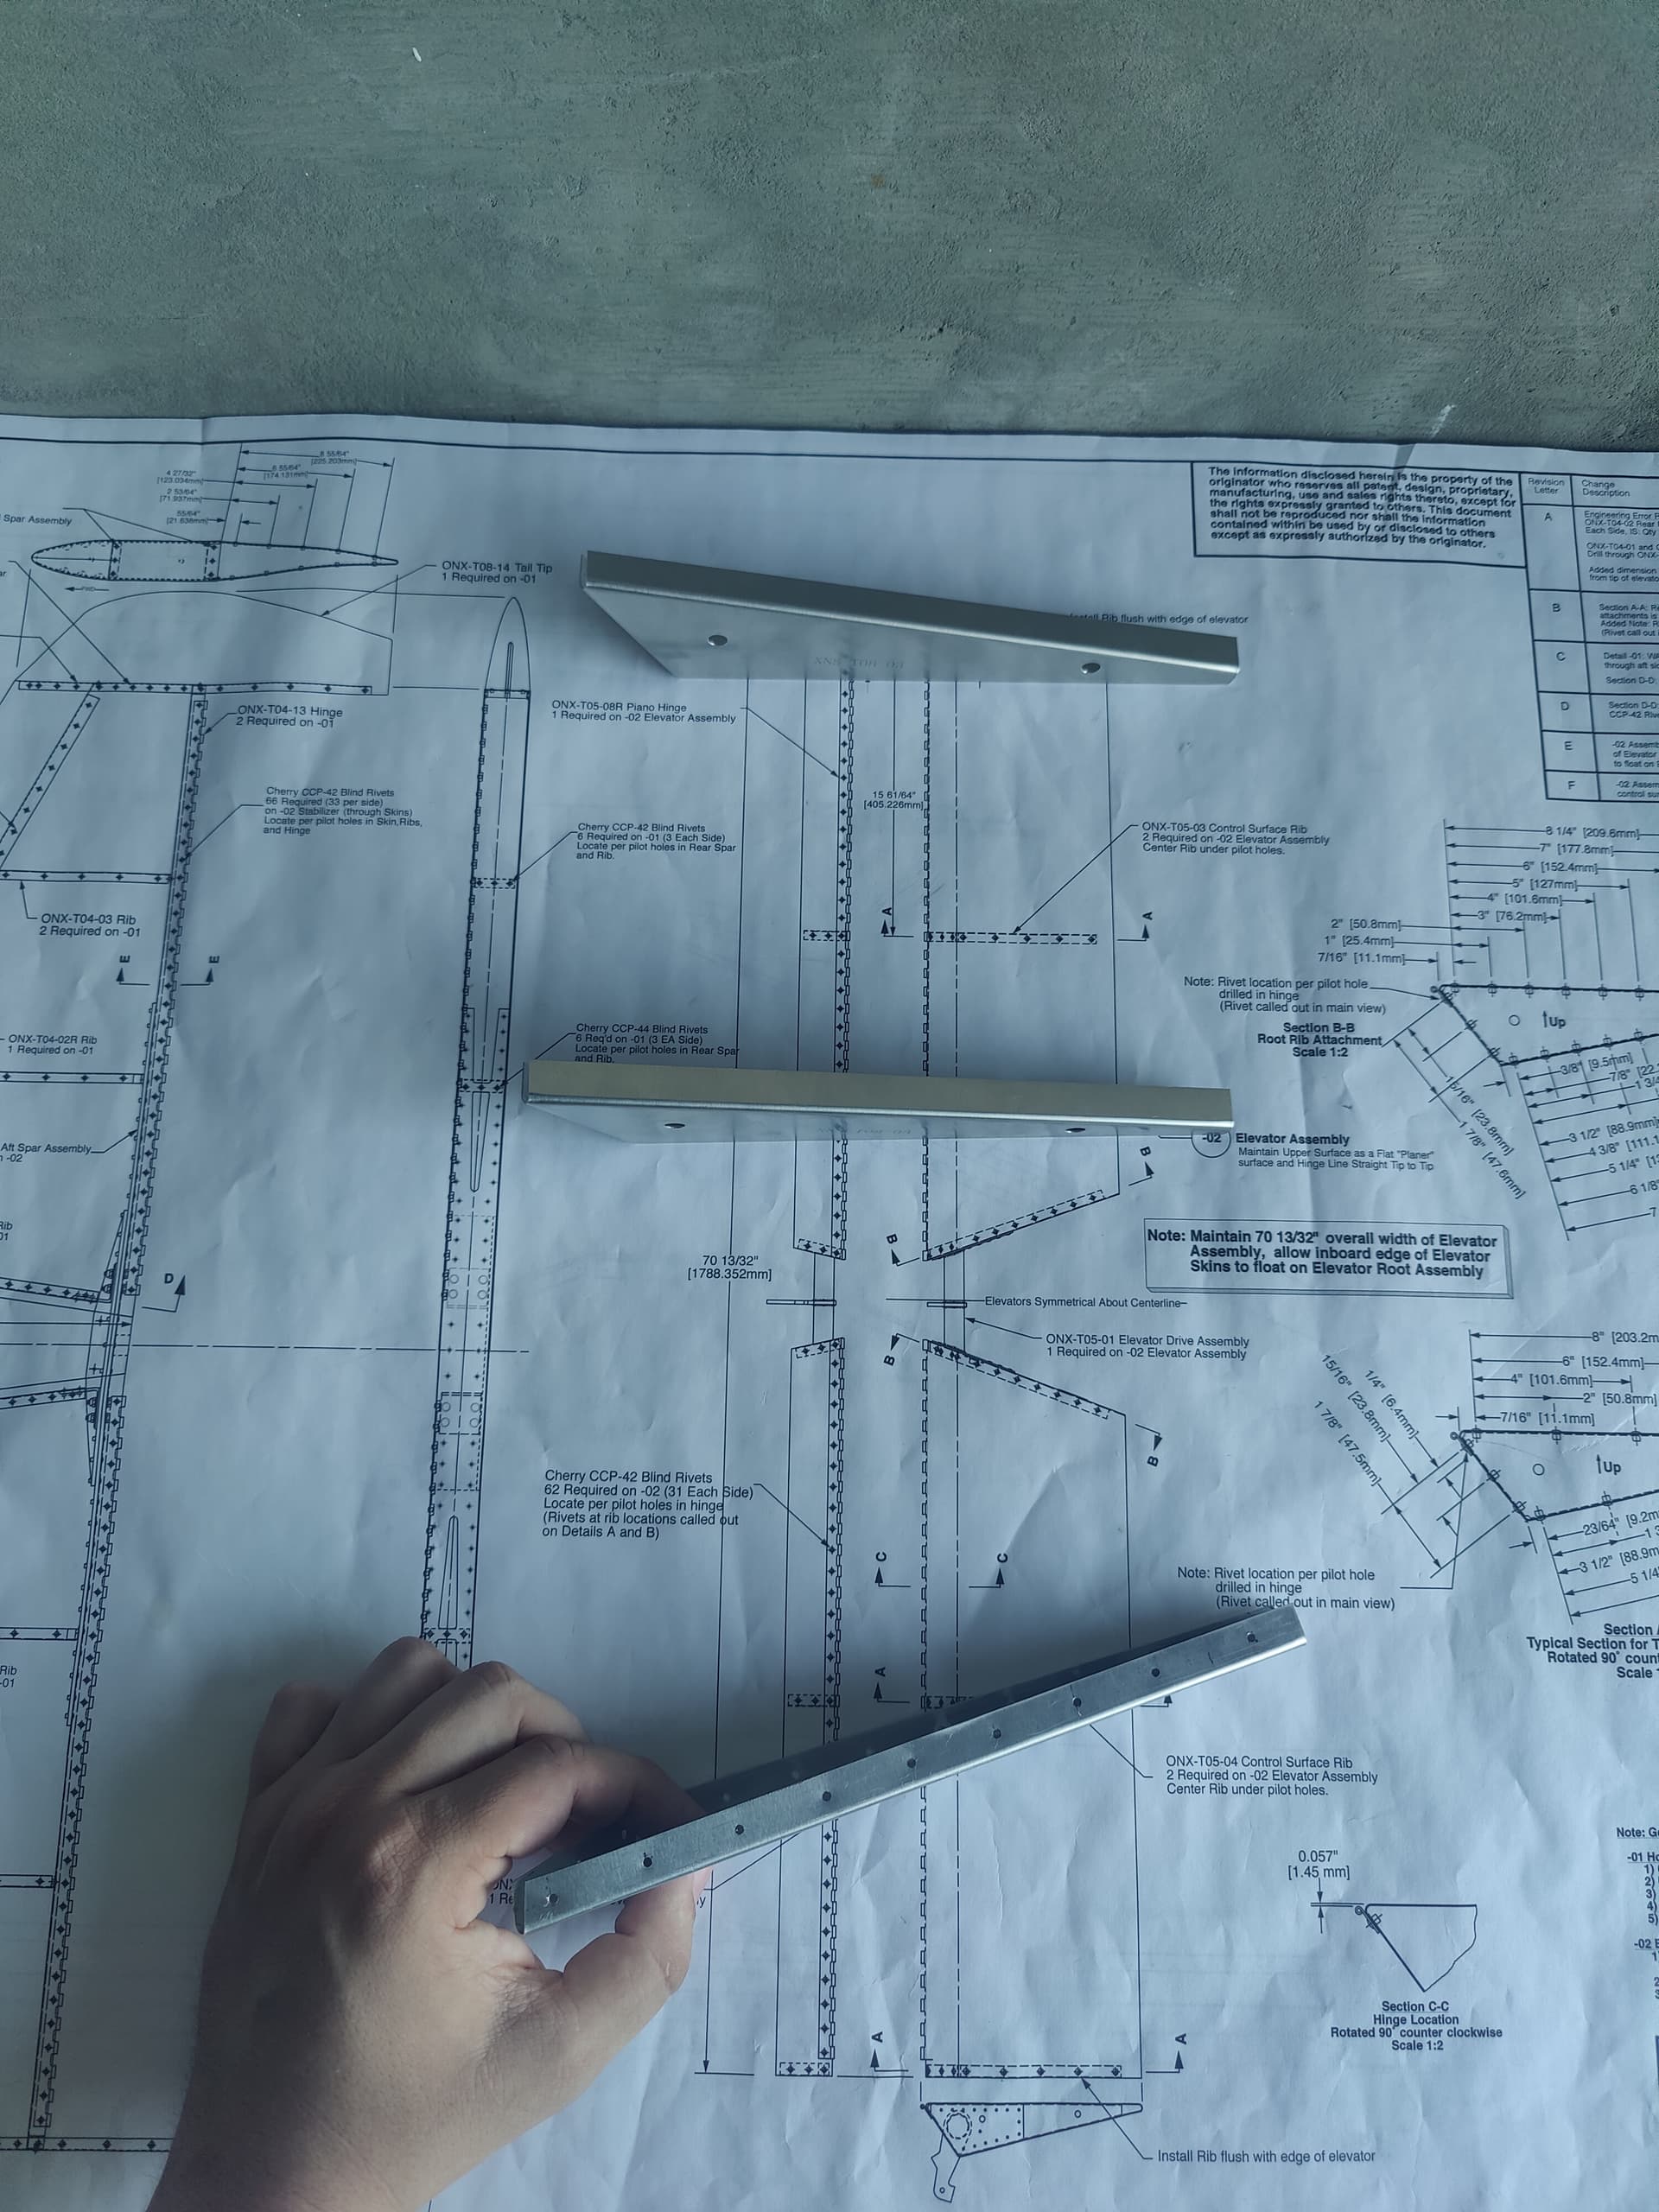
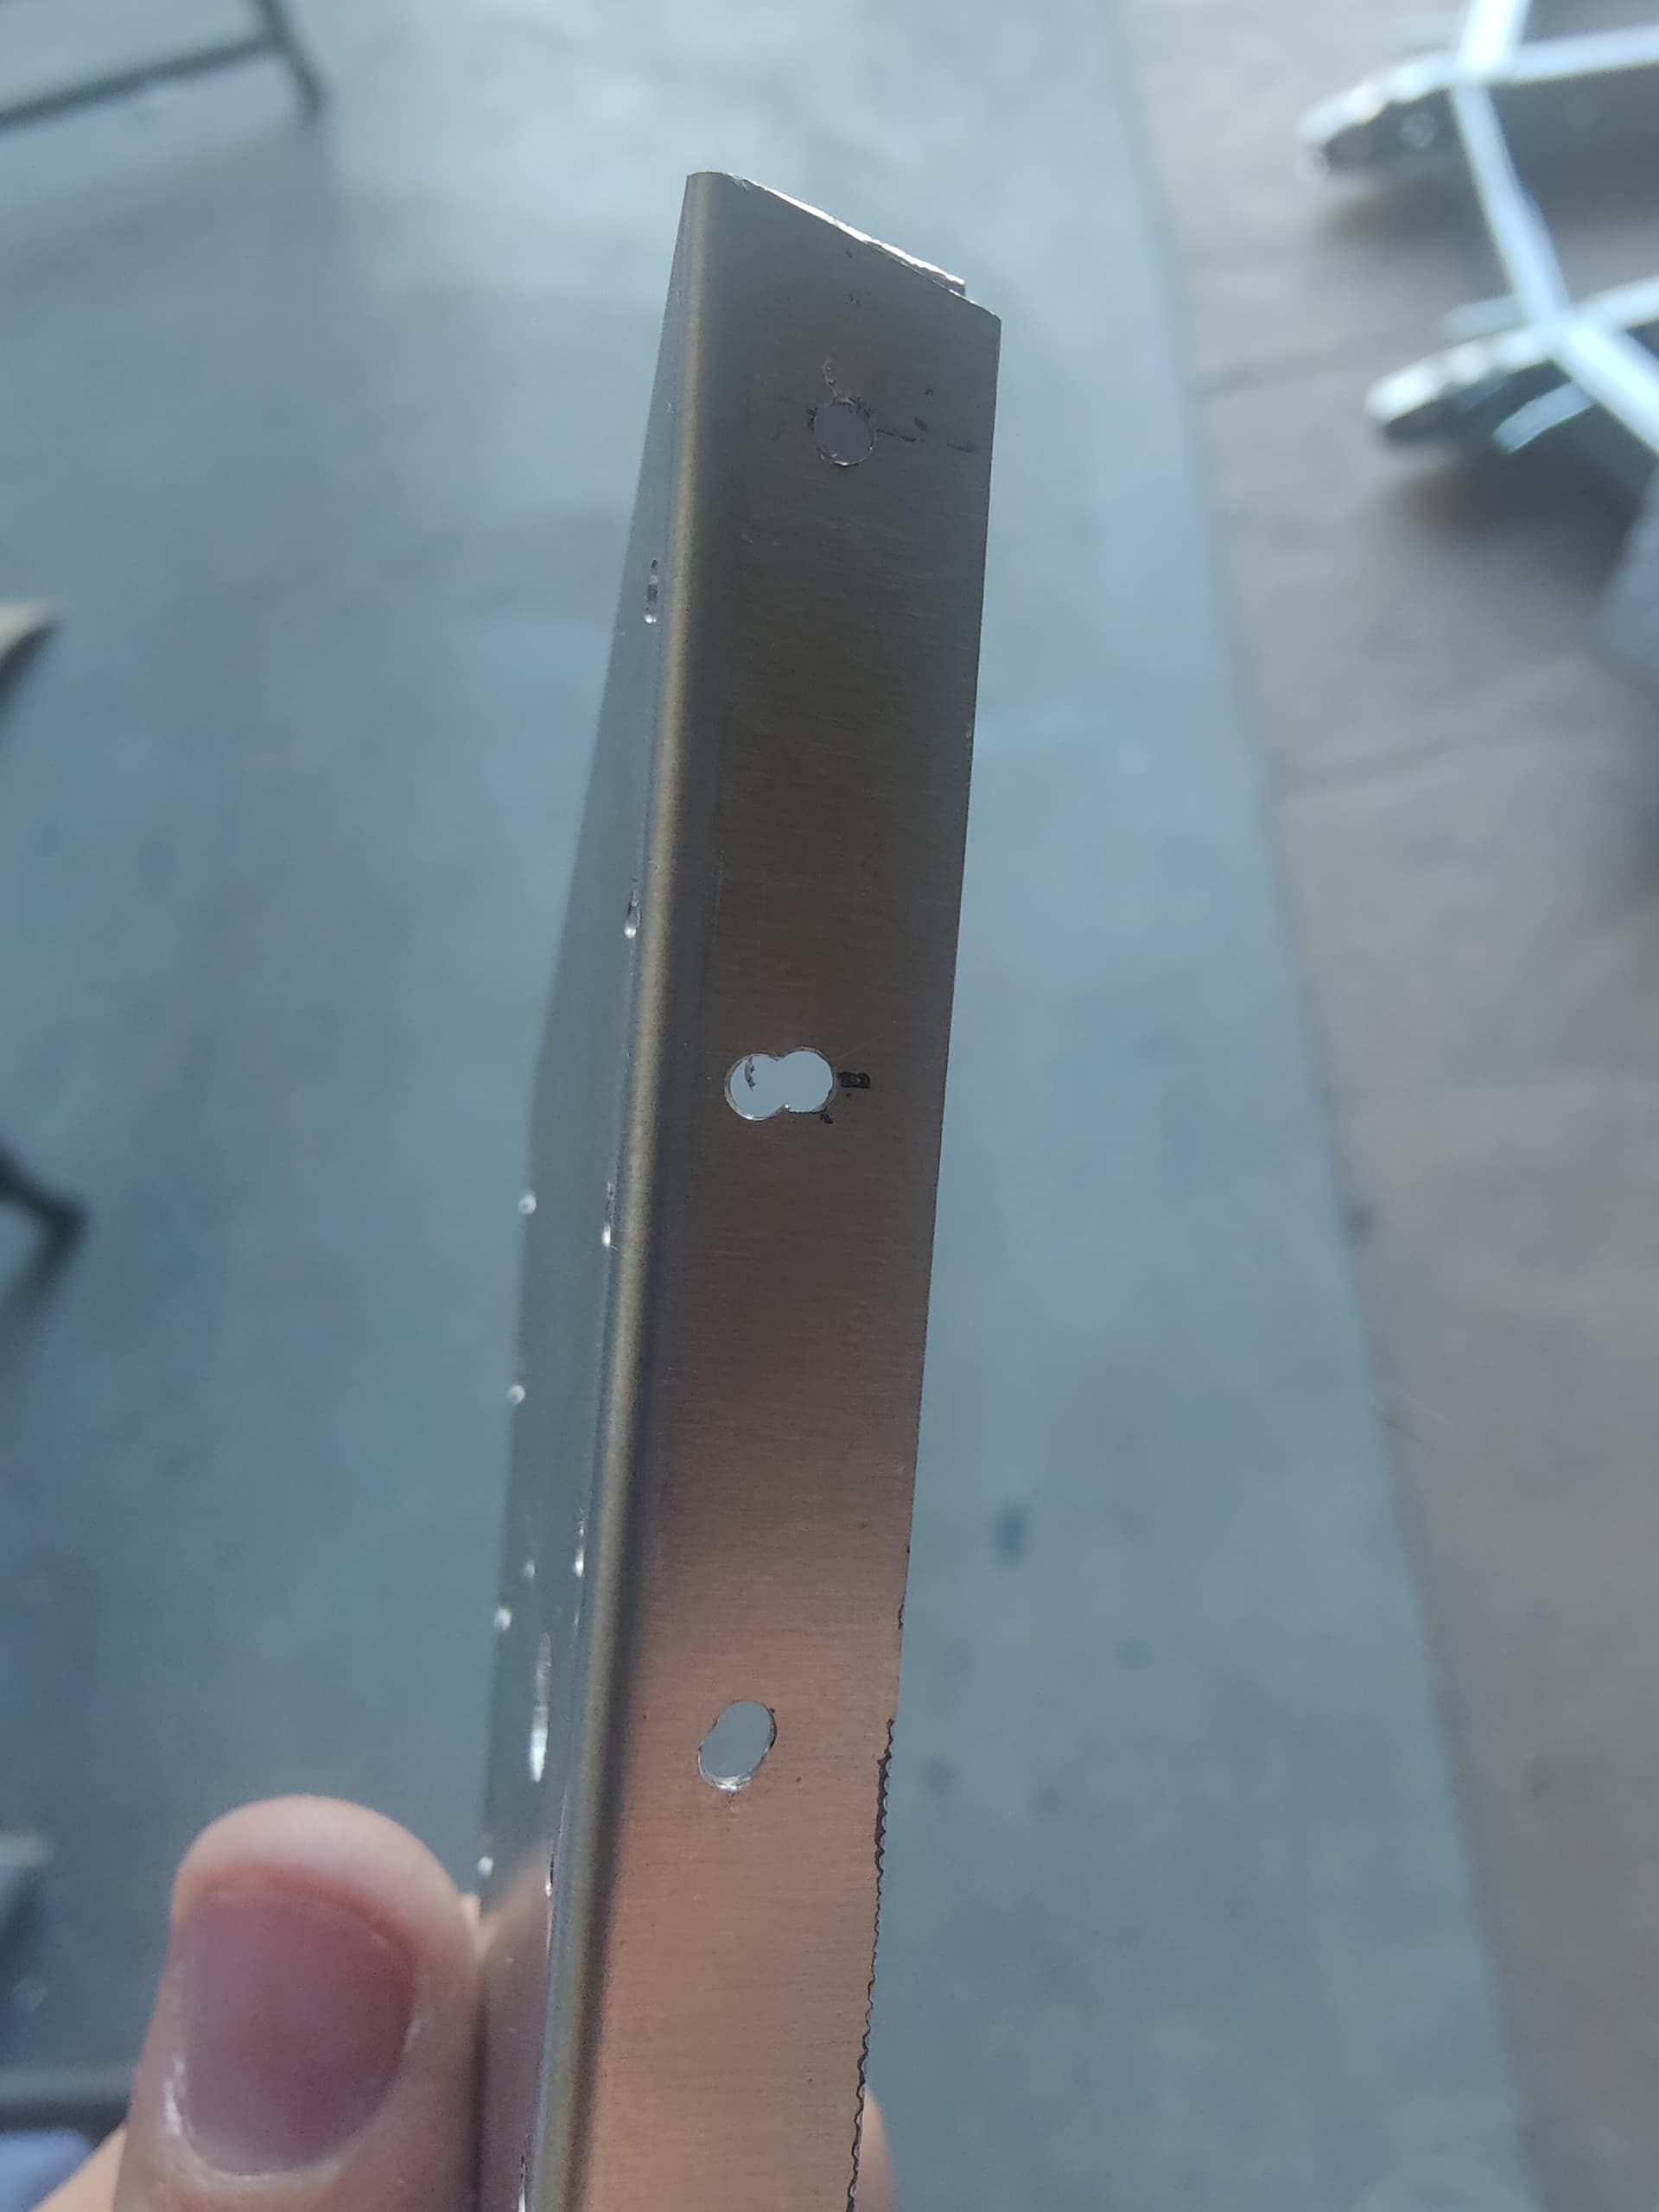
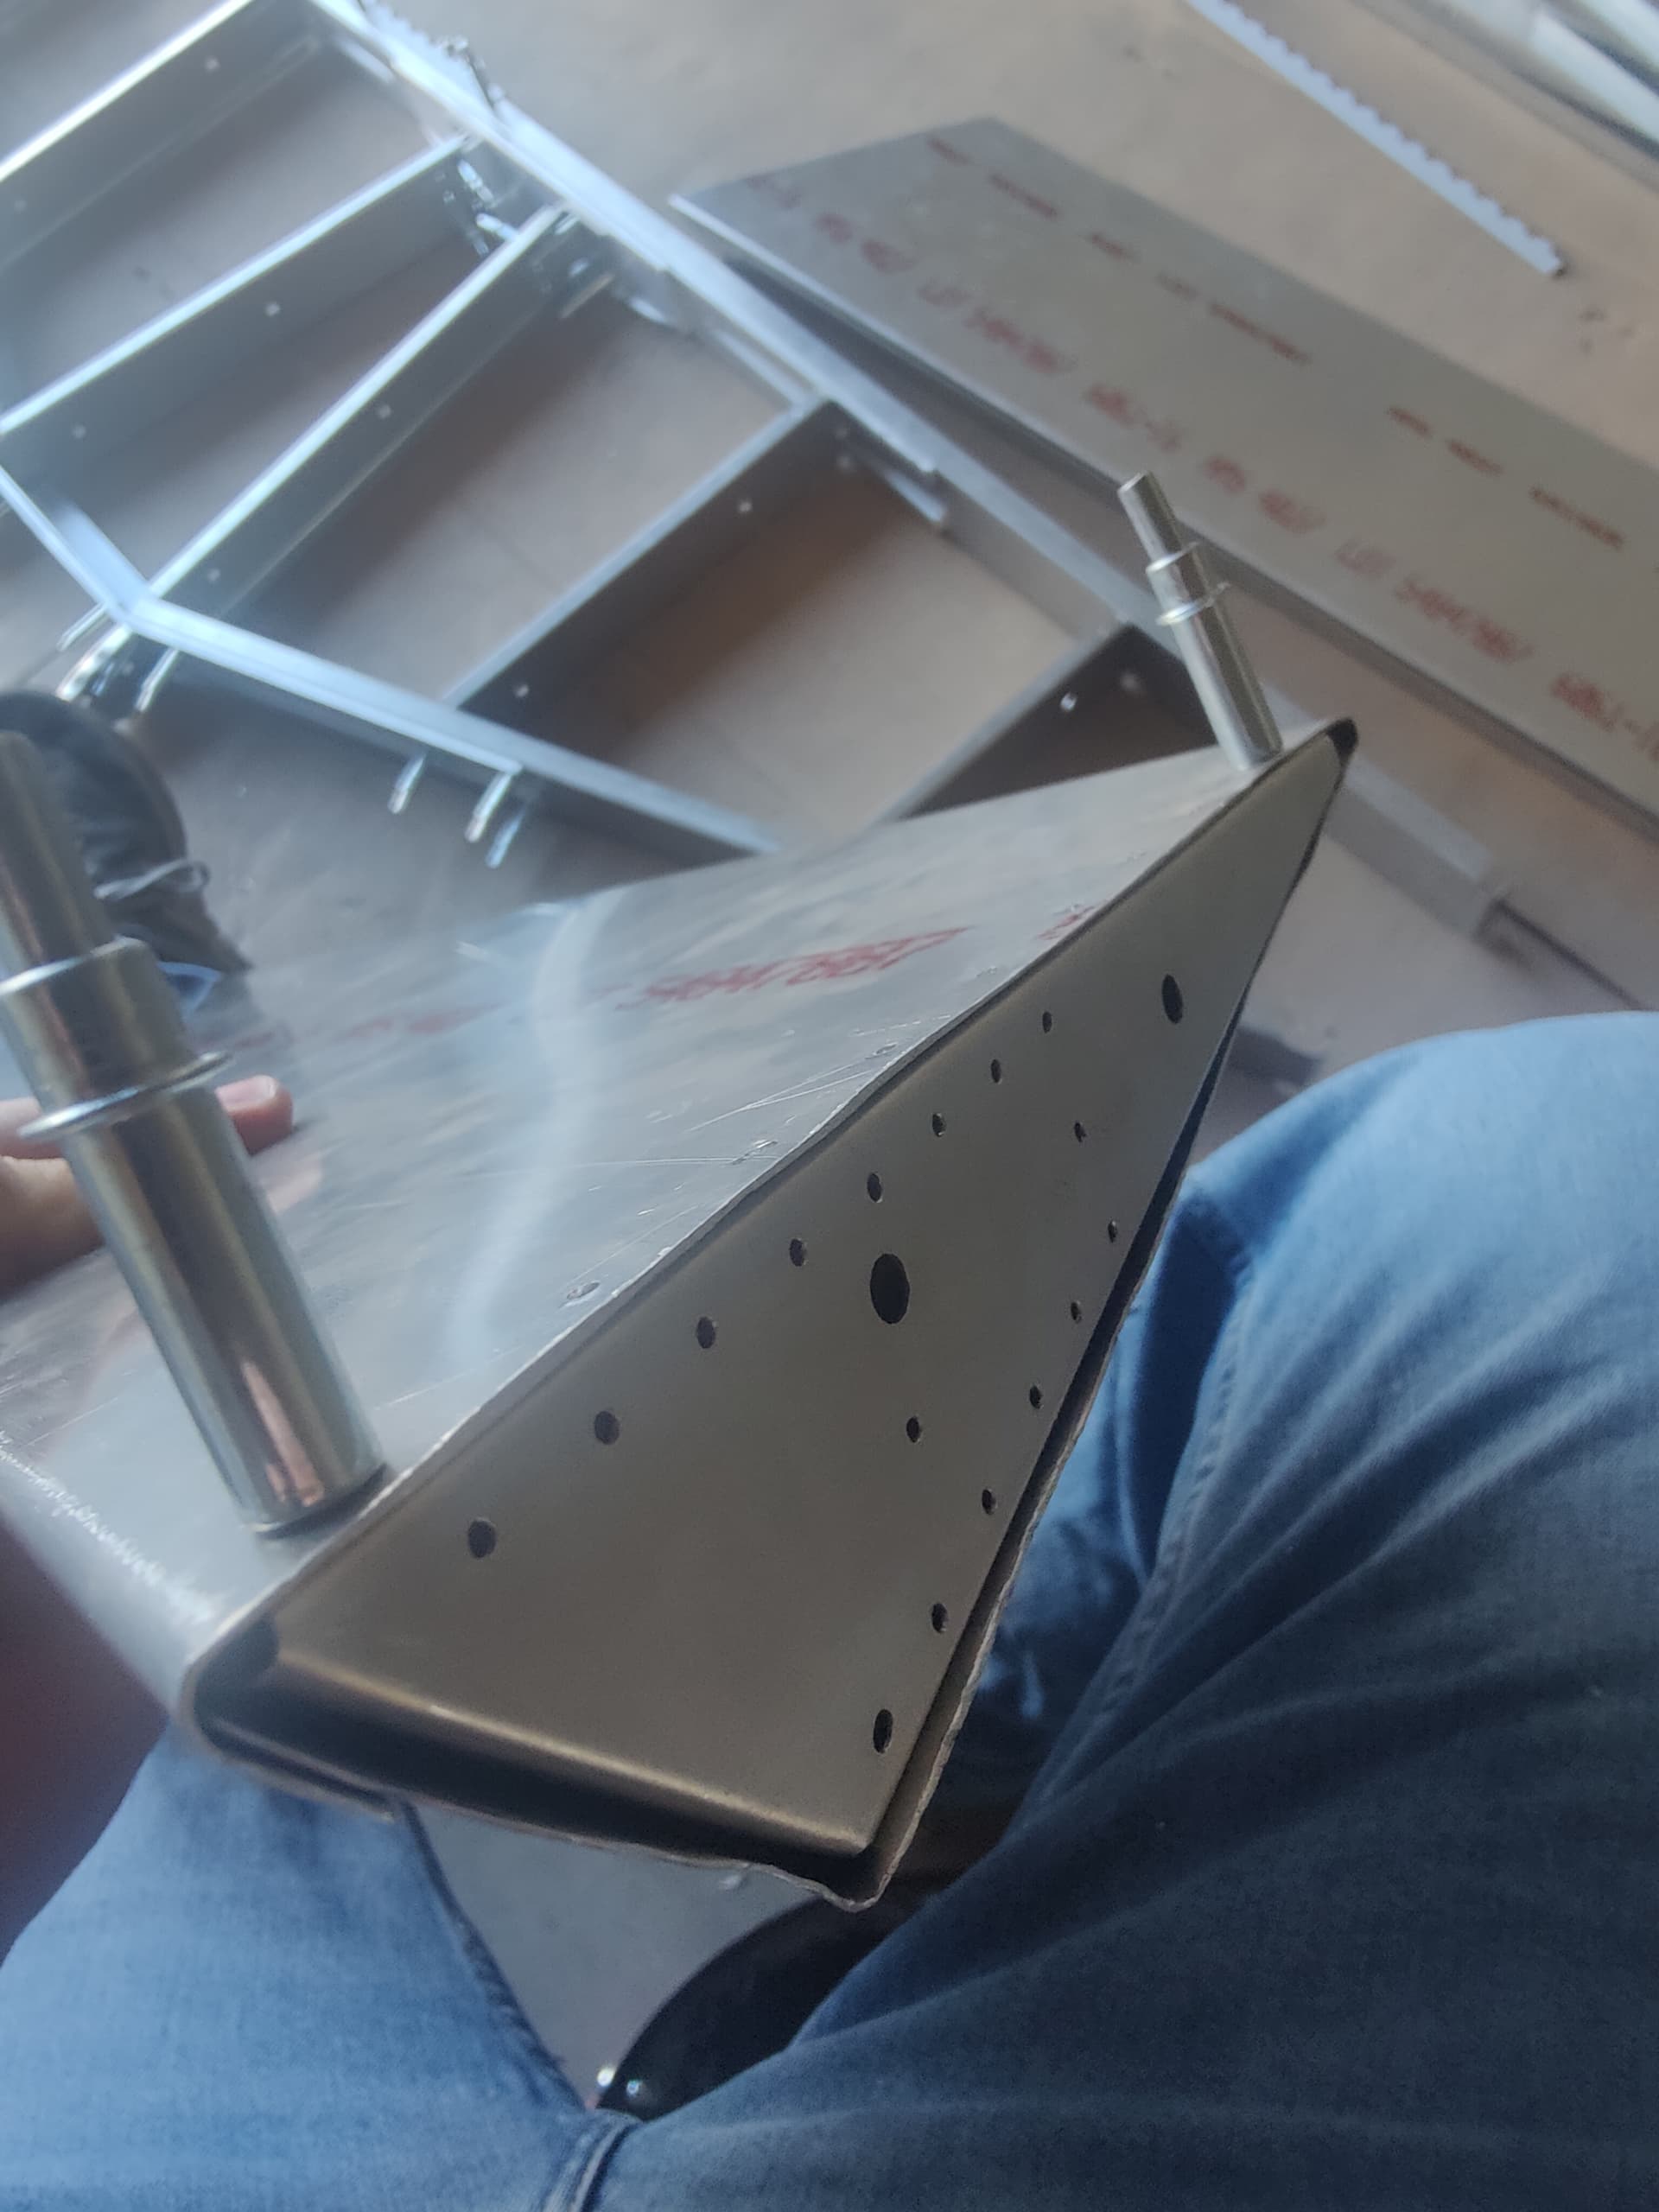
Hey there, I got a question about the placement of ribs in this drawing. The line being slightly thicker on one side leads me to believe that the middle and tip ribs are placed such that the part curves inward to the center, but when I follow the part callout listed it seems to be, directionally, all wrong. Some pictures attached to help explain.
A couple of thoughts:
-
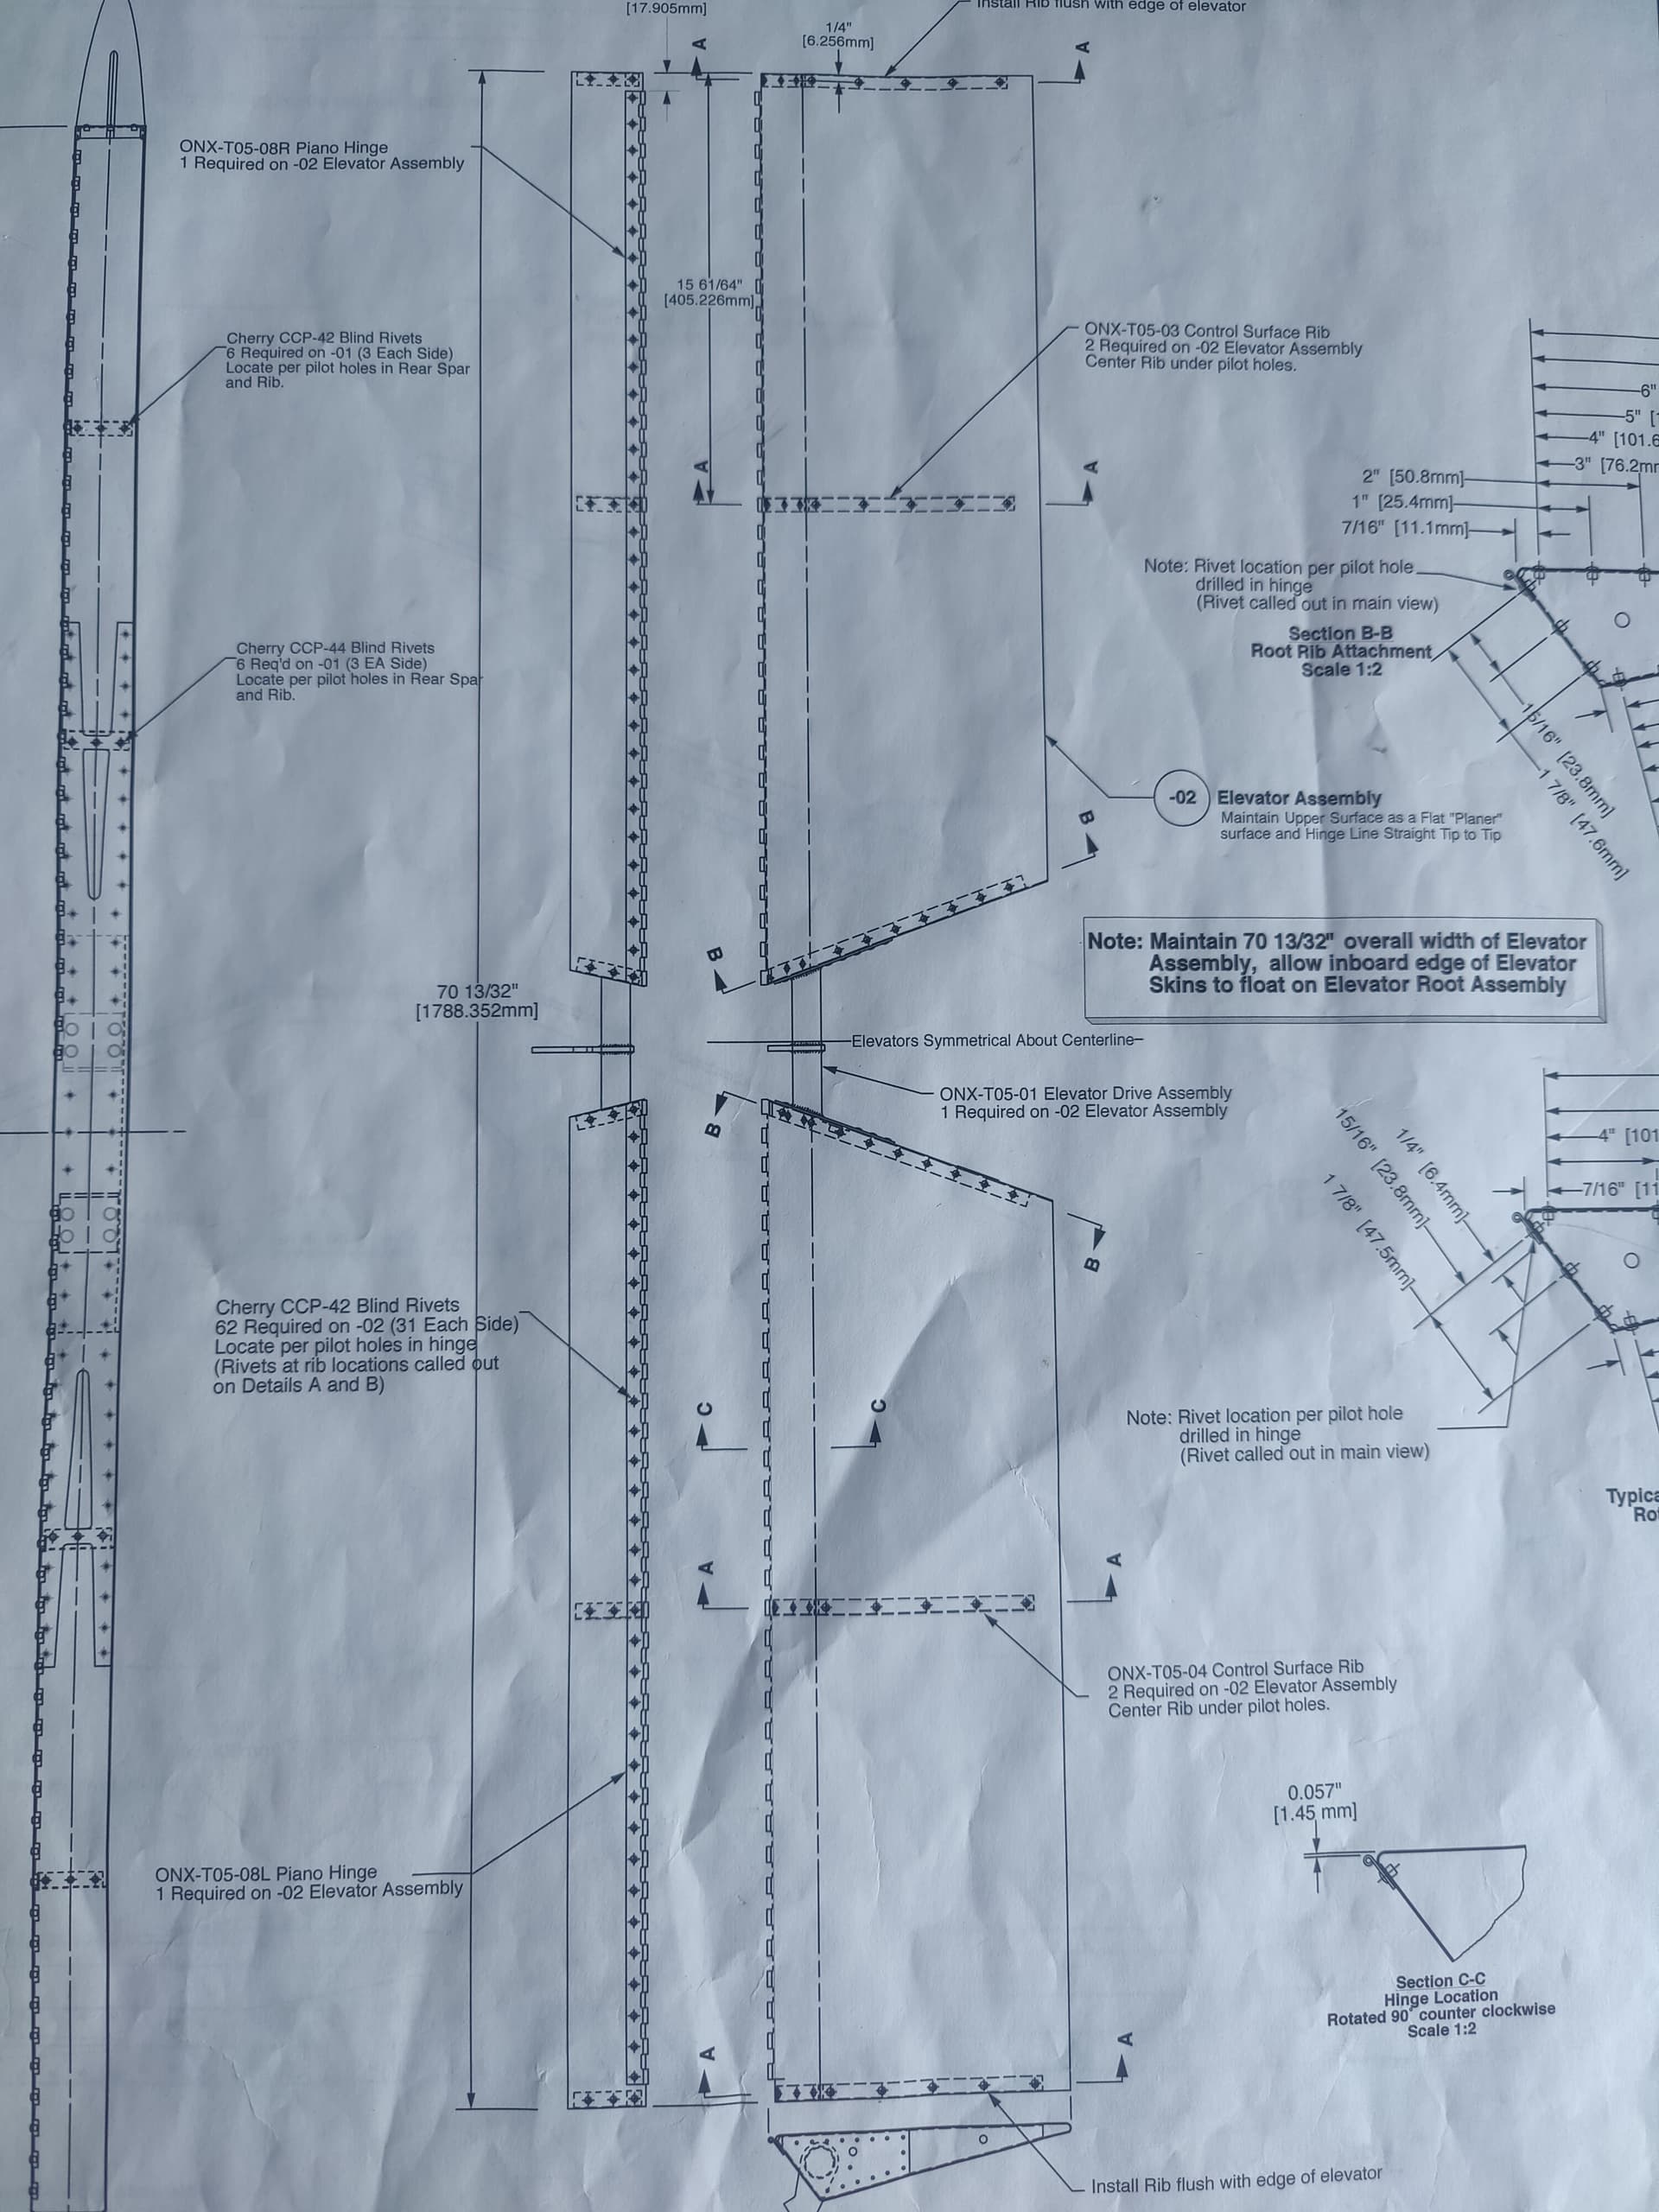
Note there are ONX-T05-03 and -04 ribs. They are mirror images of each other. I think you figured out this part.
-
Make sure you understand the drawing view - are you looking at the top or the bottom of the elevators? Don’t assume.
If you’re referring to the double dashed line on the long side of the rib in the top view, the second line represents the the inside largest surface on the rib on the closed side. It’s also possible a mirrored part was mislabel (happened to me) but if you suspect this make sure to really check.
I can’t tell for sure from the pictures but it looks like you might have pilot drilled the rib first before the skin?
Sometimes finding someone that has a picture makes it easier to visualize it. I found this build log for the Onex that has some images although mostly of the elevator: Rudder and elevators - Onex Someone else probably has a better picture in their build log.
Yeah I’m just now realizing my mistake with the order of drilling things. I feel like I’m re-ordering parts fast enough to just buy a whole new damn kit at this point. Trying to force what I have to work didn’t end up well, as you can see, and I think I’m coming to the conclusion that I’ll just stick to being a stick jockey and let other people do the building, because as it stands now, this doesn’t look like the quality of construction that I’d trust flying in.
The learning curve is steep. I had the same issues.
I personally find it easier to locate a red line, so I use the blue line method with a red marker. I get it lined up as best as I can and mark the location of the hole with a deep hole marker. (You can find them on Amazon. ) I then remove the rib and take a look. If I like it, I move on to drilling, If I don’t like it, A little alcohol will remove “permanent” marker and do it again.
I found that swirling the deep hole marker in the hole to mark the entire location makes it much easier to get a perfect match.
When match drilling through the hole in the skin, the drill bit can deform the rib flange resulting in an offset matching hole. If the mismatch is less than 1/3rd of the hole diameter, when you up-drill, it will be OK. I made a form block that fits snug inside the rib out of some HDPE I purchased. Wood will work just as well.
I have a benchtop end mill that has a drill chuck for precision drilling. I use the locations marked to drill the pilot holes. By the time I’ve finished, the form block looks like swiss cheese.
I also recommend making form blocks to fit inside each of the various channel stocks. The channel form blocks should fit snuggly. When channel stock is placed in a vice for drilling with a loose fitting form block, the top will bow upward, causing the drill or centering bit to wander from the desired location.
Hope this gives you some ideas. I have a pretty good supply of scrap material which always seems to be growing. The Navaho are famous for their incredible rugs. Yet every Navaho rug has an intentional mistake, because only god is perfect.