Bronze (oil impregnated) bushings operation

Bronze (oil impregnated) bushings operation

Posted: Sun Nov 15, 2020 1:54 pm

by Carlos Trigo

Guys

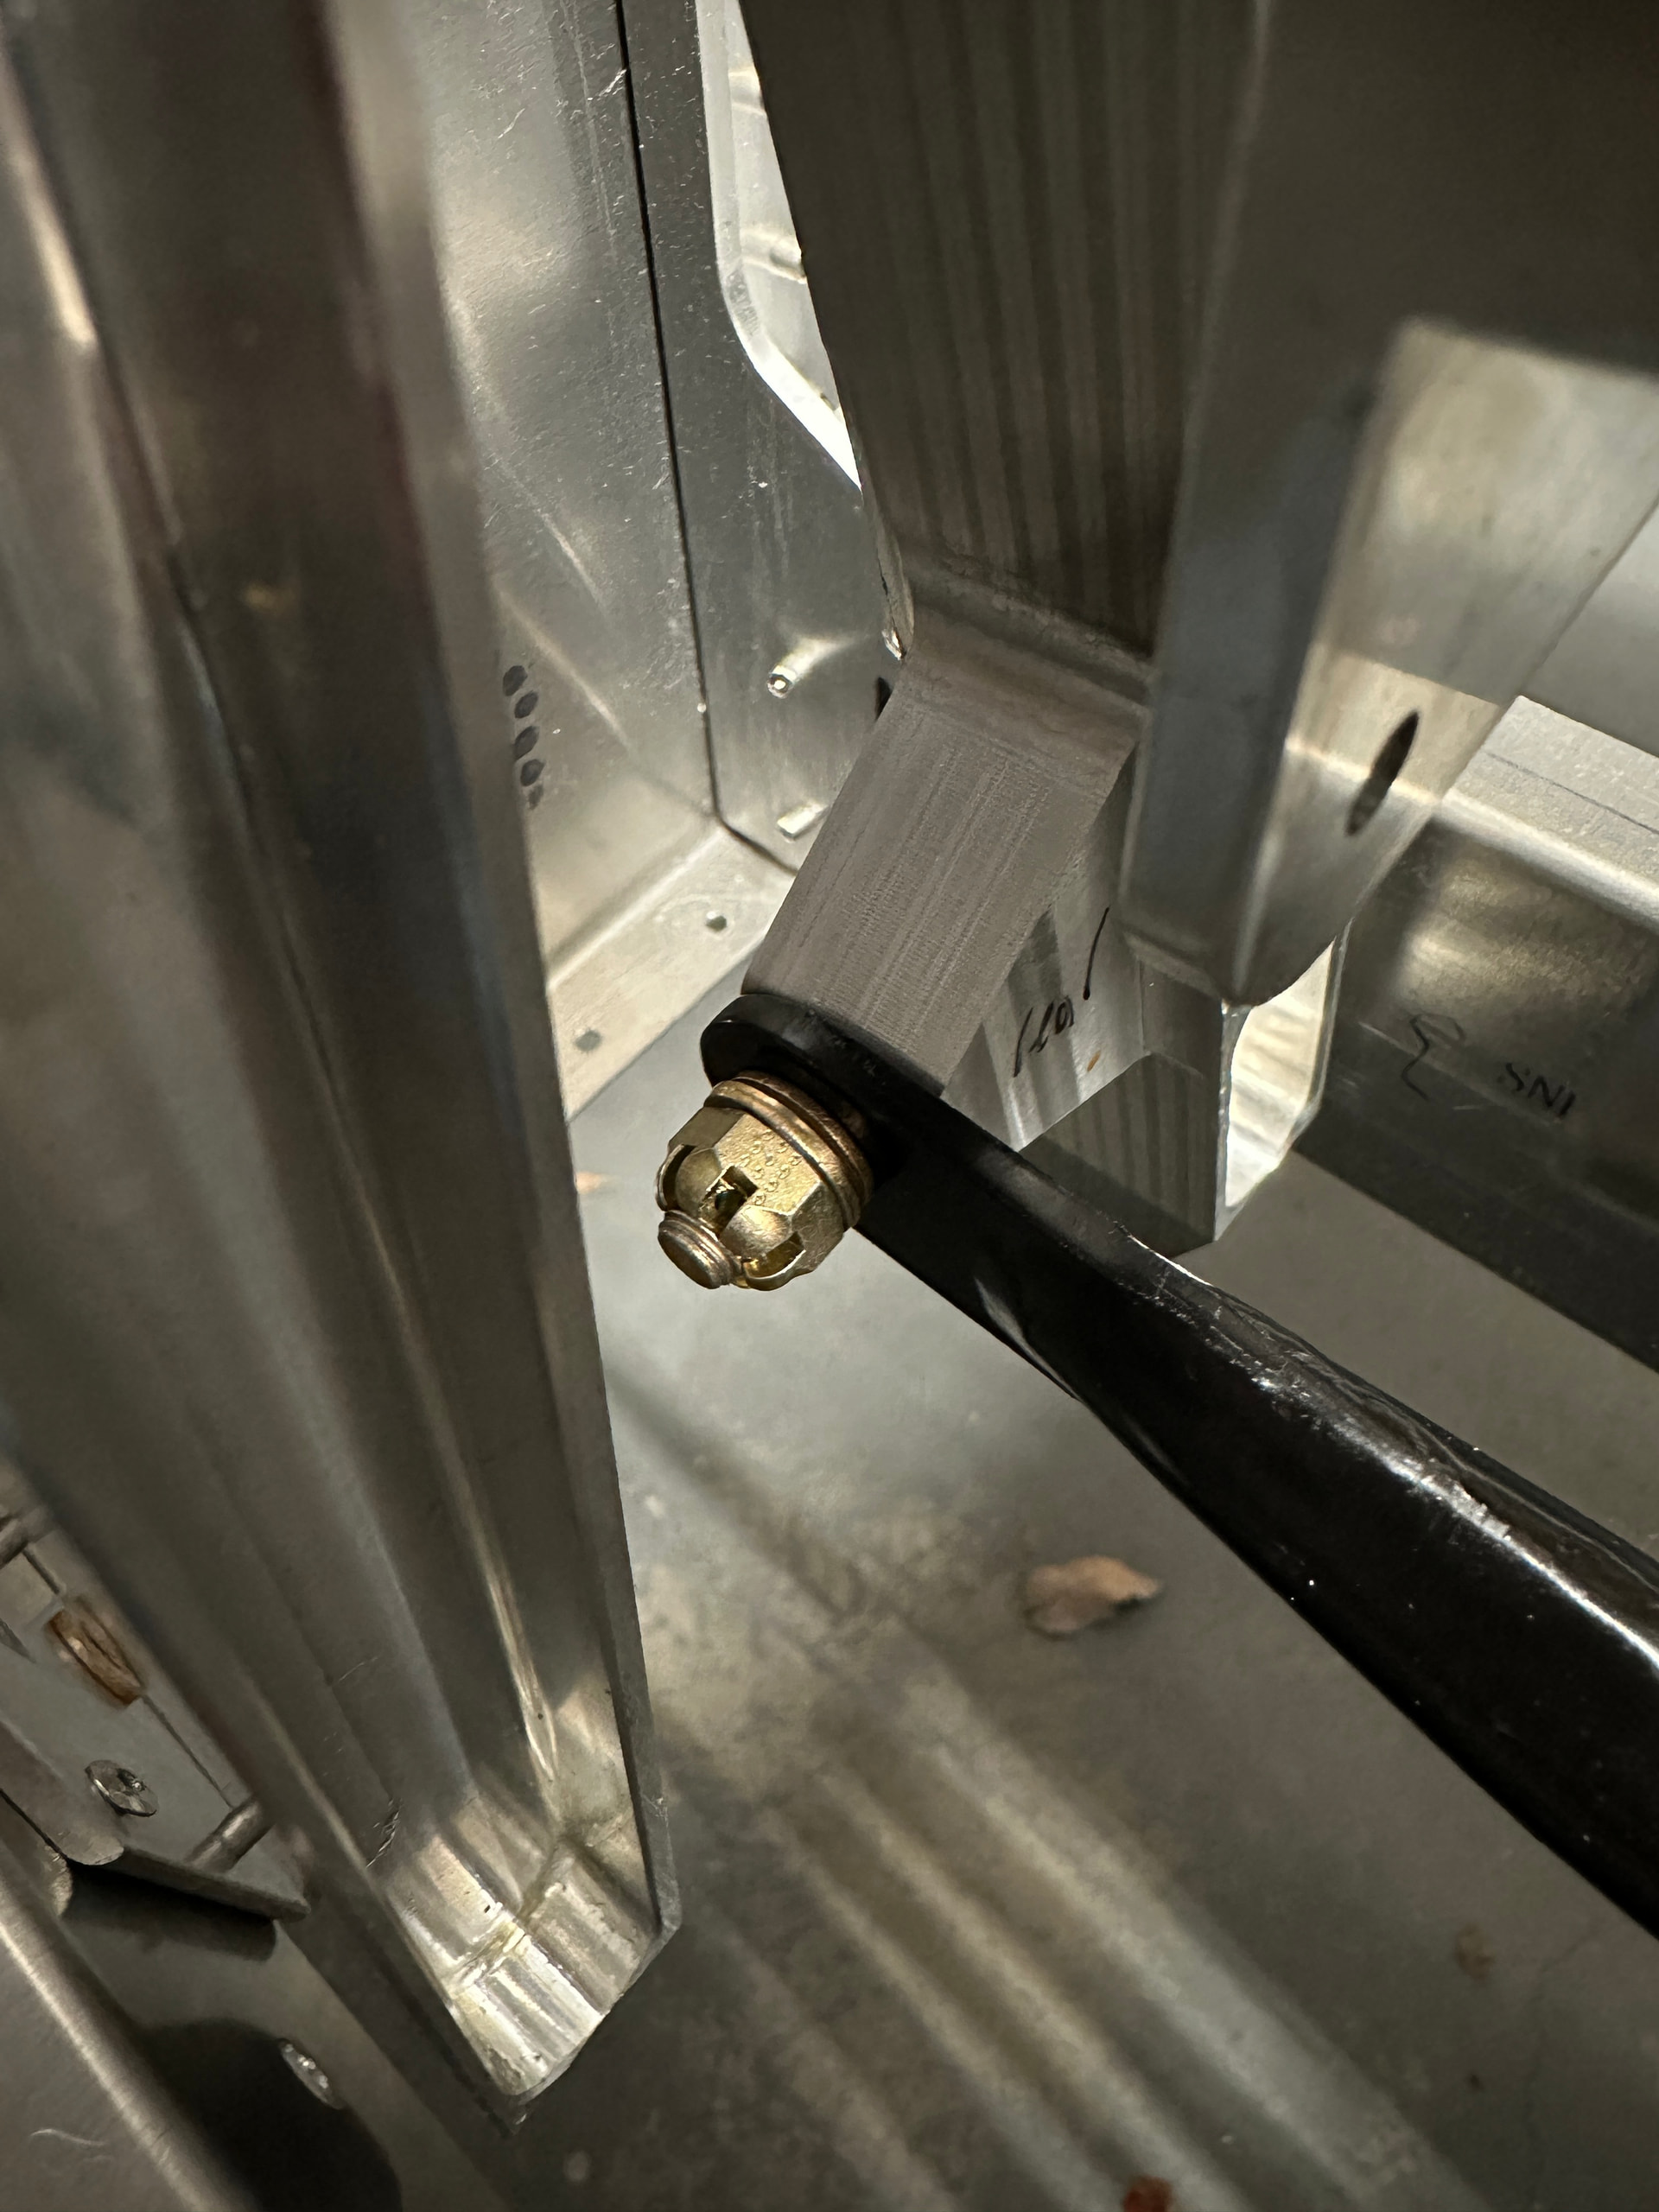
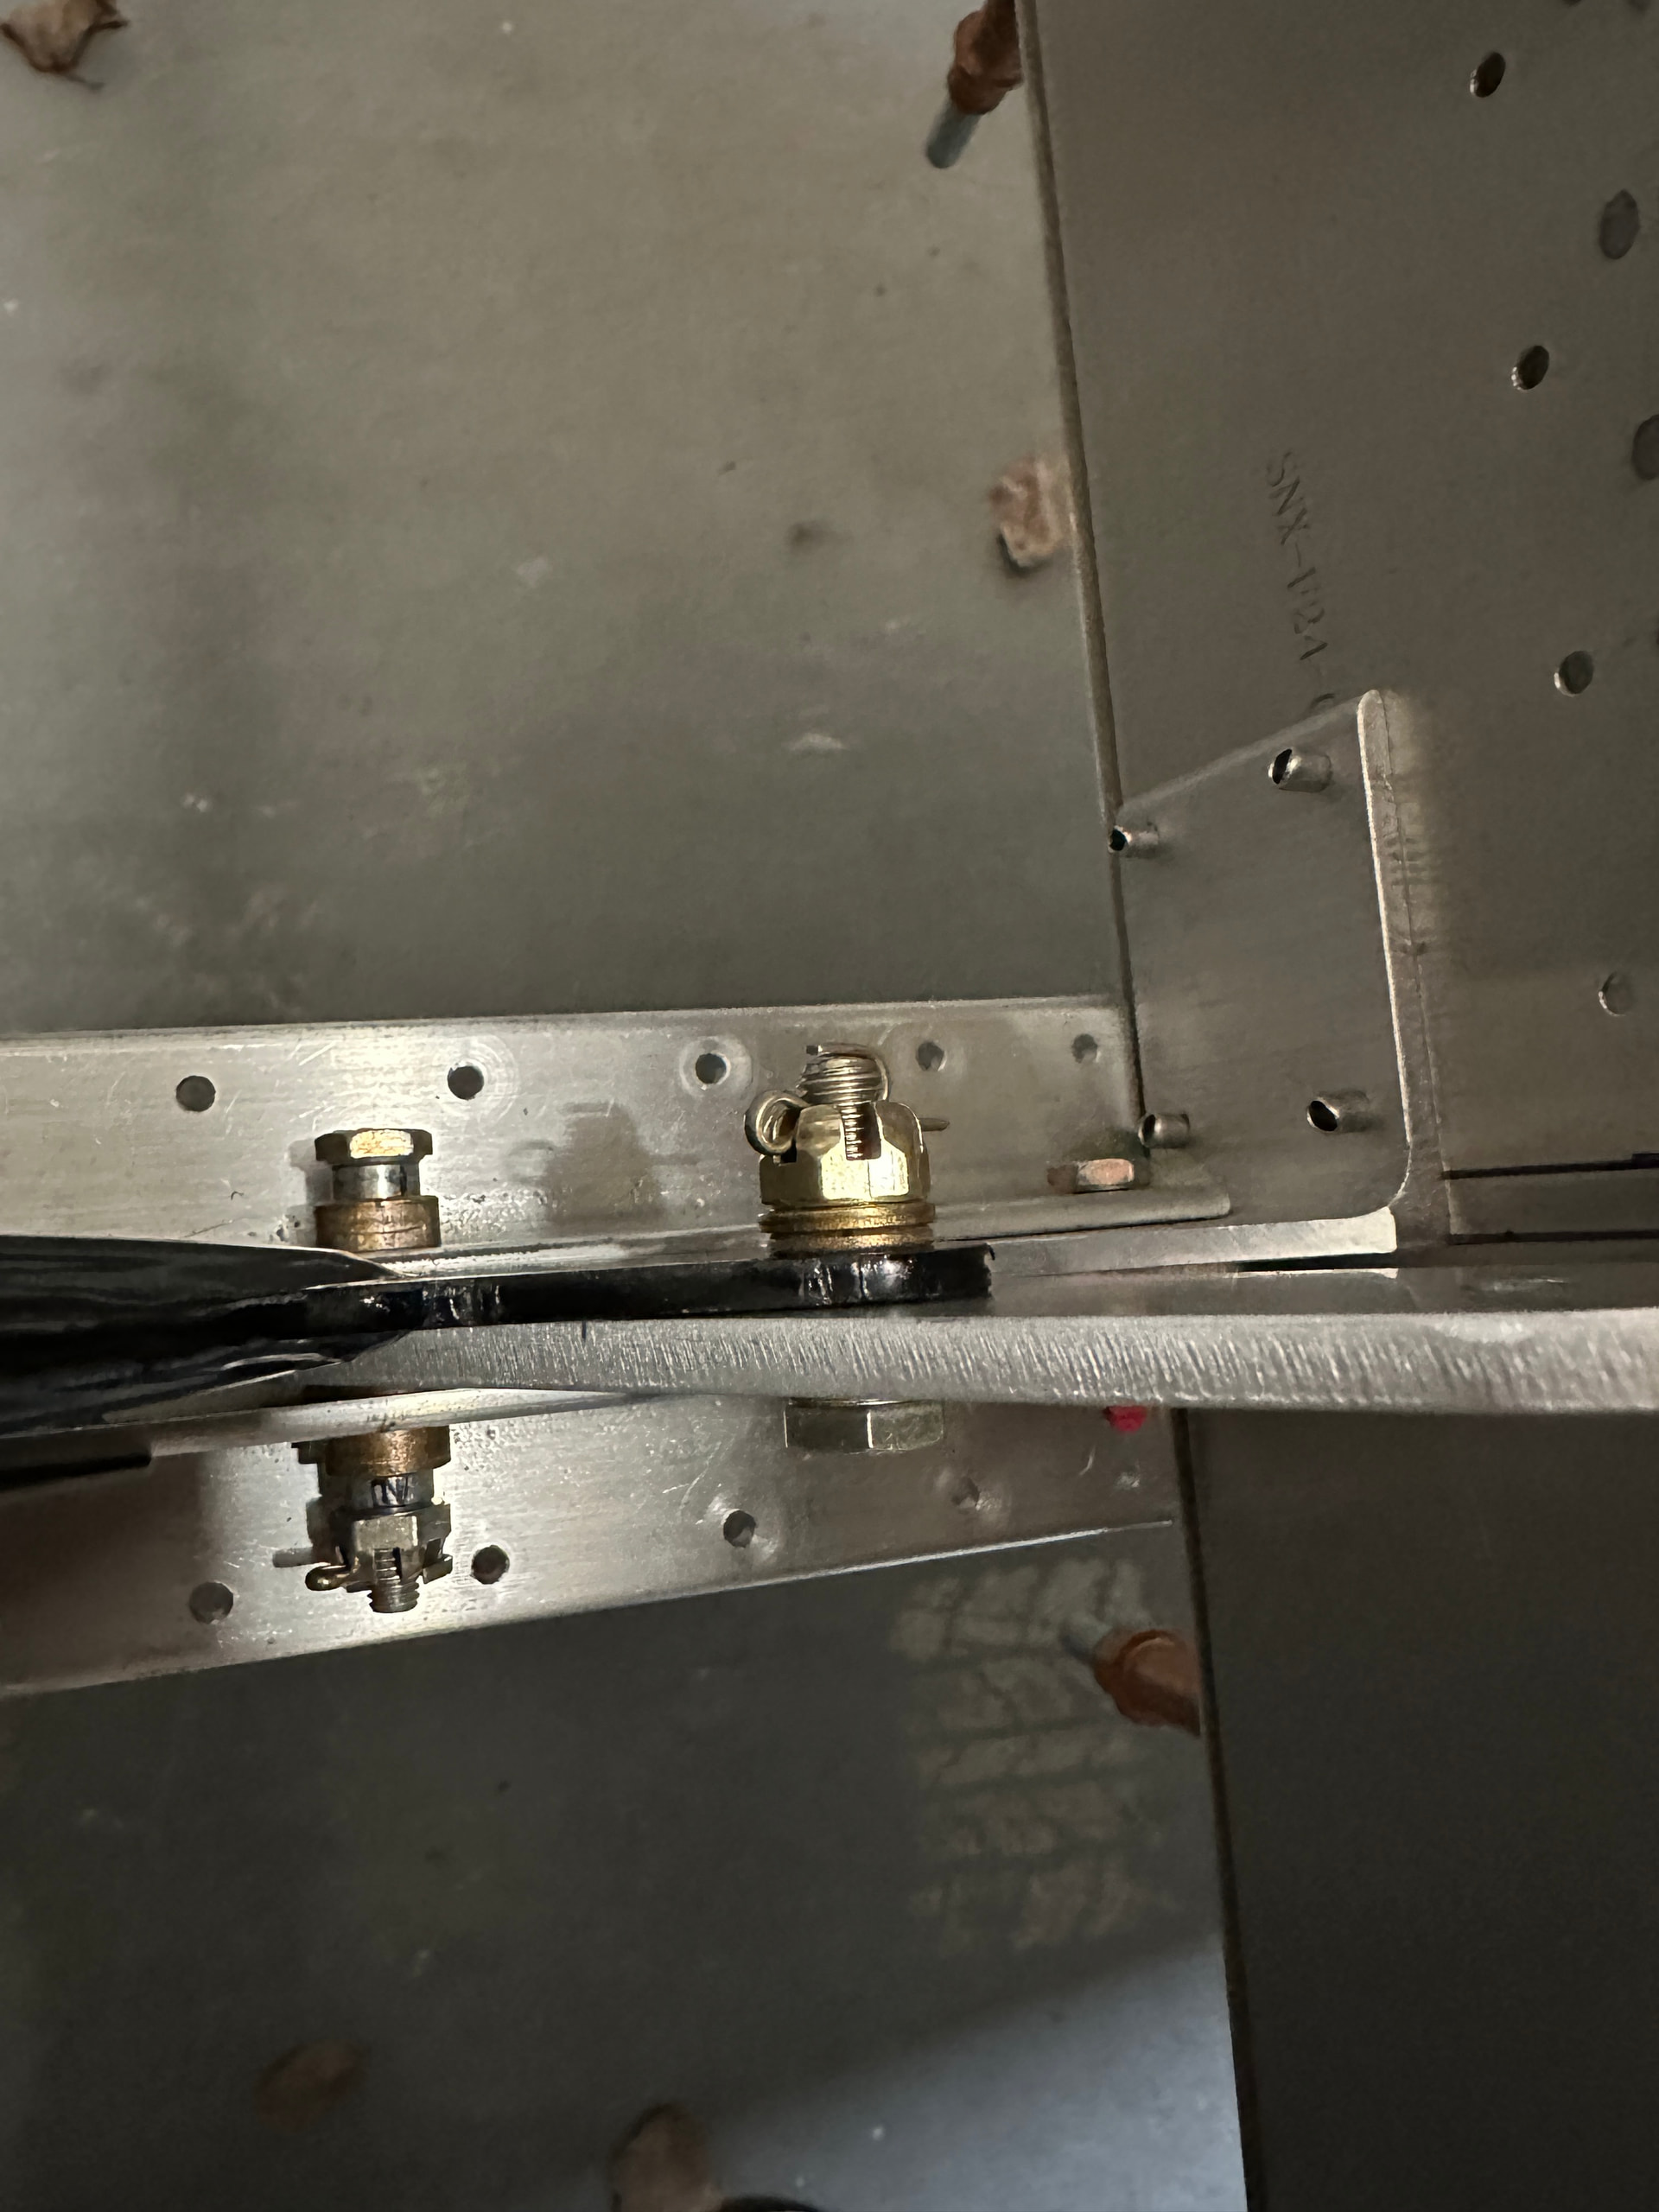
In the plans (at least in XENOS’s) some Bronze oil impregnated Bushings operation is indicated (for ex. “Rotation to occur between Bushing and Plate”), and sometimes not.

It happened that, after the first installation of bushings in different parts and places, sometimes the rotation occurs where required, but sometimes not.
I know that this occurs due to the difference between the exact diameter of the holes, inside or outside.

First question: should I worry about exactly where the rotation occurs, or is it indifferent?

Second question: if it’s not indifferent, which is the practical way to achieve the correct rotation place, especially when the solution is not to ream the hole, but to fill it?

Thanks
Carlos
XENOS - B #020


Bronze (oil impregnated) bushings operation

Posted: Tue Nov 17, 2020 12:50 pm

by Carlos Trigo

Nobody has an opinion on this?


Re: Bronze (oil impregnated) bushings operation

Posted: Tue Nov 17, 2020 8:12 pm

by GordonTurner

I don’t have an opinion. They seem to rotate where they rotate and as long as it’s smooth, relatively resistance free, and no wobble I just feel happy about it.

Haven’t flown yet. Haven’t had catastrophic failures in my control system. But time will tell :slight_smile:

Gordon


Re: Bronze (oil impregnated) bushings operation

Posted: Tue Nov 17, 2020 9:02 pm

by Rynoth

Hi Carlos,

When I encountered this issue I ended up following the plans. I would ream out a bushing if necessary allow the bolt to move freely if it was previously binding and intended to move at the bolt. My main concern with excess rotation would be the strength/type of material that is intended to bear the friction load. For instance, if a steel bolt should rotate inside the bearing, but the bearing is also rotating within a hole in aluminum (like in the aileron bellcranks on a Sonex), I’d have an issue with that. If both parts are strong steel, I’d probably be OK with it either way (but probably second-guessing my hole diameters). Ultimately, all of my bushings do rotate as the plans specify.


Bronze (oil impregnated) bushings operation

Posted: Wed Nov 18, 2020 10:31 am

by Carlos Trigo

Thanks guys

Now I know the principle, and will be alert to all the situations where the rotation does not result as the plans indicate, or where it is not indicated in the plans.

Cheers
Carlos

Bringing this back up. Im installing my B model center stick. The plans say for the bronze bushings should rotate around the plates of the elevator rod on both ends that connect to the stick and to the lever in the rear of the cockpit. Currently mine are pressed into the elevator rod plates on both ends and when the bolts are snug there is no play and good freedom of movement (around the bolt). It seems to me I should leave it this way vice boring out the plates on the rod so the bushings can rotate around the steel plate and the bolt. My general question here is what’s the purpose of this? To minimize wear on the an bolt? Something else?

My other concern is the bushings are 1/8” long nominal? Length and the plates are just a tad thicker. According to plans there needs to be .005-.015” of the bushings sticking out past the plate to create a gap so the plates and horns aren’t rubbing each other. Should I just file/grind down the plates to create the gap so the bushing is now protruding?

thus riding on that as a wear point? It’s probably just a matter of removing the powdercoat.

If I understand what you’re saying correctly, I think I ran into a similar problem with one of my aileron control rods.

When I was assembling one of the joints in my aileron control rods, I noticed that the flanged bushings supplied with my kit were too short (e.g. the plate plus the bronze flat bushing was slightly thicker than the length of the bushing - so the flanged bushing was a little bit recessed when it should have been proud).

I had to purchase the correct flanged bushing from Aircraft Spruce and use a file to shorten it to get to the 0.005-0.015” play between it and the plate. Sounds like you might be in a similar predicament. I would verify before filing the plate. Filling the flange is a better option.

Here’s a link to a timestamp in one of my YouTube videos where I show what I did, which is the best solution in my opinion:

1 Like

That makes more sense to me! I will look into it.

So the verdict is the sf-812-3 is too short. I ordered sf-812-4 and will file to fit. They are 1/16” longer. These are needed for both elevator and aileron plate bushings if you want the tiny gap the plans call for to eliminate the plates rubbing each other in operation.

Awesome! Report back with the outcome.

Further update, the longer bushings seem like they will work fine. Filing them perfectly flat will be the challenge. I don’t have a belt sander.

Additionally, the bushings you are talking about for the aileron control rods are actually smaller (different part number) than the elevator rods and I can’t seem to find them anywhere! Either I used them on some other part of the plane or they are missing which now I need to figure out if I installed them someplace else mistakenly or not.

1 Like

I wouldn’t drill them out since it would mean less material around the outside. Plus you may end up having to order bolts anyway.

I rough sanded mine close to the right length by using a bolt with a nut to hold it in a vice and used a power sander. For the final sanding I used calipers to find the longer spot and hand sanded with a piece of sandpaper on the workbench to get them square. Remeasure and repeat. I messed up a few so best to order extras.