Baggage area DIY
Posted: Sat Mar 11, 2023 12:23 am
by Bryan Cotton
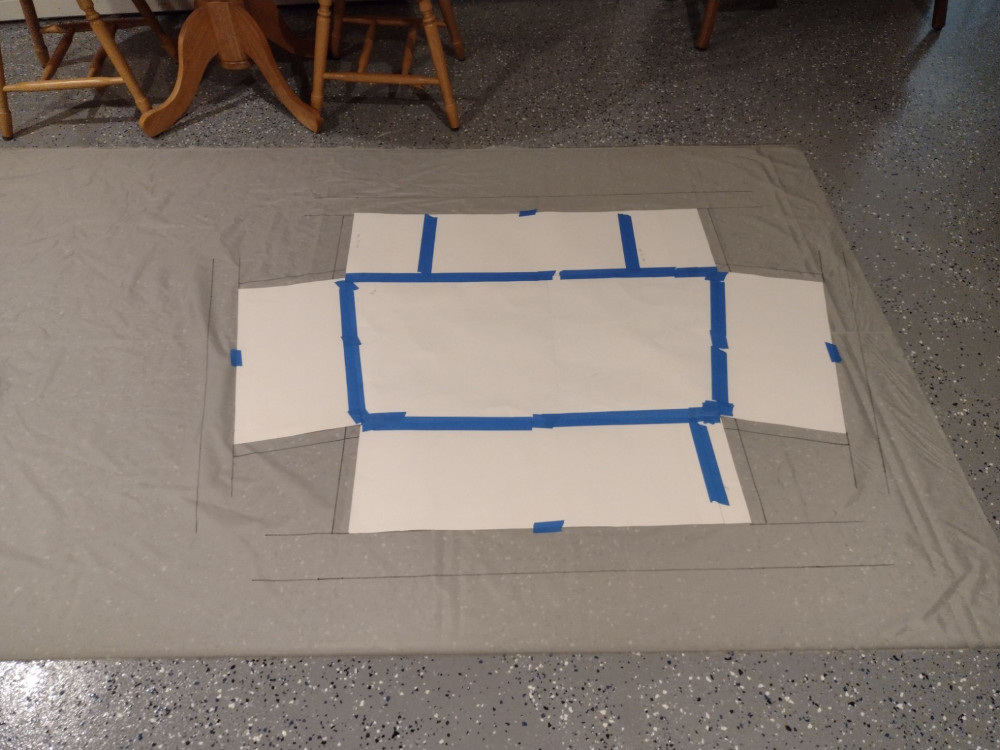
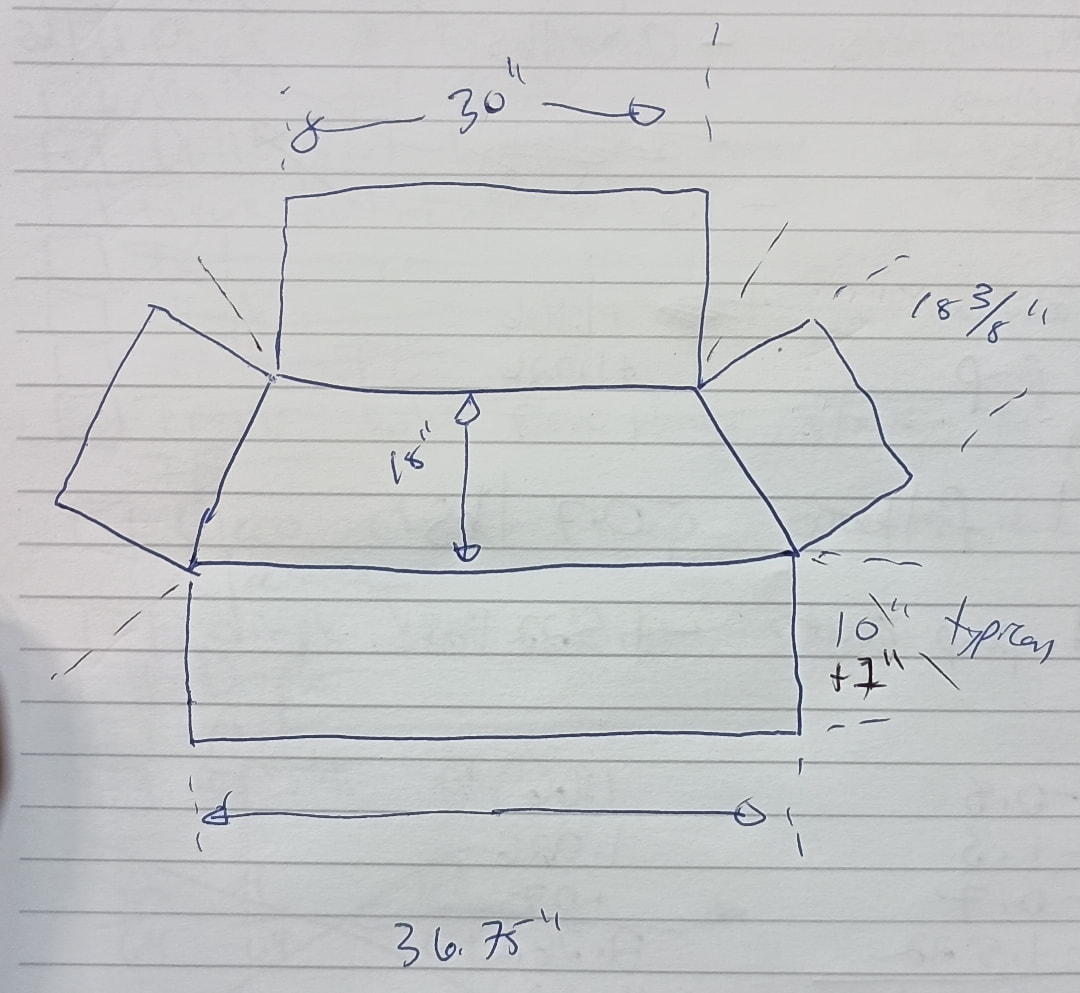
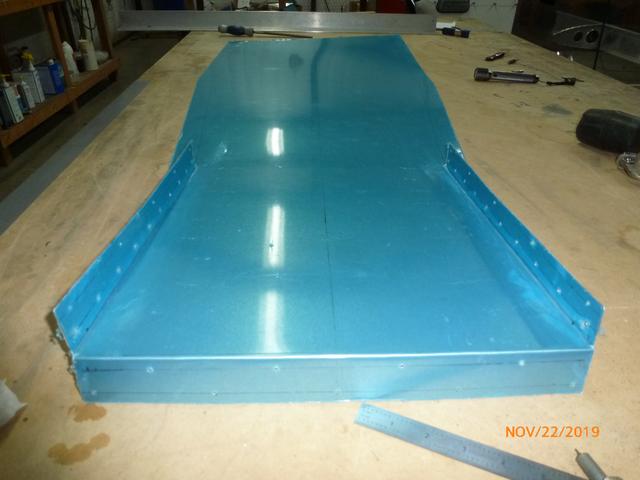
With some cross country ahead of us, it was time to make a baggage area. I decided to make it sort of trapezoid shaped, like the shape of the formers and side rails. Here is the paper pattern. After I made the trapezoid, I made 4 rectangular walls 10" deep. I taped these onto the trapezoid, and then traced out the pattern on the fabric. I then marked out the horizontal part where the velcro would go. Also, for the corners of the baggage area, I put an extra 1" margin to sew the corners together.
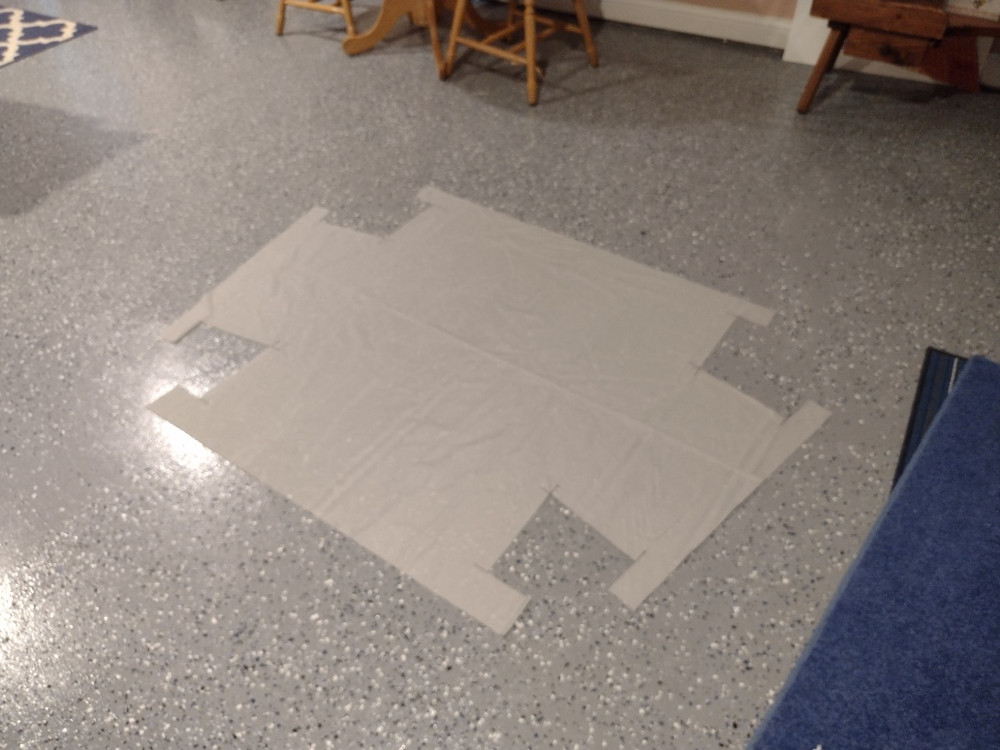
Here it is cut out. I sewed up most of the velcro while it was still flat. It is a lot easier that way. Besides the velcro that would be mounting the baggage area to the aircraft, I put a couple of strips on the front of the baggage area to hold stuff there later. Initially I did not have a floor, except fabric, and it was more like a duffle bag effect. I didn’t like that.
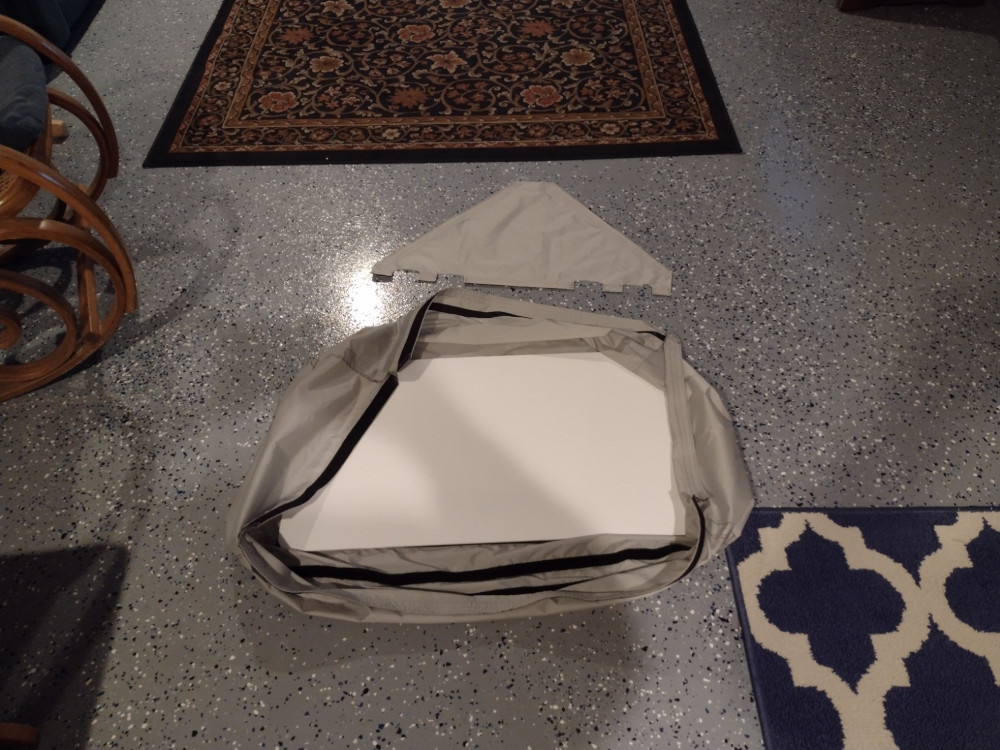
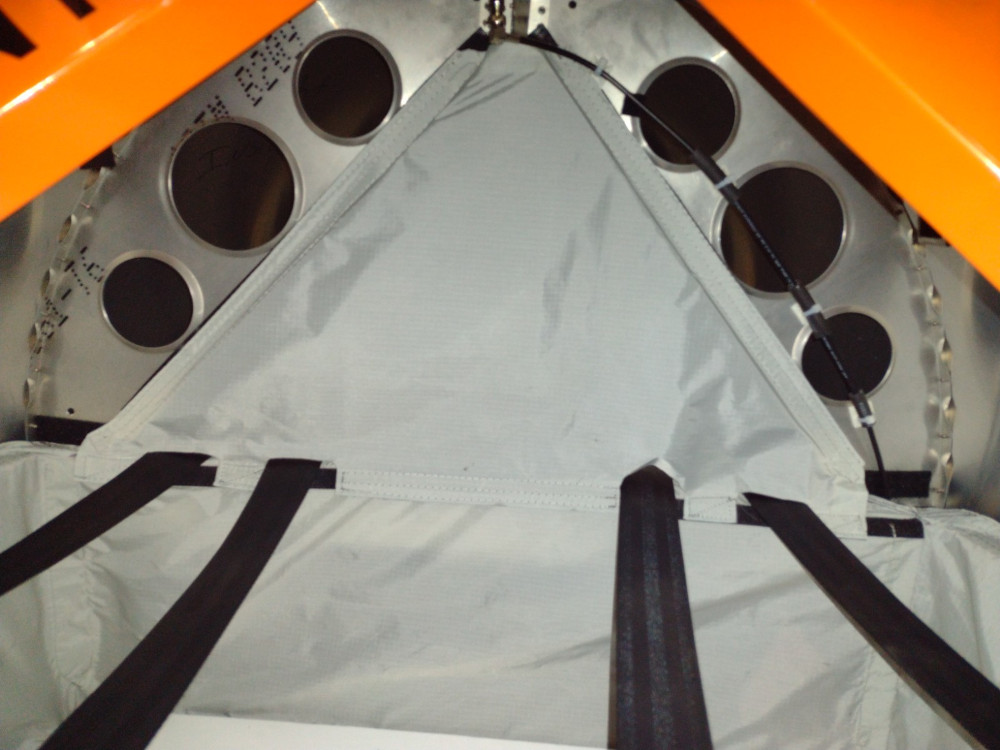
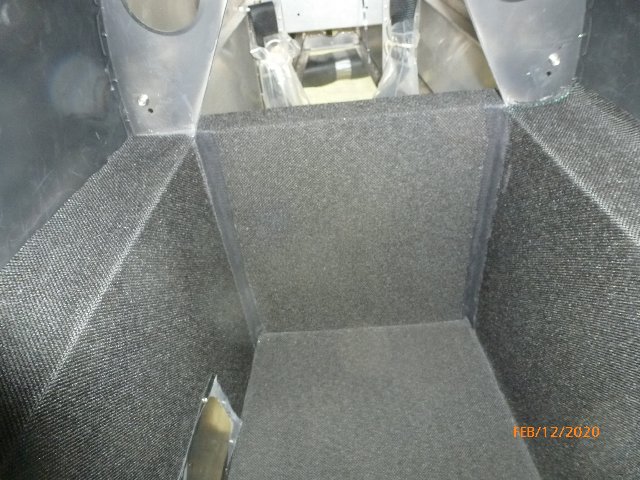
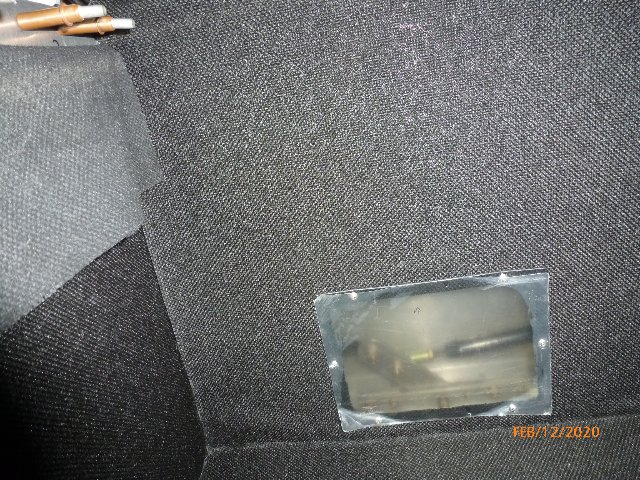
Here it is after sewing. I also made a pattern using posterboard for a closeout of the triangular section. You can see I also have my floor in place. It is foam posterboard and is velcroed in place. Sticky velcro on the foam board, and I sewed the velcro onto the fabric.
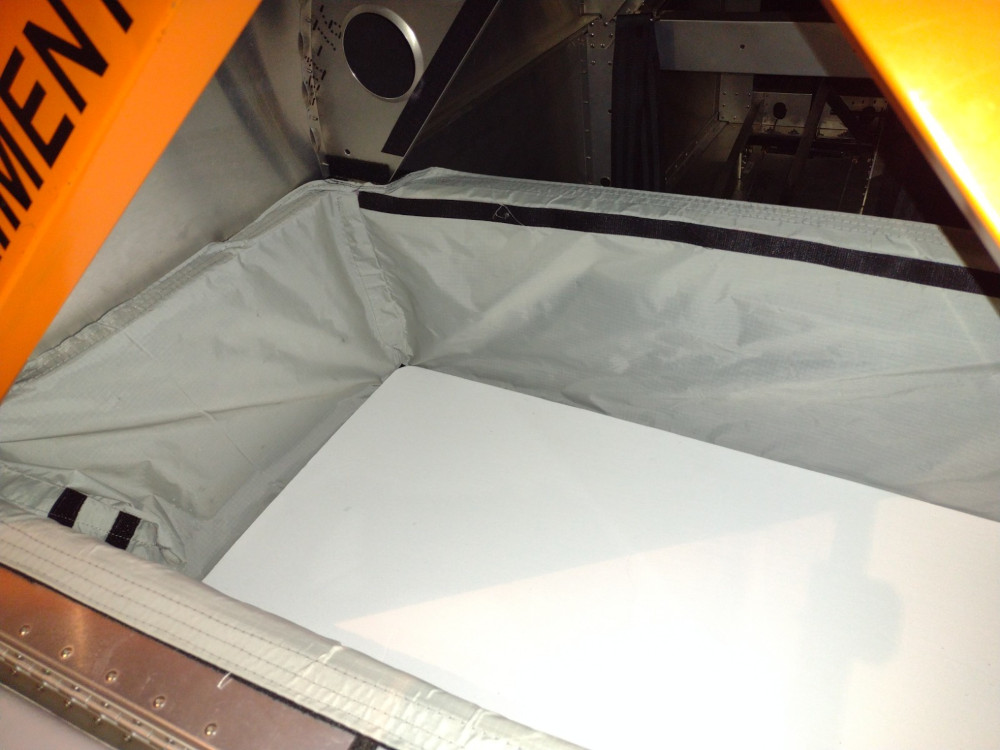
Bottom part in place and you can see there is a strip of velcro sewn in for the top closeout.
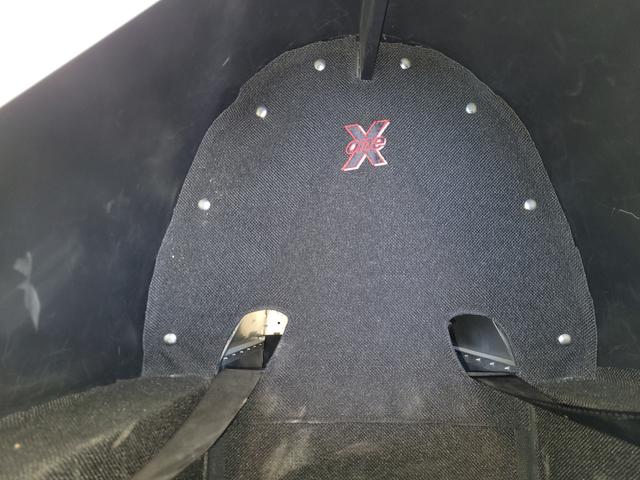
Here is the top closeout in place. It helps keep the seatbelts from getting twisted up. I haven’t flown with it yet but I think it looks good.
Re: Baggage area DIY
Posted: Sat Mar 11, 2023 12:35 am
by Bryan Cotton
I thought I would split up the post a little in case it crashed while I was typing or something.
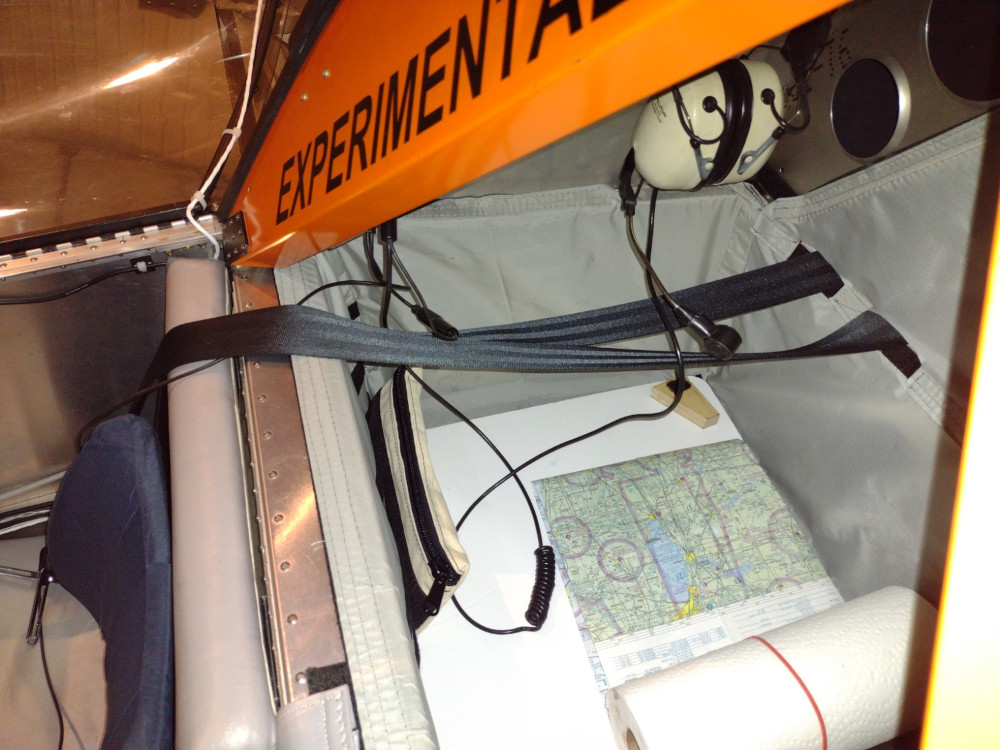
Here I have started putting junk in. I made a little tool pouch. It has a couple of screwdrivers, a lightweight set of motorcycle toolkit pliers, a spare pitot tube, valve stem extenders, and my dipstick remover. The tool pouch has velcro to stick to the front of the baggage area.
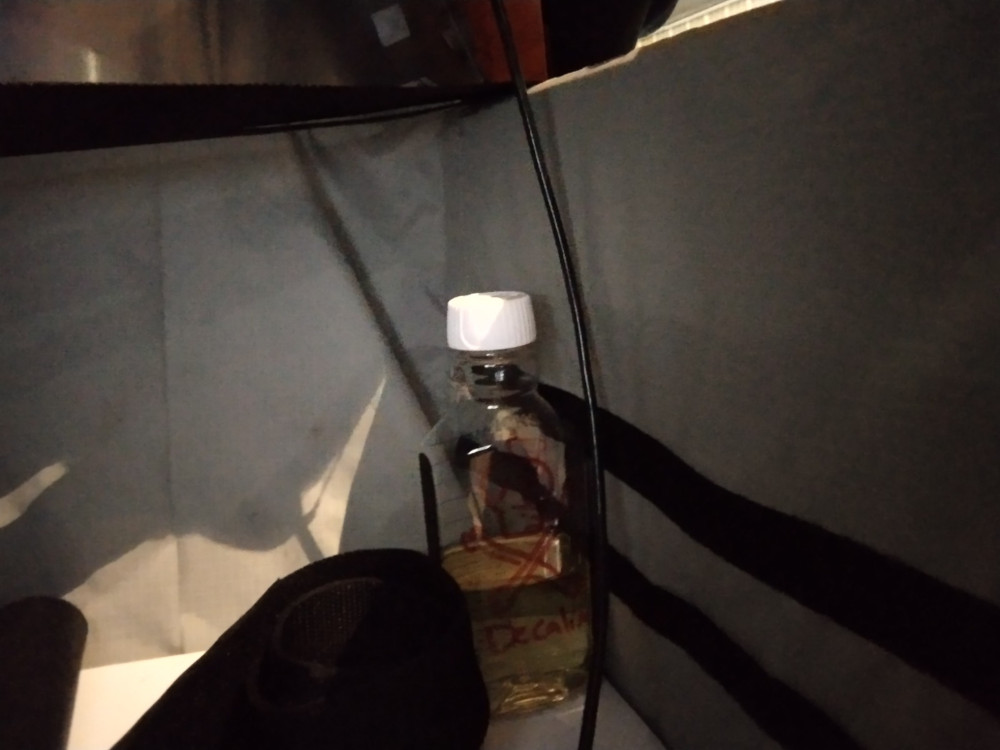
I have been using decalin to scavenge the lead. I have a little 12oz bottle marked in half oz increments, which is how much you add for 5 gallons of 100LL. I put some velcro on it so it would stay upright in the baggage area.
I bought 4 sheets of the foam board thinking I’d build up a 2-layer thing that would match the trapezoid shape. One sheet was not big enough to cover the wide dimension at the front of the baggage area. I decided to try a rectangle that fit into the back corners. That actually seemed good enough, so I sewed in some velcro to stick it in place. Now I have a pretty flat floor. If I was doing this over, I would have made the square floor to match the aft width and sewn in the velcro while the fabric was still flat. It’s a lot easier.
The fabric is lightweight ripstop nylon. I bought 3 yards and could have gotten by with less than 2.
https://www.joann.com/rip-stop-nylon/7250426.html
Here is the foam board I bought.
https://www.walmart.com/ip/Pen-Gear-Whi … hbdg=L1102
I think I spent about $30 total. Weight of the finished baggage area is 1 lb.
Re: Baggage area DIY
Posted: Sat Mar 11, 2023 3:28 am
by Weatherpilot
Very nice. Thank you for sharing.
Greg.
Re: Baggage area DIY
Posted: Sat Mar 11, 2023 9:20 am
by T41pilot
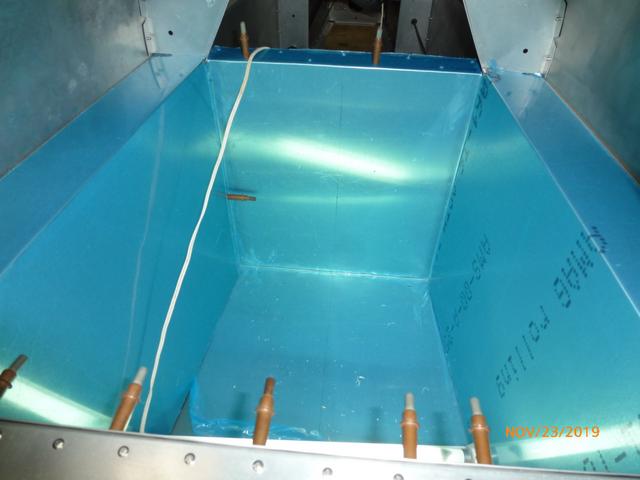
I did the sides and bottom with .025 during the build. The back is done with blue insulation foam braced on the back side to side in the middle with a piece of small aluminum angle. The foam is glued in place with RTV in case I ever want to take it apart again some day. Everything is covered with indoor/outdoor carpet. The carpet was thin and didn’t weigh much. I had to make a raised tunnel on the floor to clear the elevator pushrod. It is removable for inspections.
Re: Baggage area DIY
Posted: Sat Mar 11, 2023 10:42 am
by Bryan Cotton
Thanks Greg H!
Gregg K, that looks great.
Re: Baggage area DIY
Posted: Sat Mar 25, 2023 9:36 pm
by Bryan Cotton
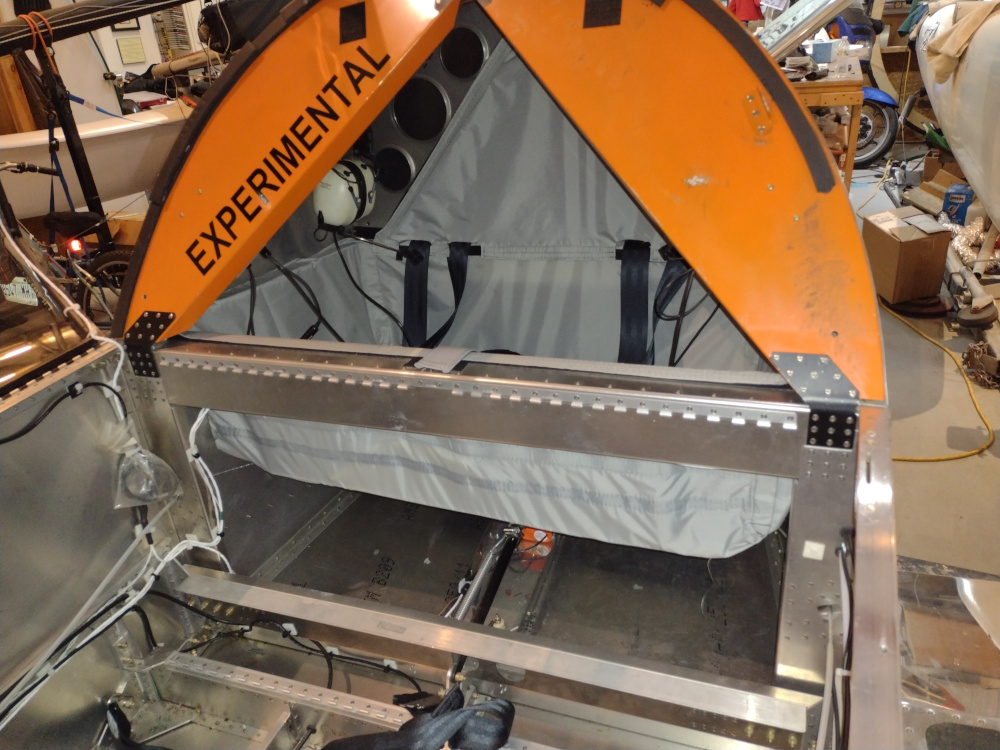
I had my seat out to do some maintenance and took this picture of my baggage area.
Re: Baggage area DIY
Posted: Sun May 19, 2024 1:56 pm
by Bryan Cotton
Here is a sketch: Edit this sketch is the finished dimensions of the baggage area flat pattern. Fabric cutout will be larger for velcro, and for stitching the corners up as described below.
In case my writing is hard to read:
The trapezoid is 36.75" along the seatback, and 30" in the aft part of the bay. It has a height of 18", meaning between the seatback frame and the next frame aft. The sides of the trapezoid end up being about 18 3/8" long. I think I drew two parallel lines 18" apart, drew a centerline, and centered the 30" and 36.75" lines then drew the sides.
All 4 sides have a depth of 10". That works for me - you can adjust as you see fit.
On top of the 10", you need to add at least 1" for the velcro to attach to the airframe. The longerons have a width of 1", the box structure behind the seat is much wider, and the frame in the aft of the baggage area is greater than an inch. So add at least an inch. I used very light 0.75 oz ripstop nylon, so I think I added 2" to the 10" and folded it over double before I sewed on the velcro.
On the sides, you need to add an inch or so to sew up the corners. Anybody who has made a bag or cushion cover will know they need to do this.
Sew your velcro on before you sew up the corners. It’s a lot easier. The baggage shape is not very nice until you put the foam posterboard in the bottom. So put velcro on the bottom to stick the posterboard to. You can use something else - luann plywood, aluminum, 1/4" steel plate, granite or whatever. Also consider sewing some velcro onto the front wall of the baggage area. I have mating velcro on my toolkit pouch, my decalin container, and my 1 qt oil container that I sometimes carry. Keeps the heavier stuff forward and upright.
Edit: For the triangular closeout, I also sewed some velcro on the top of the aft wall of the baggage area for the triangle to velcro to. Add that to the velcro list before you sew up the corners.
Re: Baggage area DIY
Posted: Sun Jun 16, 2024 11:32 pm
by Skippydiesel
My baggage area is a bit of a hybrid of the aforementioned ideas.
The fabric compartment is much the same, with the addition of a zipped cover, that will prevent any items entering the cockpit in turbulence. The cover also acts as a shelf for in flight documents etc.
The inverted V has been closed off, using a purpose built carbon fibre sheet, secured in position with HD Velcro (similar to T41’s idea)
The one mistake with the fabric compartment, was not using all of the available space - it should have extended down to just above the elevator rod. One day I will remake or modify it, to have an additional 100-150mm depth.
I find my Sonex to be very short on storage, so will be modifying the seat pan to have a hatch, each side, to access the under seat space.
Of course this will mean making some dividers to prevent stored items interfering with the aileron/elevator control systems.
My plan is to use this space for infrequently used items eg first aid kit, jack, tyre inflator & repair stuff, tools, etc.
For long cross countries, I will have 2 x 20L collapsible fuel bladders - these will have to go in the right footwell and again some sort of storage compartment will have to be installed to prevent interference with rudder pedals and secure items against turbulent excursions.
I would like to hear from anyone who has gone down this route.
Re: Baggage area DIY
Posted: Tue Jun 18, 2024 3:05 am
by Skippydiesel
Dont be shy. Someone must have looked at the wasted space, below the seat & come up with a plan to use it
Re: Baggage area DIY
Posted: Tue Jun 18, 2024 9:21 am
by Bryan Cotton
Skippydiesel wrote:Dont be shy. Someone must have looked at the wasted space, below the seat & come up with a plan to use it
Air is a light thing you can carry in that space. I have been very happy with my 10" deep baggage area. Besides having space for the things we need to carry, you can actually reach things when flying. We are weight limited so extra baggage space does not make any sense to me.
Re: Baggage area DIY
Posted: Tue Jun 18, 2024 7:45 pm
by Skippydiesel
Bryan Cotton wrote:
Skippydiesel wrote:Dont be shy. Someone must have looked at the wasted space, below the seat & come up with a plan to use it
Air is a light thing you can carry in that space. I have been very happy with my 10" deep baggage area. Besides having space for the things we need to carry, you can actually reach things when flying. We are weight limited so extra baggage space does not make any sense to me.
Thanks Bryan,
This is not so much about weight as available stowage/space - very poor in the Sonex Legacy.
“We are weight limited” - Yes! A big disappointment. If I had know how low the MTOW v Empty Weight is, I probably would not have purchased my Sonex - my fault - probably the only specification I did not thoroughly research.
As the builder, I can specify a higher MTOW but am reluctant to do so without Sonex approval. Most aircraft with wing tanks (as mine has) have a higher MTOW than their fuselage tank only peers. I put this to Sonex but was rebuffed.
When flying single pilot (100%) there is very little usable space for additional items. My plan is to have infrequent use “stuff” at the same load point as the crew (me). The baggage area aft, will the be freed up for trip supplies (as in camping). The right side footwell will be adapted to carry my 2 x 20L collapsible fuel bladders, needed to fetch ULP from off airfield petrol stations. The right seat will accommodate my infligh & navigation needs (maps/emergency radios/drink/etc)
Dont get me wrong, I like my Sonex but is not quite the touring platform I had hoped for.
Re: Baggage area DIY
Posted: Wed Jun 19, 2024 9:42 am
by DCASonex
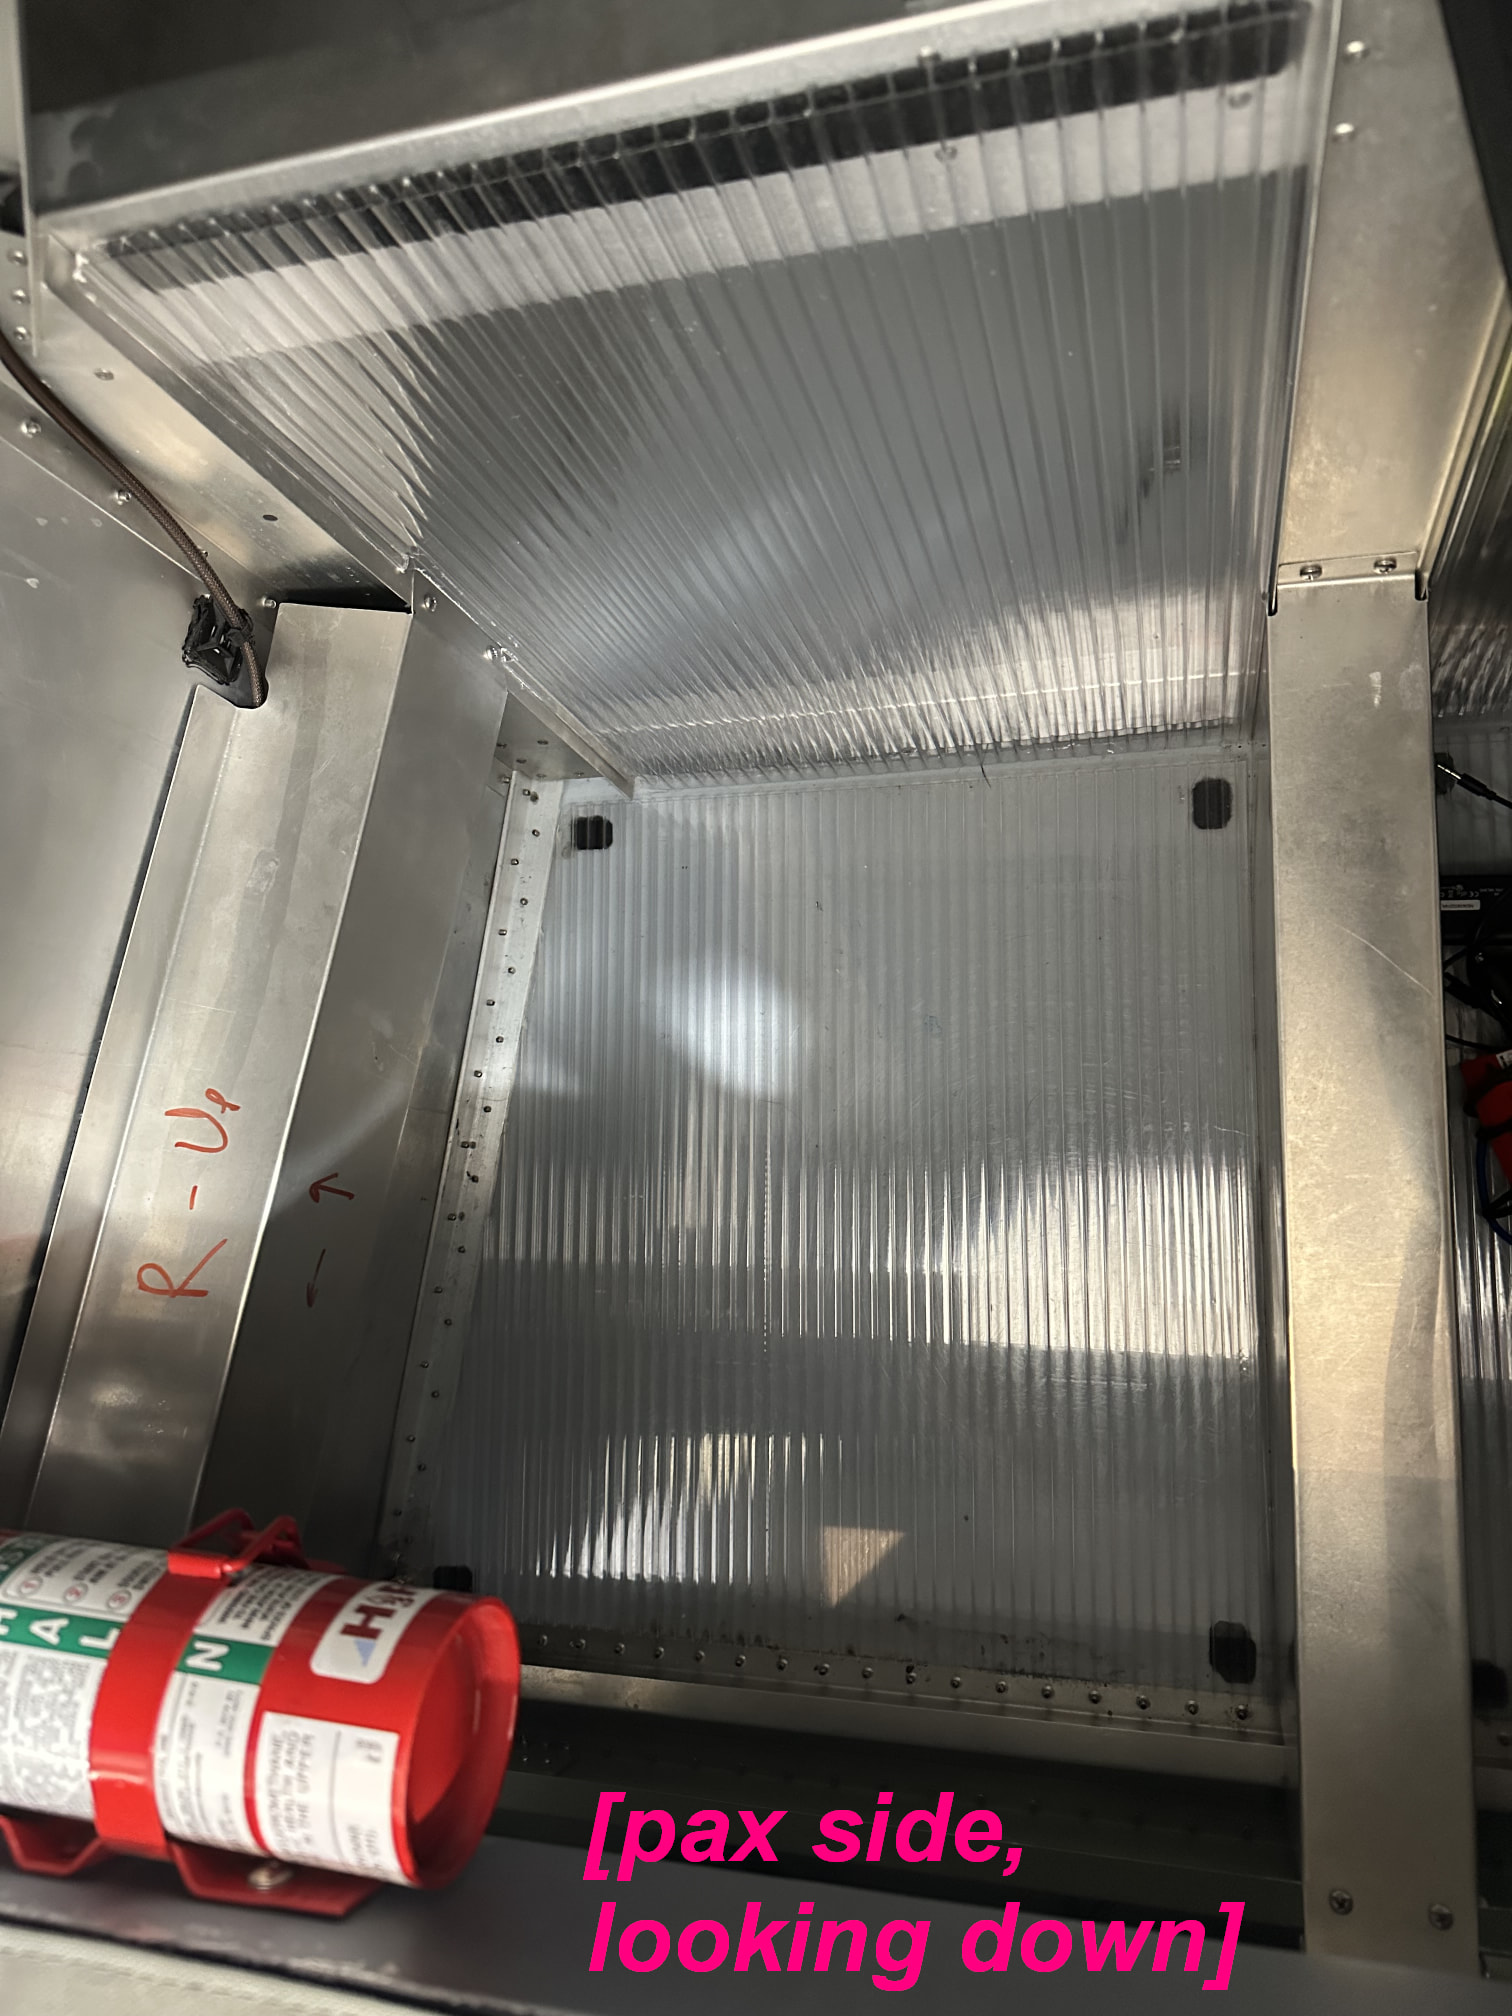
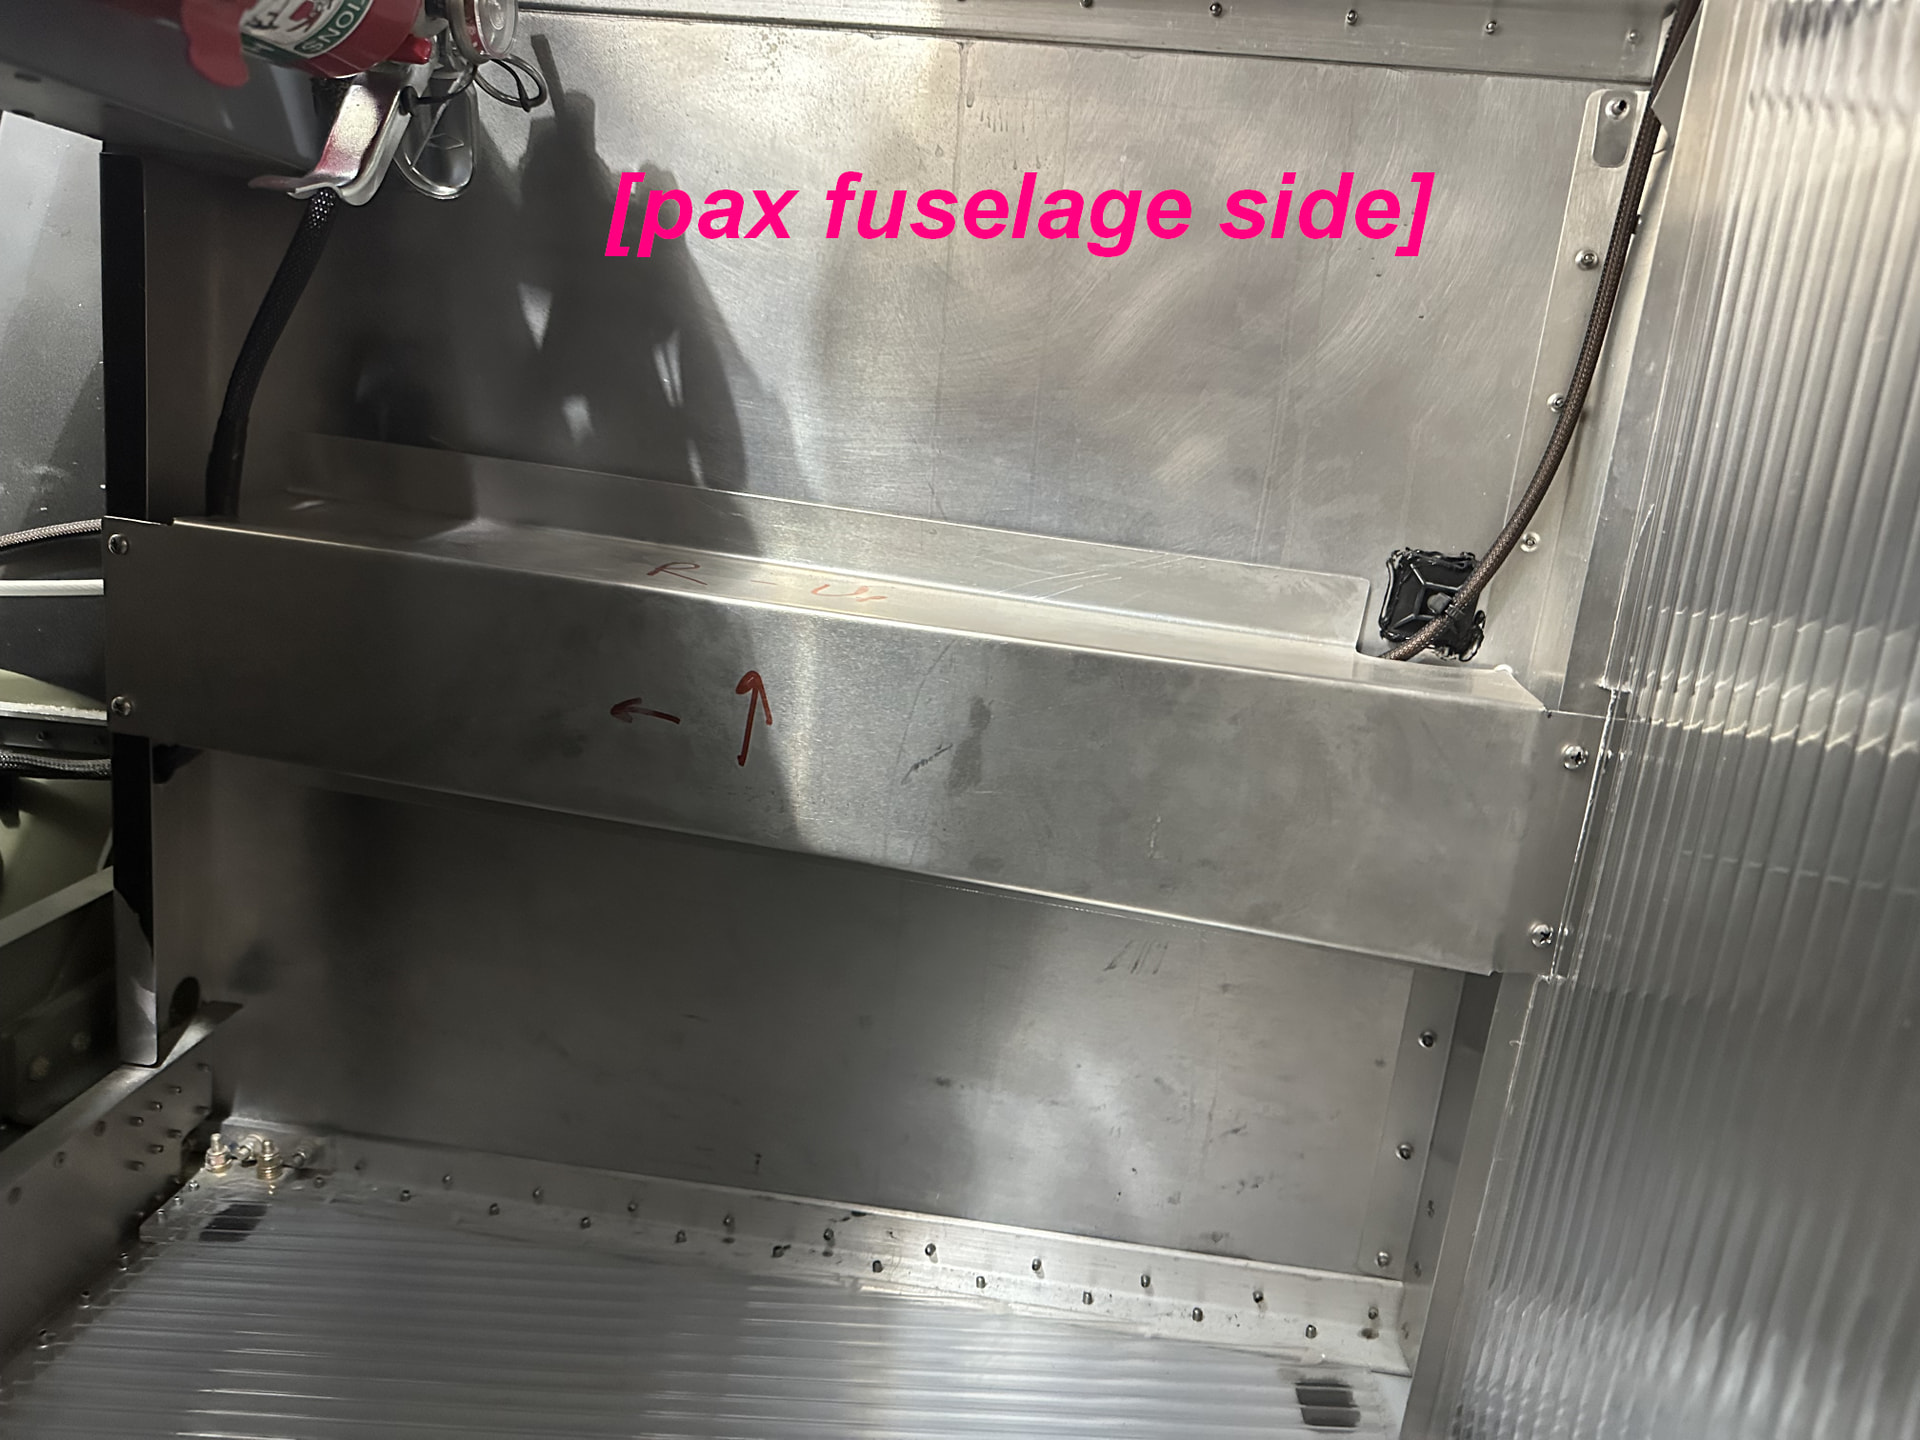
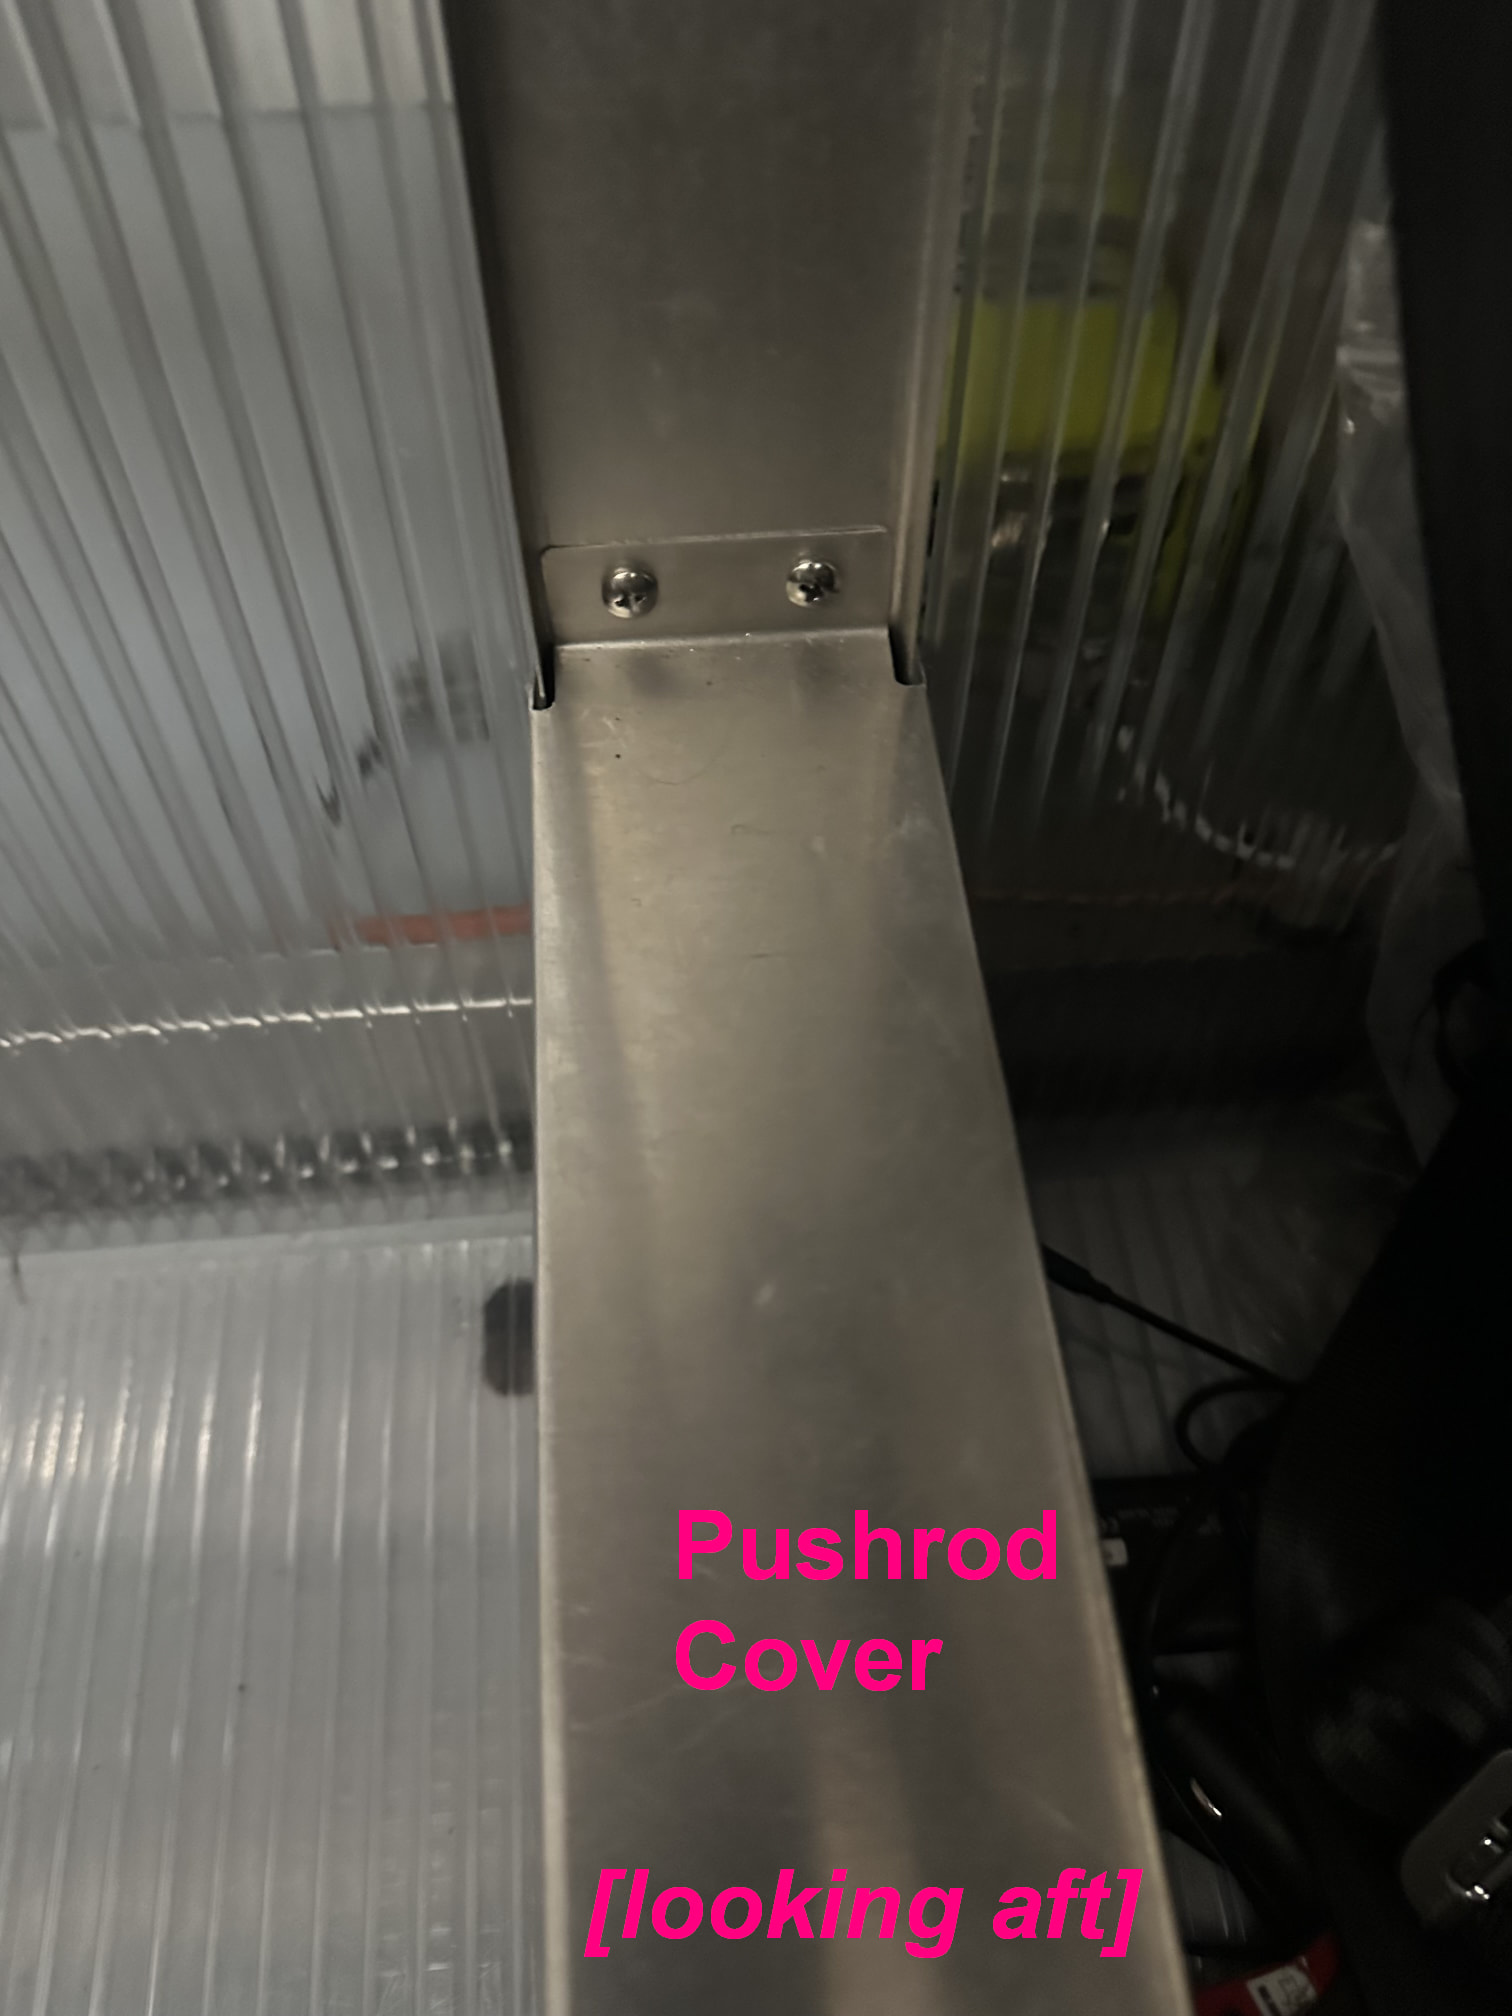
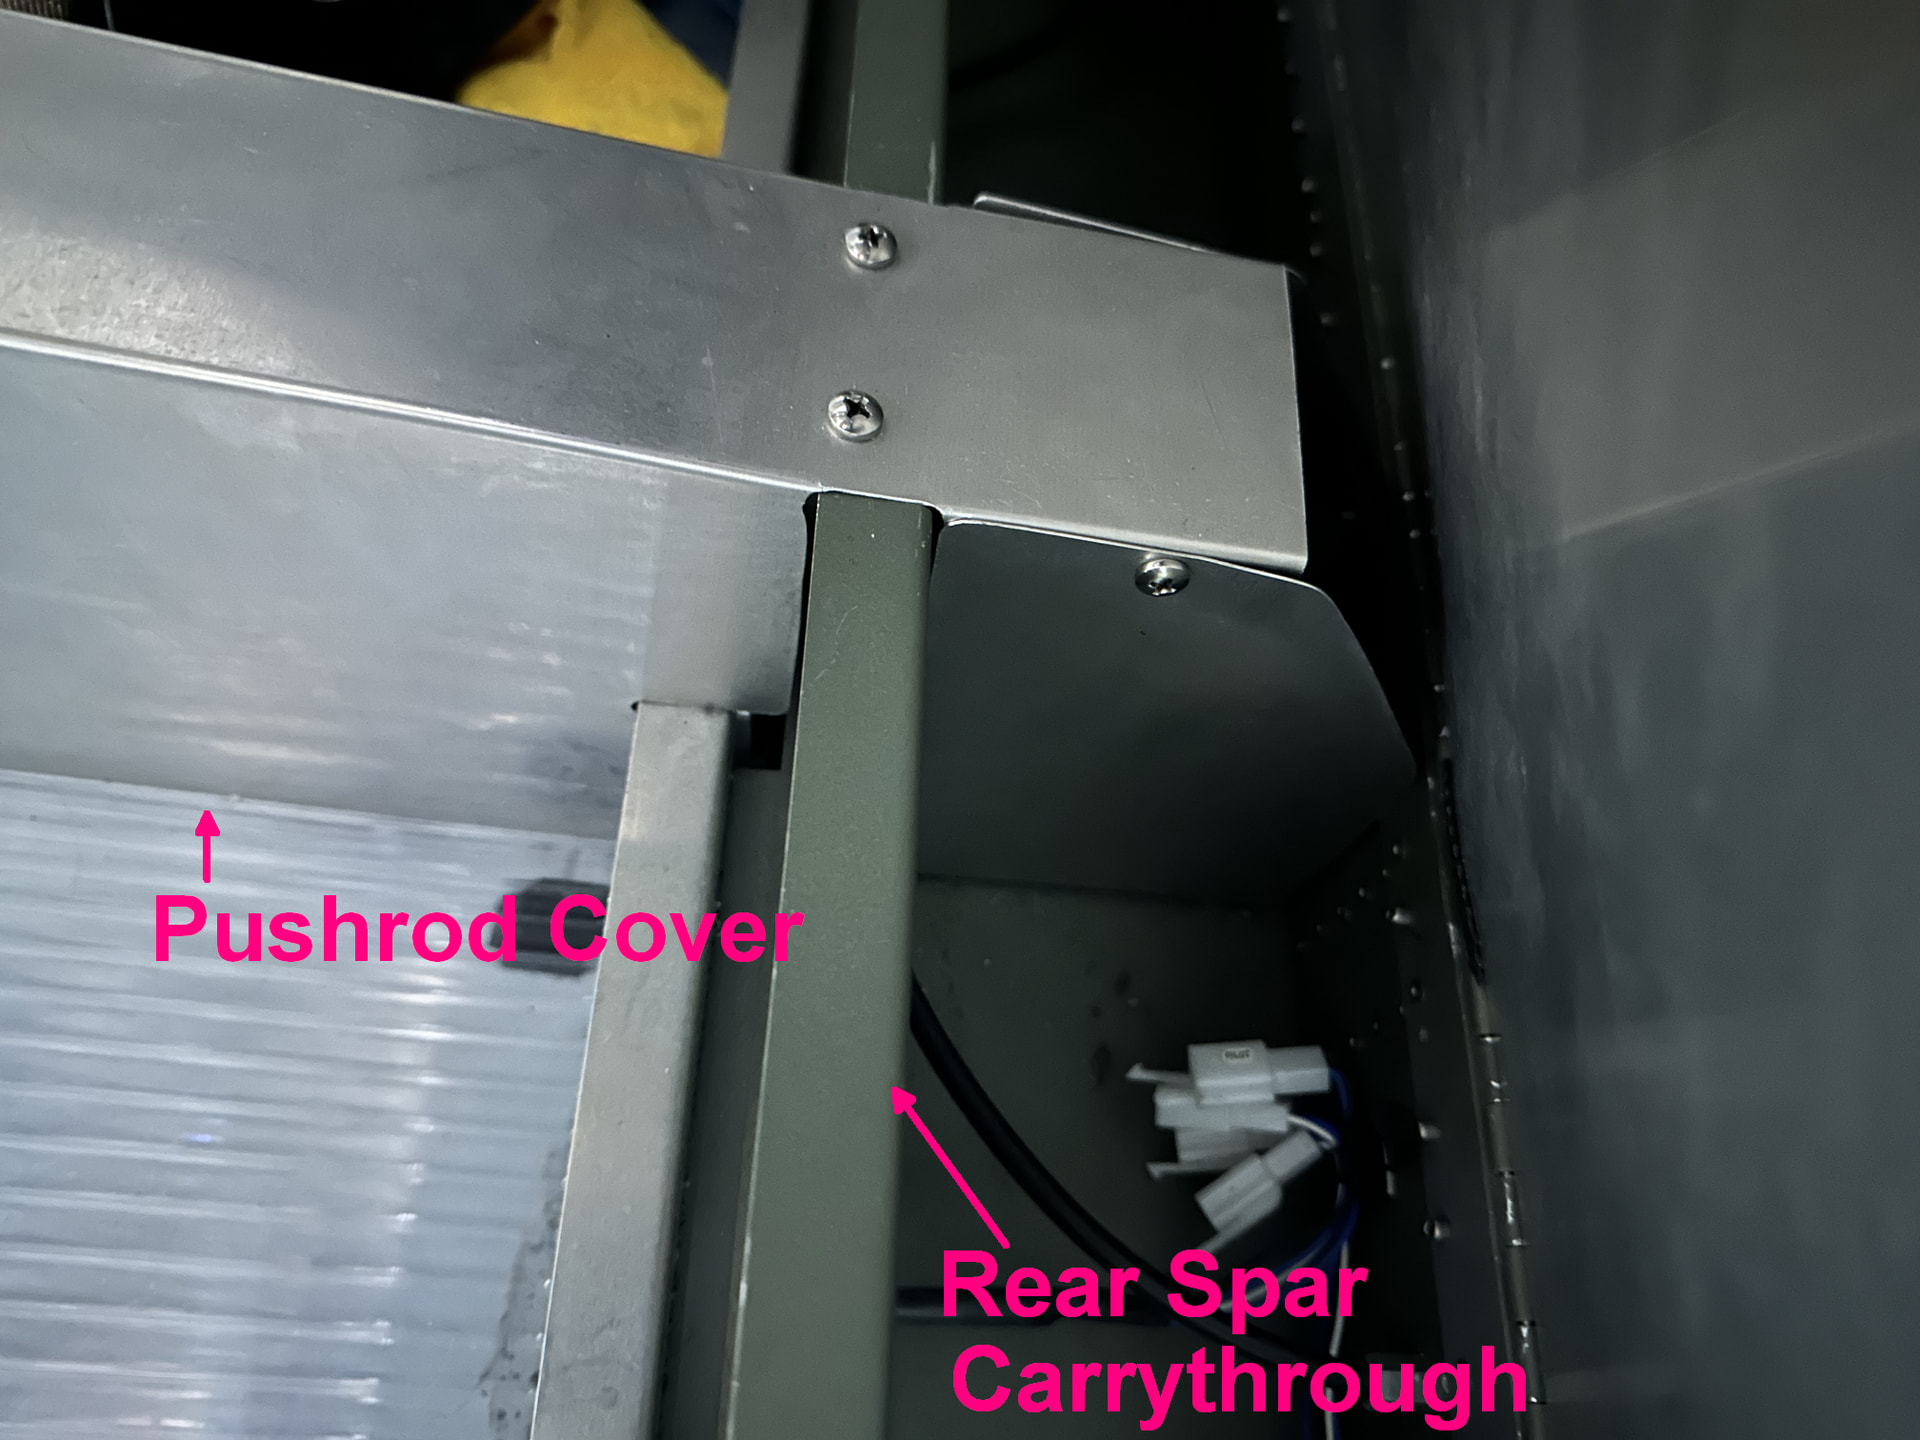
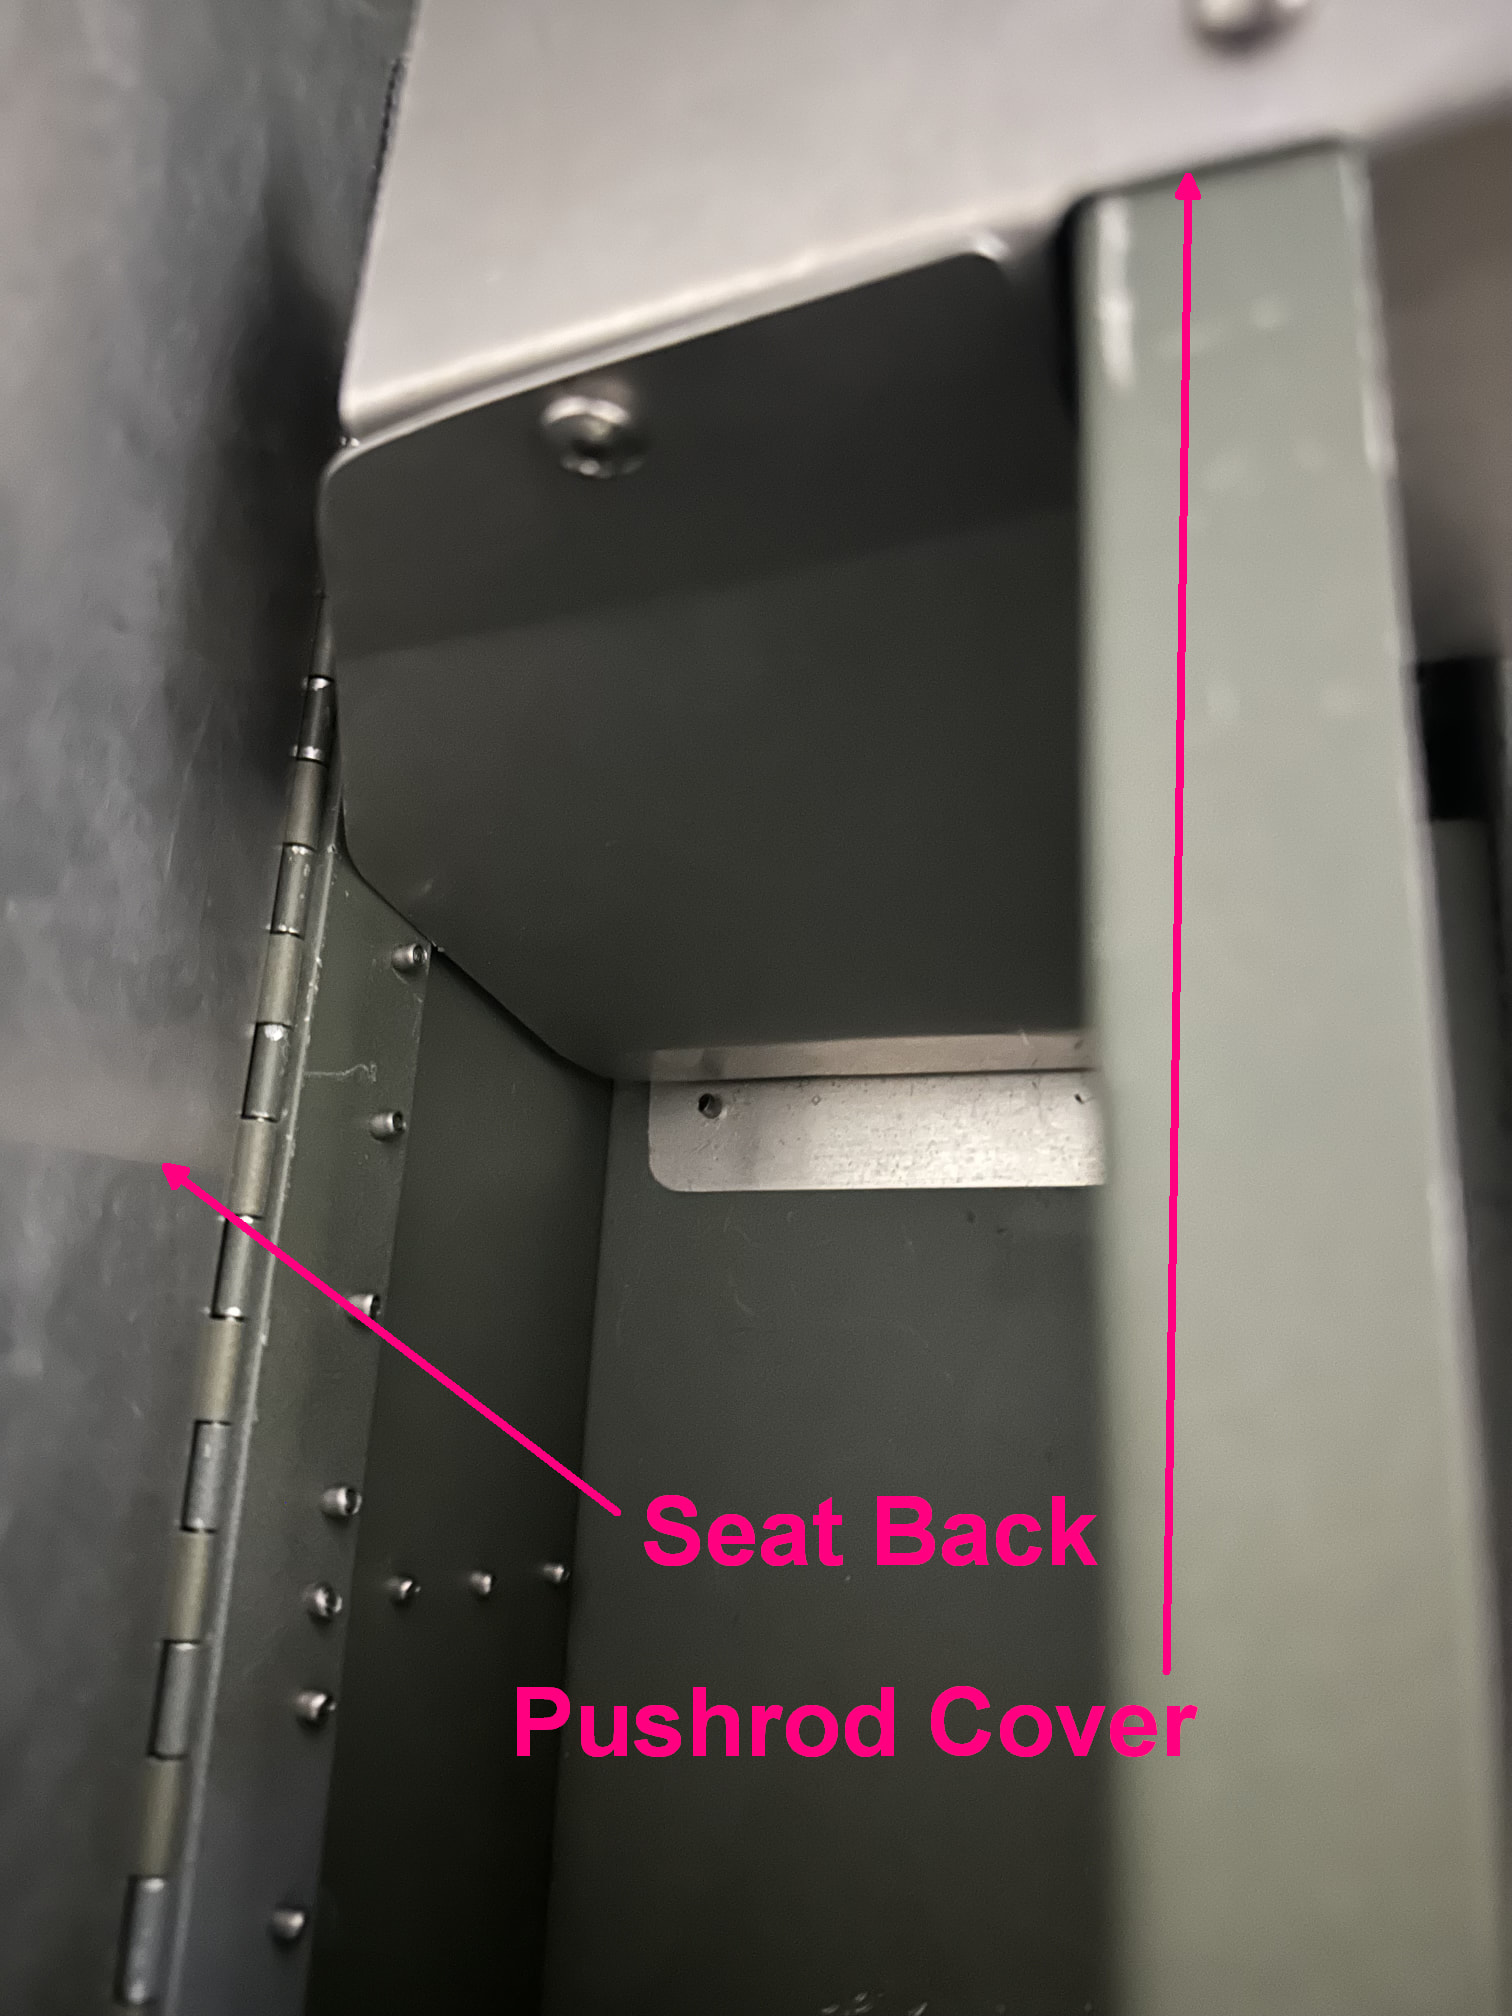
Weight limit is a good incentive to keep my mitts out of the cookie jar. For baggage area I filled in the lower half of the baggage area’s rear bulkhead with two pieces of 0.016" aluminum and made a box cover over the elevator rod. Can toss quite a bit back there. Looked at storing some basic tools under the seat, but found packing them behind the seat (standard seat, not lowered) much more practical. Fortunately wife was relatively light and we were able to use it for traveling. (even with her baggage)
David A.
Re: Baggage area DIY
Posted: Wed Jun 19, 2024 7:18 pm
by Skippydiesel
DCASonex wrote:Weight limit is a good incentive to keep my mitts out of the cookie jar. For baggage area I filled in the lower half of the baggage area’s rear bulkhead with two pieces of 0.016" aluminum and made a box cover over the elevator rod. Can toss quite a bit back there. Looked at storing some basic tools under the seat, but found packing them behind the seat (standard seat, not lowered) much more practical. Fortunately wife was relatively light and we were able to use it for traveling. (even with her baggage)
David A.
That’s great information David
How do you gain access to the under/back of seat?
I am planning on getting access through two small hatches, either side of the seat base.
I did think of behind seat as an alternativ. I have a luggage “bag” similar to the other people on this thread, that prevents access from that direction, so again access would have to be two small hatches in seat back.
Any thoughts on the pros/cons of under v back of seat???
Re: Baggage area DIY
Posted: Thu Jun 20, 2024 3:19 pm
by DCASonex
With the standard seat in an A model, there is a pocket about 3" wide behind the whole width of the seat. Just reach down behind the seat. I find this holds a small tool pack, headset bags, spare quart of oil and other misc. bits.
David A.
Re: Baggage area DIY
Posted: Thu Jun 20, 2024 6:41 pm
by Skippydiesel
DCASonex wrote:With the standard seat in an A model, there is a pocket about 3" wide behind the whole width of the seat. Just reach down behind the seat. I find this holds a small tool pack, headset bags, spare quart of oil and other misc. bits.
David A.
Hi David,
In my aircraft, I can not reach down behind the seat as my baggage “bag” prevents such access. Check out the proceeding photos, much the same set up as I have (I would sent a pic of mine but this Forum seems hostile to non US photos).
I will look again at my under/behind seat options and decide which is likly to be the most useful and make my modifications accordingly.
Thanks for your input